Table Of Contents
Introduction To This Lovely Crochet Blog
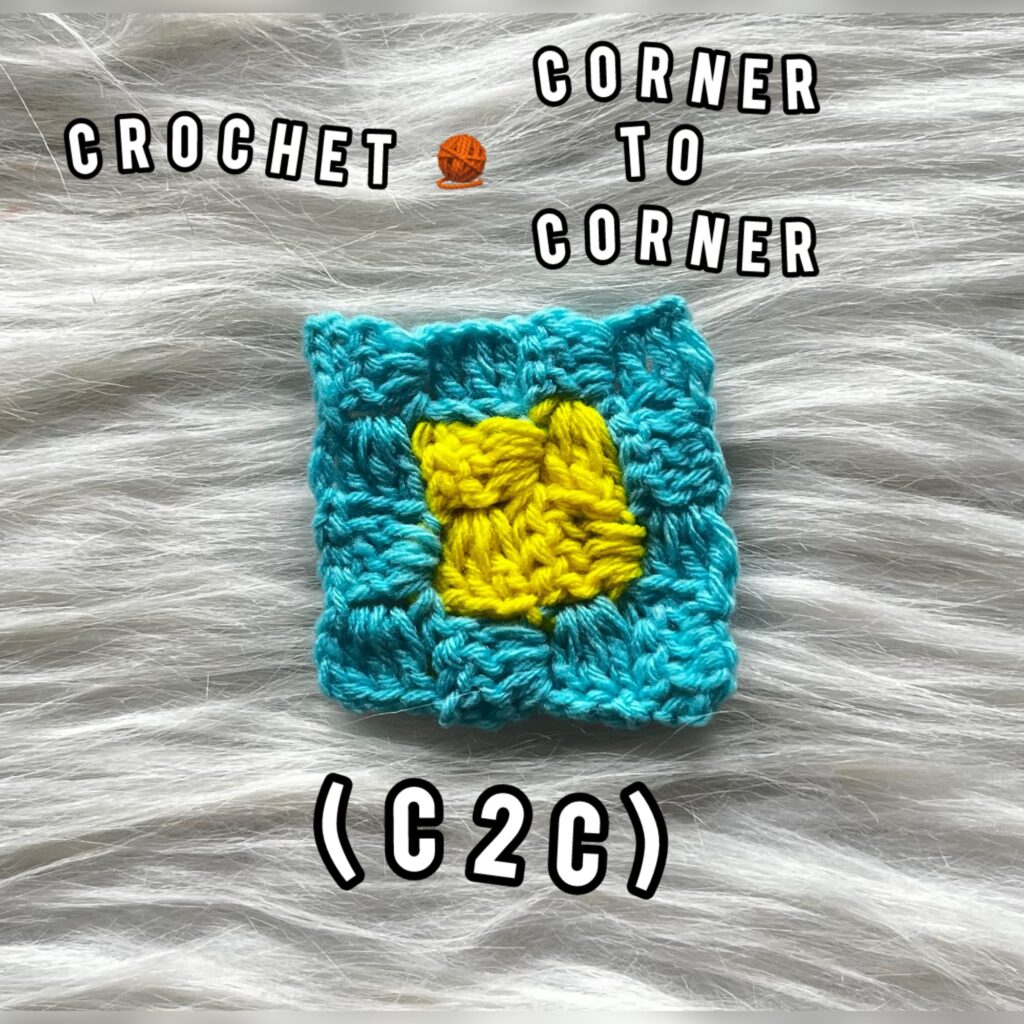
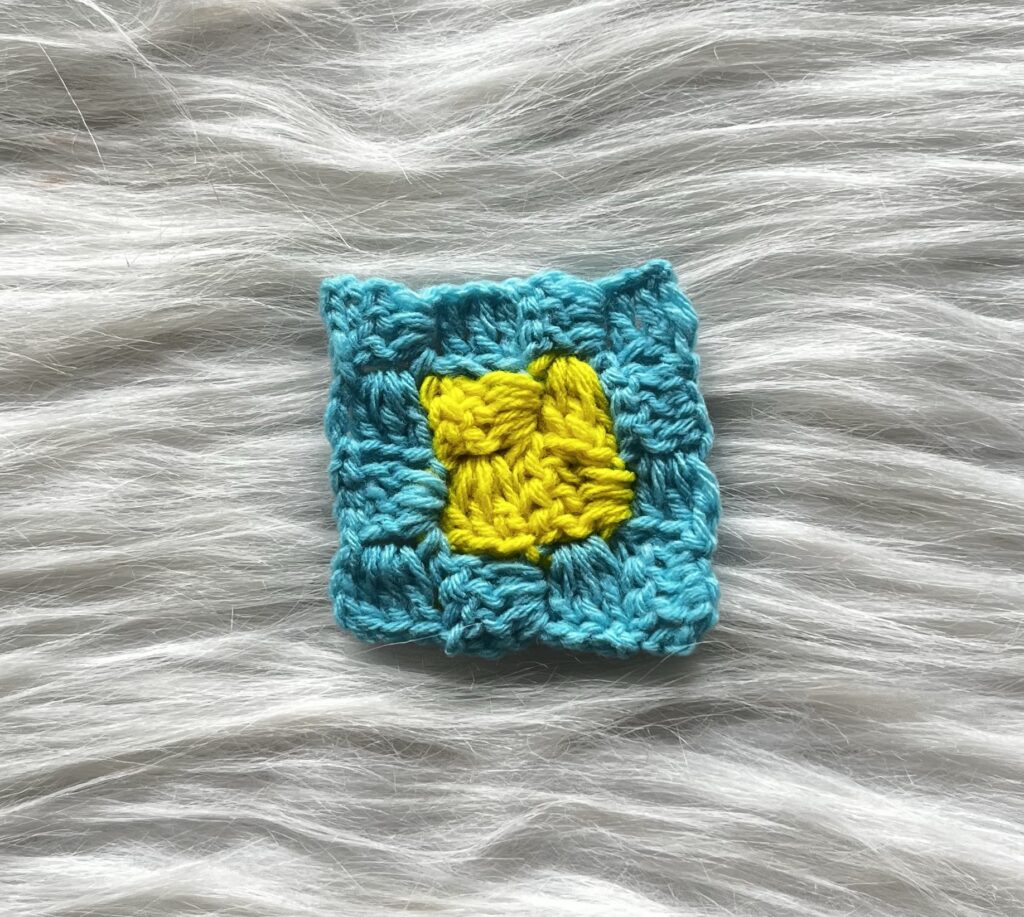
If you’re new to crochet and looking for an easy, fun project to start with, the Corner to Corner (C2C) technique is a fantastic choice! C2C allows you to create beautiful, textured patterns that work up quickly, making it perfect for beginners. In this tutorial, we’ll walk you through the basics of the C2C stitch so you can crochet your first square.
What is Corner to Corner (C2C) Crochet?
As the name suggests, C2C crochet starts from one corner of your project and works diagonally across to the opposite corner. Instead of working in traditional rows or rounds, you’ll build small blocks of stitches, one at a time, and increase or decrease rows to shape your piece. It’s commonly used to make blankets, scarves, dishcloths, or even large graphgan designs.
Let’s dive in!
SHARING IS CARING 🙂
PIN IT TO YOUR FAVORITE BOARD ON PINTEREST
♥️♥️♥️♥️♥️♥️♥️♥️♥️♥️♥️♥️♥️♥️♥️
In this blog, I’ve provided the full written instructions for this easy and playful Corner to Corner (C2C) crochet pattern. However, if you prefer a more visual guide, you can also check out my YouTube channel for a step-by-step video tutorial by following this link. It will help you better understand the stitching techniques and walk you through the process with ease!
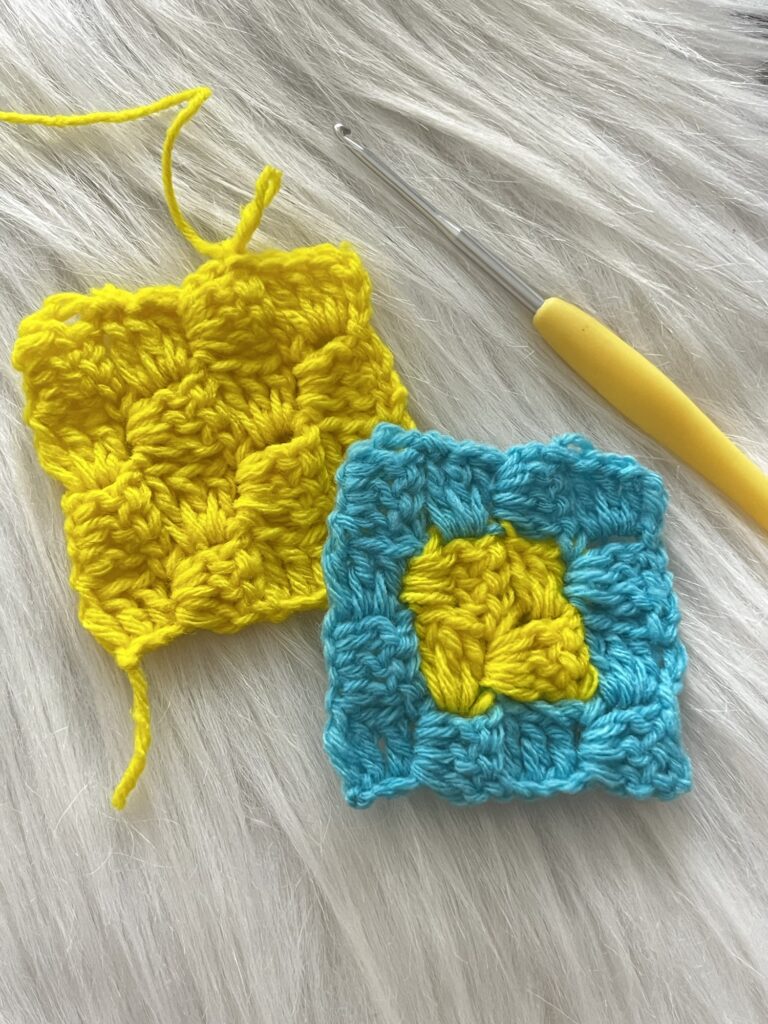
This corner to corner (C2C) crochet project is simple and beginner-friendly, making it perfect for anyone new to crochet. With basic stitches, the pattern is easy to follow and enjoyable to work on. If you’re new to C2C or working diagonally, it might seem a bit tricky at first, but with a little practice, you’ll master it quickly. This project is a great way to learn new techniques while creating something visually striking and satisfying.
For step-by-step video guidance, check out this YouTube link to help you along the way!
Please subscribe to my channel for all the latest and the best patterns.
Since, Most of the crochet lovers just loved this pattern….. I think, you will also love it……
Therefore, just leave a comment in the comment section about it.
For getting updates of all my free patterns, please fill in the subscribe form
DECLARATION
Hi, I am Shabari Dutta. I work very hard on each and every pattern provided in this website, So you can always give a credit by mentioning my name & website www.hookedinloopsbyshabari.com in your posts.....♥️♥️♥️♥️♥️♥️♥️♥️♥️♥️♥️♥️♥️♥️♥️, h
You can sell any product made from this patternowever, you may not distribute this pattern as your own in any way!
Materials:
- Yarn of your choice. Though I have used 4 ply acrylic yarns.
- Crochet hook suitable for the yarn you’re using. For m yarns, a hook of size between 2 to 3.5 mm is suitable.
Abbreviations:
- Ch = Chain
- Sl st = Slip stitch
- Dc = Double crochet
- Ch-3 sp = Chain-3 space
- C2C = Corner to corner
Pattern For Crochet C2C:
Row 1 (Starting Corner):
- Ch 6.
- Dc into the 4th chain from the hook (counts as the first dc), and also in the next 2 chains. You now have 1 block.
- Then turn your work.
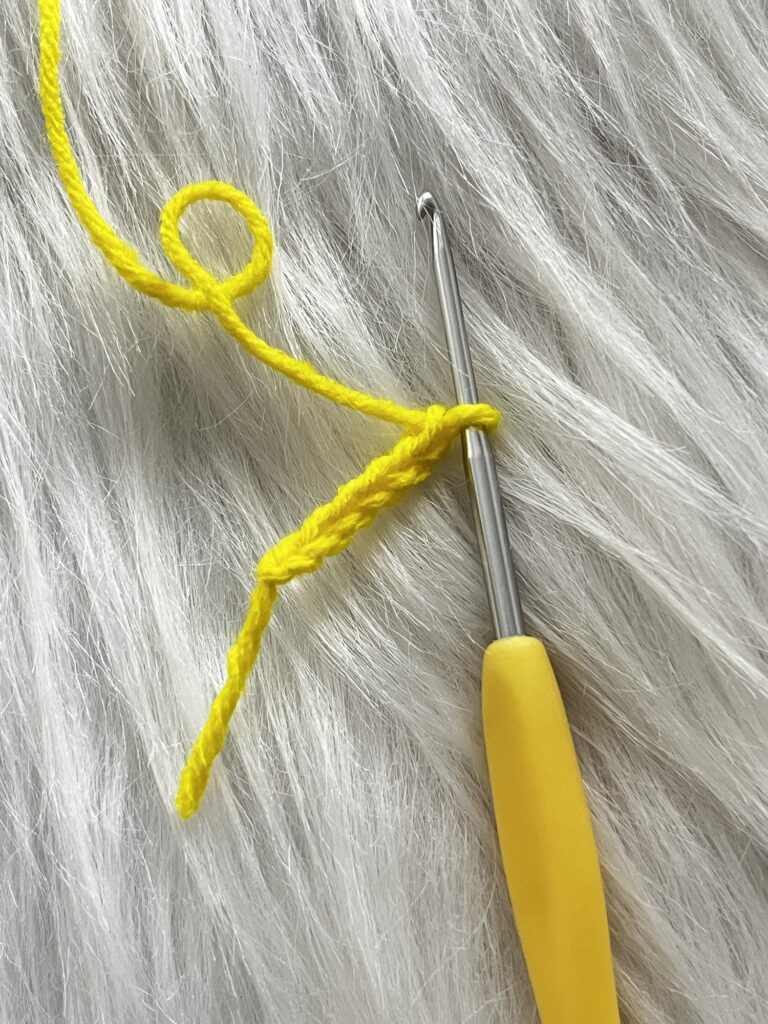
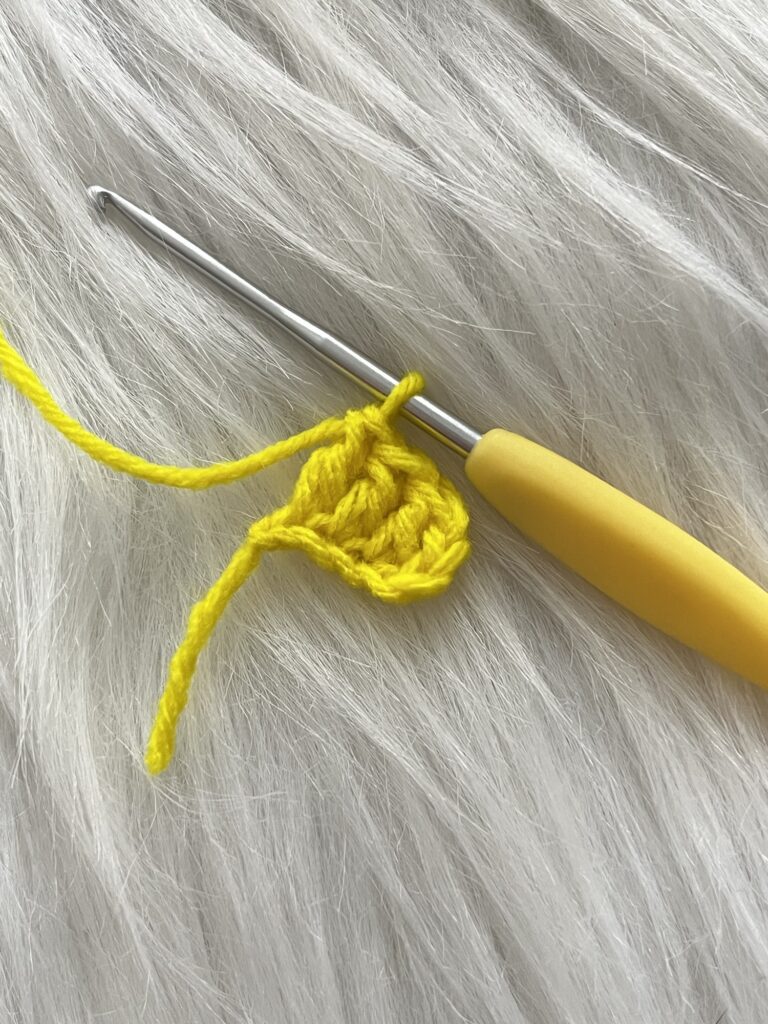
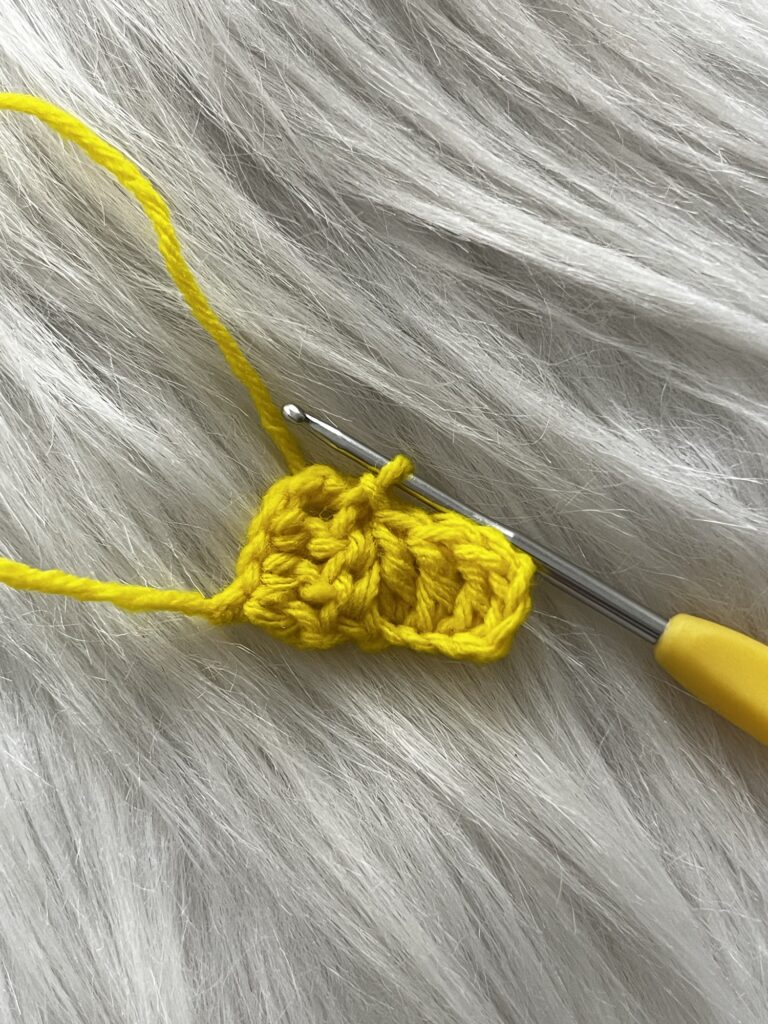
Row 2:
- Ch 6, then dc in the 4th ch from the hook and also in the next 2 chs (this creates your new block).
- Sl st into the Ch-3 sp of the previous row’s block.
- Ch 3, and then make 3 dc in the Ch-3 sp (this creates the second block).
- Finally, turn your work.
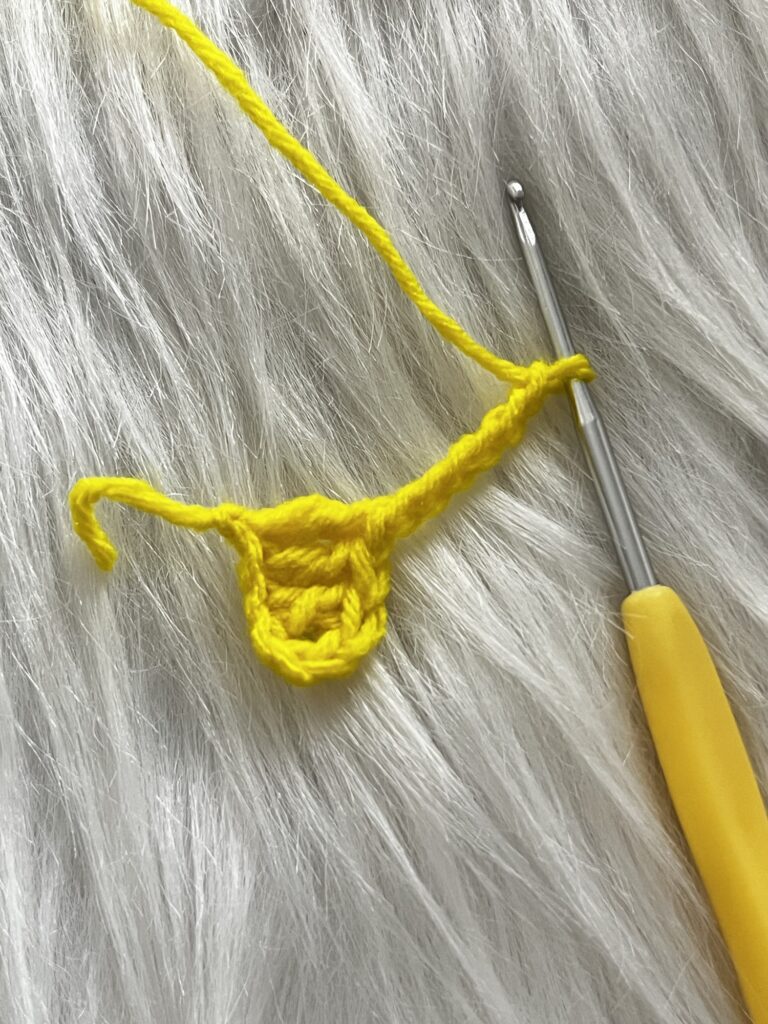
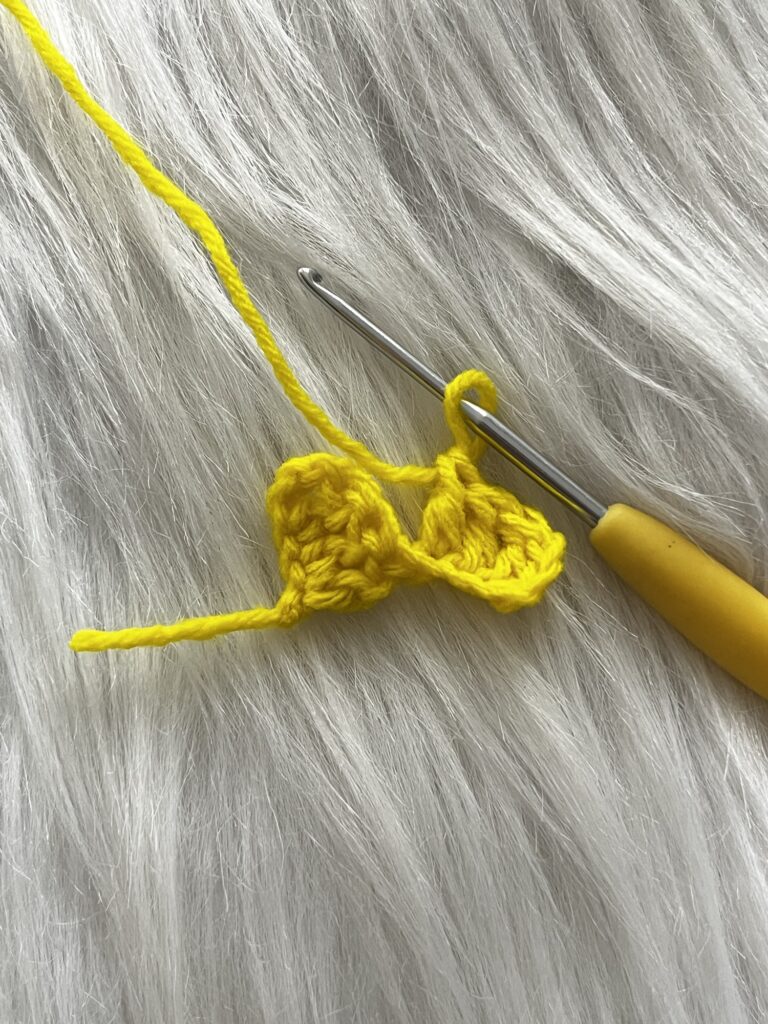


Row 3:
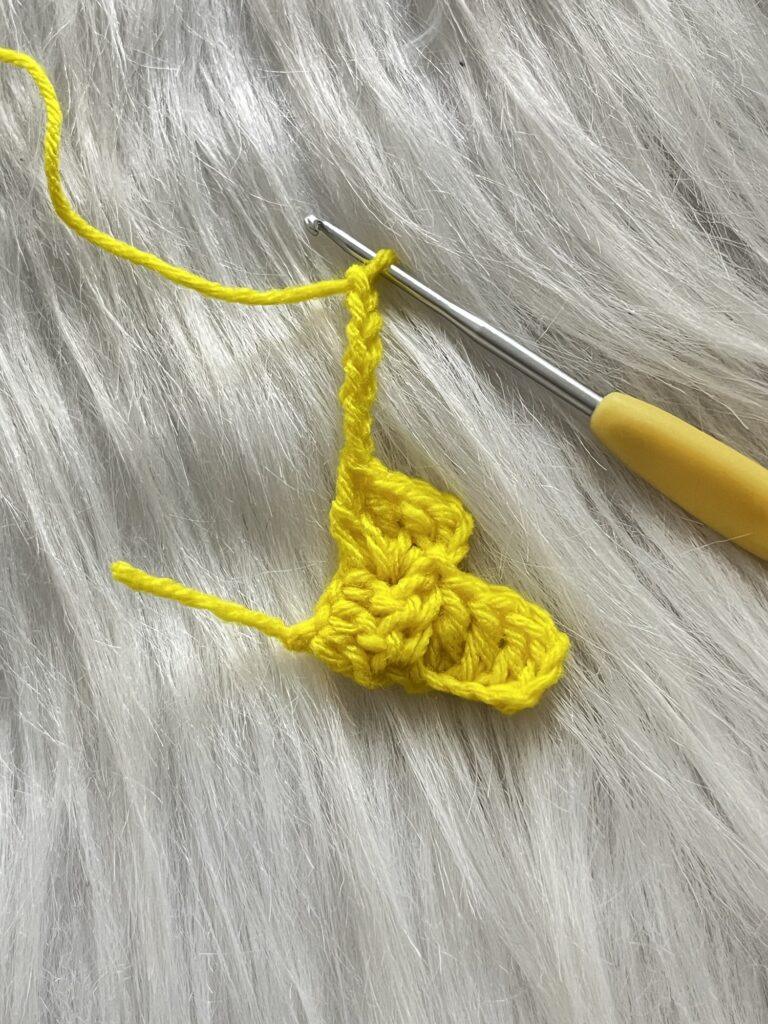
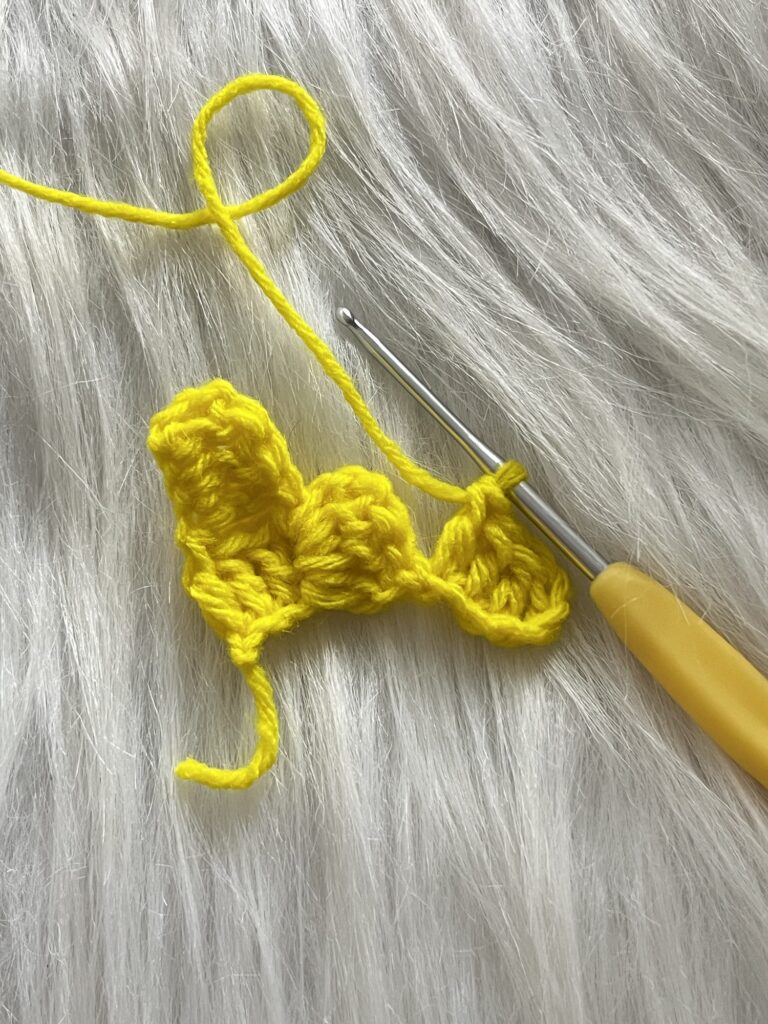
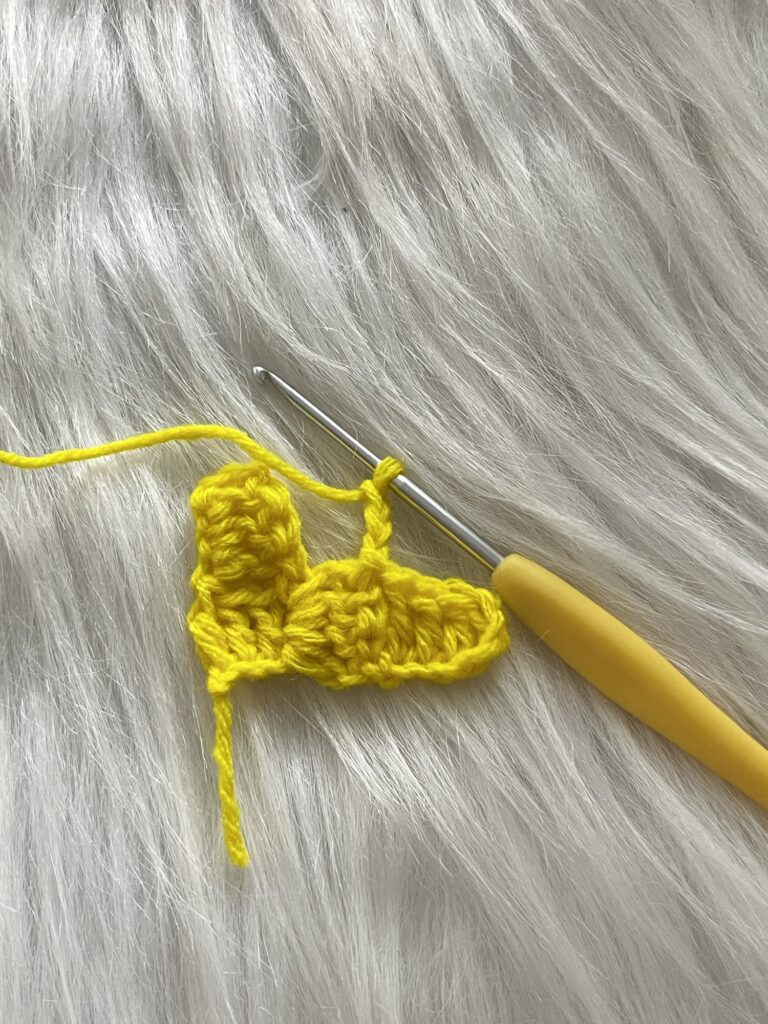
- Ch 6, dc in the 4th ch from the hook and also in the next 2 chs.
- Sl st into the Ch-3 sp of the previous row’s block.
- Ch 3, and then make 3 dc in the Ch-3 sp.
- Followed by sl st into the next block’s Ch-3 sp.
- Ch 3, and then make 3 dc in that Ch-3 sp (you now have 3 blocks).
- Finally, turn your work.


Row 4:
- Ch 6, dc in the 4th ch from the hook and also in the next 2 chs.
- Sl st into the Ch-3 sp of the previous row’s block.
- Ch 3, and then make 3 dc in the Ch-3 sp.
- Repeat until you’ve made 4 blocks in this row.
- Finally, turn your work.

Now, you’ll start decreasing to finish the square.
Row 5 (Starting the Decrease):
- Sl st across the first 3 dc and also into the Ch-3 sp of the first block.
- Ch 3, and then make 3 dc in the Ch-3 sp.
- Sl st into the next Ch-3 sp and repeat until you reach the end of the row. You’ll have 3 blocks.
- Finally, turn your work.
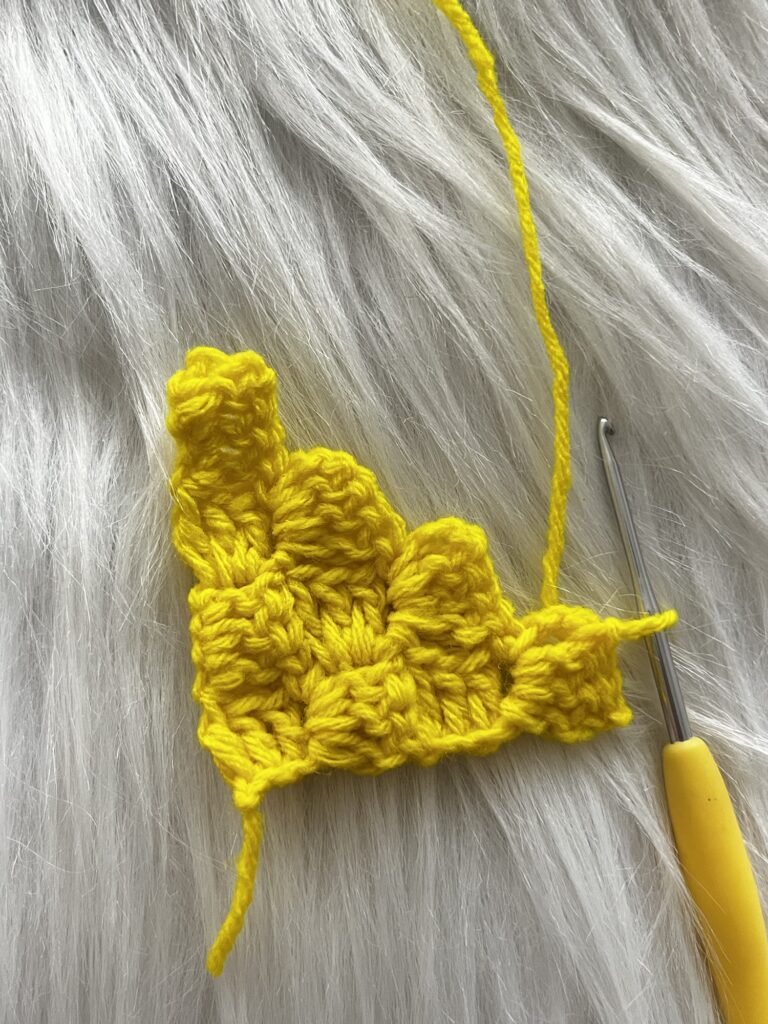

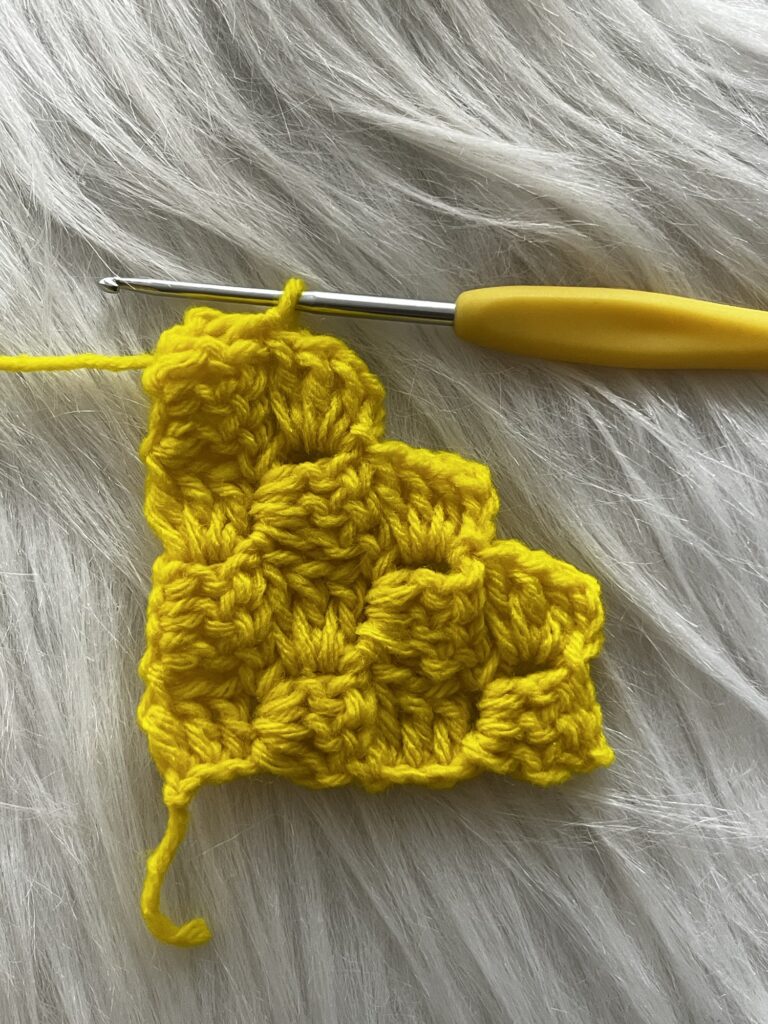
Row 6:
- Sl st across the first 3 dc and then into the Ch-3 sp.
- Ch 3, and then make 3 dc in the Ch-3 sp.
- Repeat until you have 2 blocks.
- Finally, turn your work.


Row 7:
- Sl st across the first 3 dc and also into the Ch-3 sp.
- Ch 3, make 3 dc in the Ch-3 sp (this creates the last block).
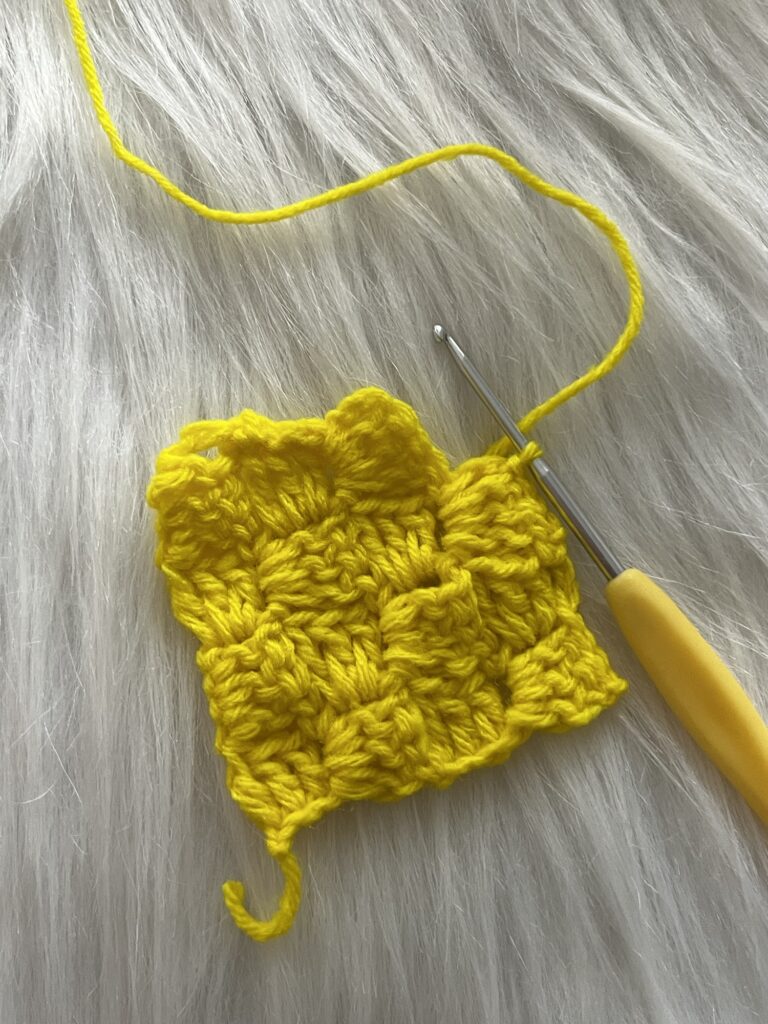
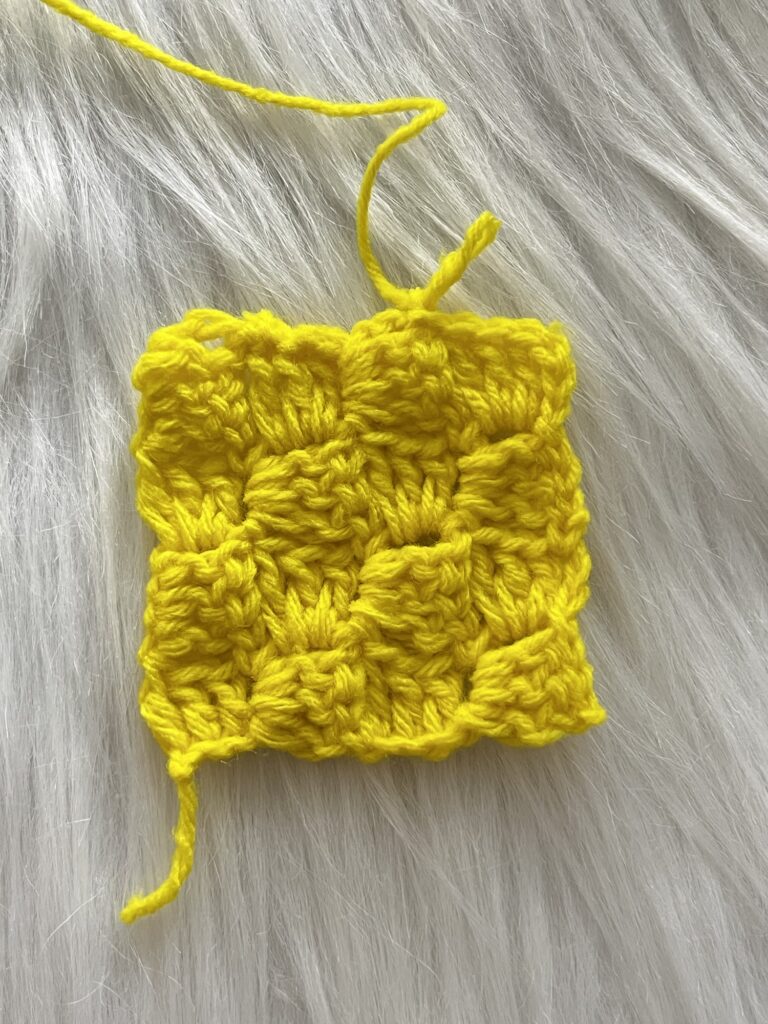
Finishing Off:
When you’ve finished your square, cut the yarn, leaving a small tail, and pull the yarn through the loop on your hook. Use a tapestry needle in order to weave in any loose ends.
Tips for Beginners in Crochet C2C:
- Count your stitches: C2C is a very forgiving pattern, but it’s essential to make sure you’re adding and decreasing the correct number of blocks.
- Use stitch markers: If you’re unsure of where to place stitches, use stitch markers to track your chain spaces and corners.
- Play with colors: C2C is an excellent technique for color changes and creating designs. Start with a single color or experiment with stripes!
How to Change Color When Slip Stitching into the Chain-3 Space in C2C
To change colors smoothly in a C2C project when slip stitching into the chain-3 space, follow these simple steps:
- Complete the Current Block: Finish all double crochets (dc) in the current color.
- Stop Before the Slip Stitch: Don’t slip stitch yet.
- Introduce the New Color: Insert your hook into the chain-3 space, yarn over with the new color, and pull it through both the space and the loop on your hook to complete the slip stitch.
- Start the New Block: Chain 3 with the new color, and make 3 dc in the same chain-3 space.
- Tighten the Ends: Gently pull the yarn ends to secure the transition.
- Weave in the Ends Later: Use a tapestry needle to weave in yarn tails when done.
This method ensures a smooth color transition in your C2C crochet project!

Projects You Can Make with C2C:
Once you’ve mastered this basic C2C square, there’s a world of possibilities! You can make:
- Blankets: By increasing the size of your C2C, you can create cozy, textured blankets.
- Scarves: Start with a smaller width and work diagonally for a unique look.
- Washcloths: Small C2C squares make for great dishcloths or face scrubbies.
Conclusion:
Crochet Corner to Corner (C2C) is a versatile and beginner-friendly technique. Whether you’re making blankets, scarves, or even large graphgan designs, the simple building blocks of C2C are easy to master. With just a few rows of practice, you’ll see how quickly this pattern grows, and you’ll be hooked (pun intended)!
So grab your yarn and hook, and give this pattern a try! Happy crocheting!


| Subscribe … on Youtube | Follow … on Pinterest | Follow … on Instagram | |
