Table Of Contents
- Introduction To This Beautiful Crochet Blog
- DECLARATION
- Materials Needed for Crochet Sling Bag
- Written Pattern For The Crochet Lavender Flower
- Tips & Suggestions
- Conclusion
Introduction To This Beautiful Crochet Blog
Crocheting a sling bag with daisy granny squares is not only a creative way to display your crochet skills, but it’s also a delightful project that’s both stylish and functional. Whether you’re a beginner looking to take on a new challenge or an experienced crocheter, this pattern offers a fun and engaging way to bring the beauty of daisies to life. Moreover, since daisy granny squares allow for plenty of color customization, you can make a bag that’s as unique as you are. So, gather your materials and let’s dive into this exciting crochet journey together!
♥️♥️♥️♥️♥️♥️♥️♥️♥️♥️♥️♥️♥️♥️♥️
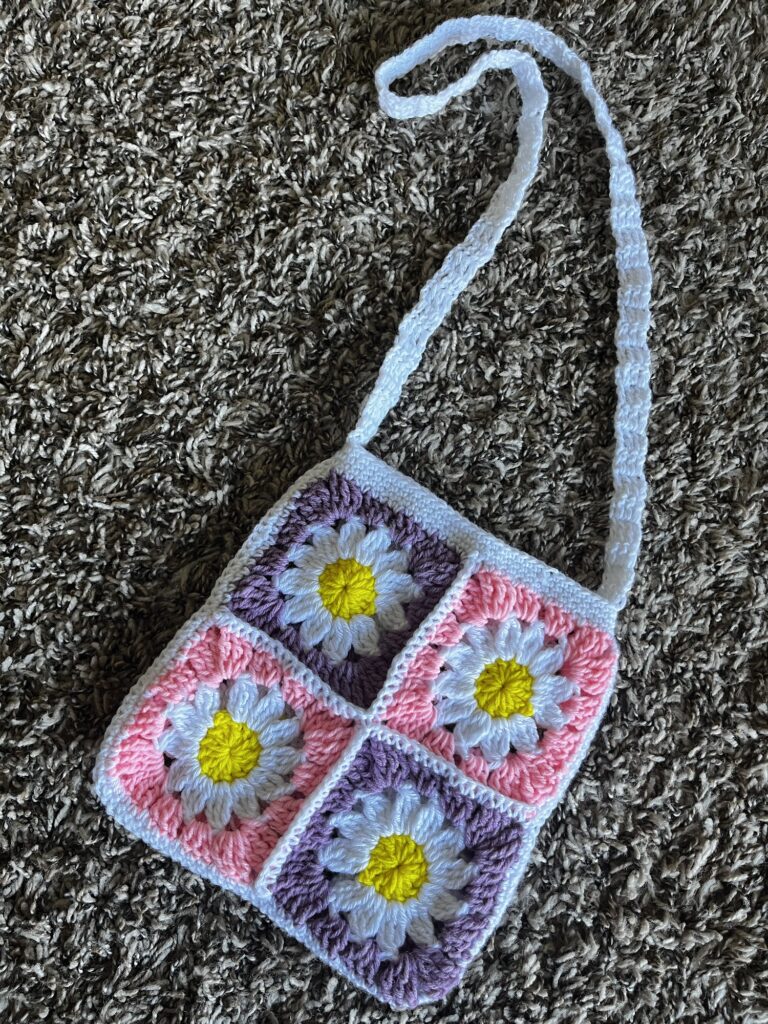
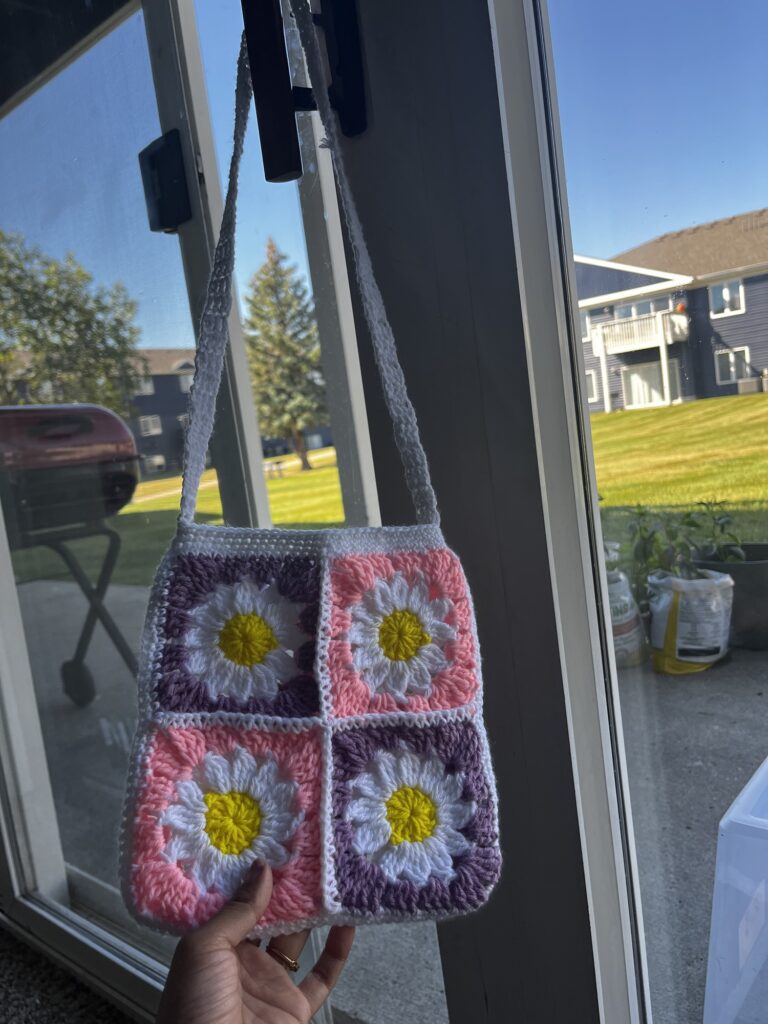
Isn’t this beautiful? You can also use this crochet daisy granny square pattern to create stunning, nature-inspired accessories! However, I’m using these daisy squares to make a charming sling bag, and it’s simply delightful. You can easily craft a gorgeous bag with just a few of these lovely squares!
I have given the written direction for this very cute and easy Crochet Granny Square Bag in this blog. However you can also visit my YouTube channel links – Class 1, Class 2 and Class 3 to understand the stitching technique better.
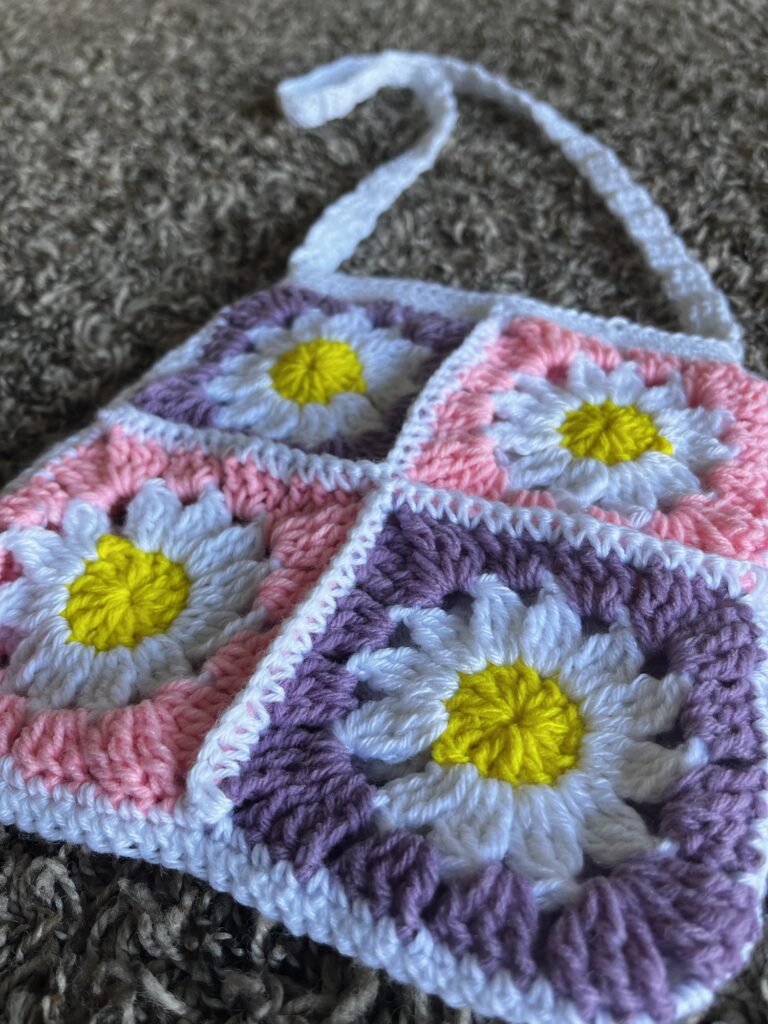
This crochet daisy granny square project is simple and also a beginner-friendly, making it perfect for anyone new to crochet. With its basic stitch patterns, it’s easy to follow and doesn’t require much concentration, thus allowing you to relax as you work. It’s a wonderful opportunity to enjoy crocheting without needing advanced techniques, hence offering a fun and rewarding result in no time!
For the step-by-step video tutorial-
Please subscribe to my channel for all the latest and the best patterns.
Since, Most of the crochet lovers just loved this pattern….. I think, you will also love it……
Therefore, just leave a comment in the comment section about it.
For getting updates of all my free patterns, please fill in the subscribe form
DECLARATION
Hi, I am Shabari Dutta. I work very hard on each and every pattern provided in this website, So you can always give a credit by mentioning my name & website www.hookedinloopsbyshabari.com in your posts.....♥️♥️♥️♥️♥️♥️♥️♥️♥️♥️♥️♥️♥️♥️♥️, h
You can sell any product made from this patternowever, you may not distribute this pattern as your own in any way!
Materials Needed for Crochet Sling Bag
- Yarn: I have used 4 ply acrylic yarn. However you can use any yarn of your choice.
- Crochet hook: Size recommended for the yarn (usually 2.5mm-3.5mm)
- Scissors
- Yarn needle: For weaving in the ends
Written Pattern For The Crochet Lavender Flower
1. Crochet Daisy Granny Square Pattern
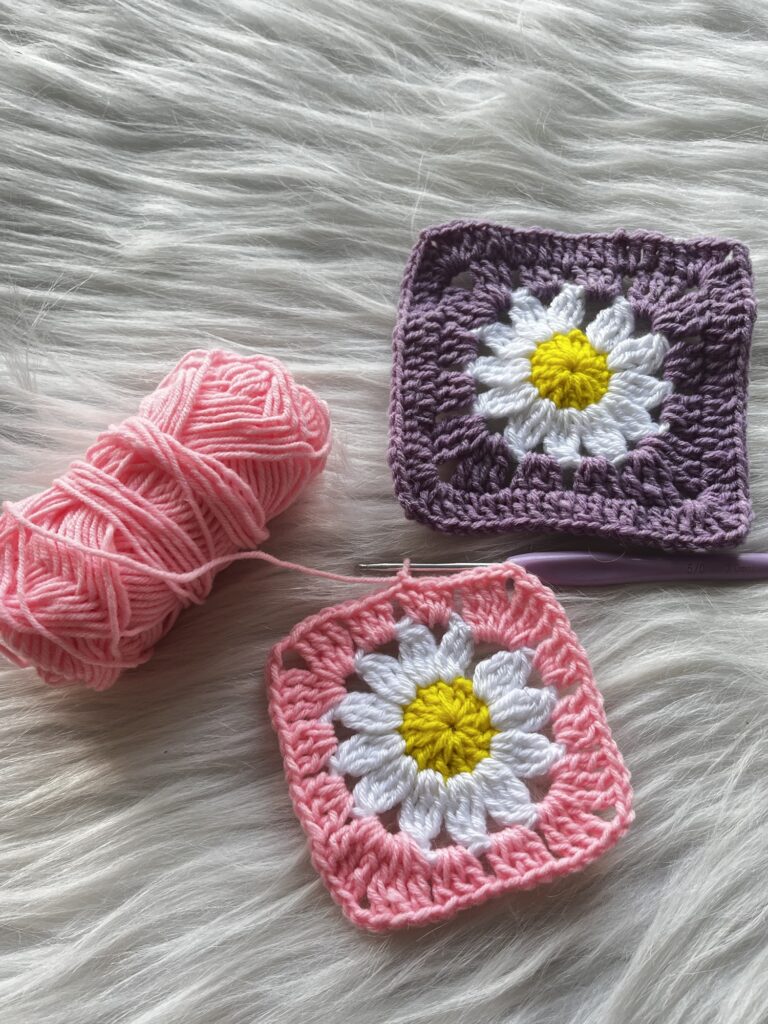
Follow the links to the FREE Written Pattern and the Live Class Video. For making the sling bag, I have used the granny squares with three rounds. However, if you want a bigger square, use the four round s granny square!!
2. Joining Crochet Granny Squares (Front and Back Faces)
- Lay out the 4 squares for the front and 4 for the back of the sling bag.
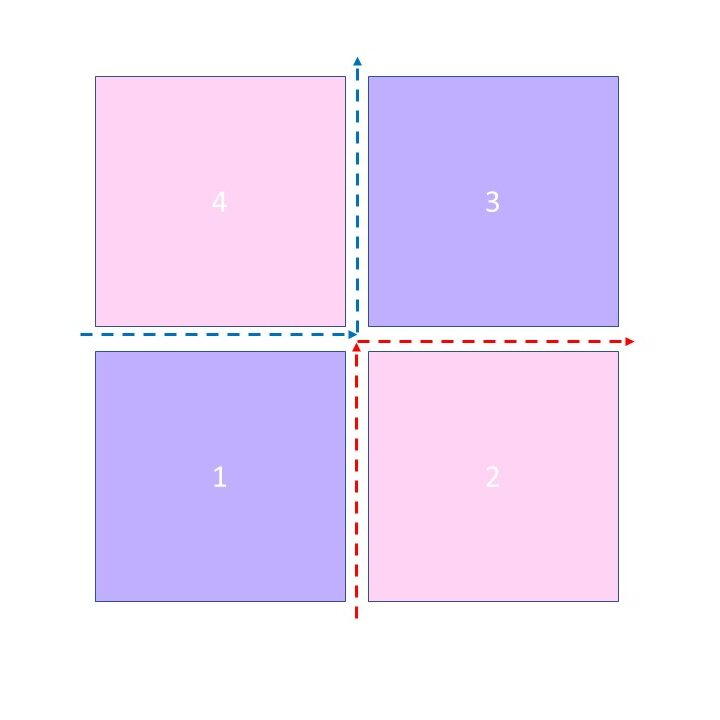
Joining Crochet Granny Squares with Single Crochet (sc) Stitches:
Follow the arrows in the accompanying image and refer to my Class 2 video for a clearer understanding of the process.
- Place squares 1 and 2 with their wrong sides together.
- Attach the yarn to one corner of both squares with a slip stitch. Then, work a single crochet (sc) stitch in the same corner through both squares. Continue by working single crochet stitches along the edge, into each stitch and also chain-1 space to join them together. At the next corner, make 1 sc through both squares.
- Then, place the wrong sides of square 3 and square 2 together. Start joining from one corner, working through the edge to the next corner, using single crochet stitches. Then Chain 1 and cut the yarn.
- Next, place the wrong sides of square 4 and square 1 together. Attach the yarn to a corner of both squares with a slip stitch, then work a single crochet stitch in the same corner. Then continue single crochet stitches along the edge, into each stitch and chain-1 space, and make 1 sc in the next corner of both squares. After that, join square 3 and square 4 (wrong sides together) from corner to corner with sc stitches. Finally chain 1 and cut the yarn.
Border:
- To begin the border, attach the yarn to one corner of the larger square (made by joining the 4 smaller squares) as usual with a slip stitch. Then work 2 single crochet stitches in the corner.
- Along the edges, make 1 single crochet in each stitch and also in each chain-1 space. Then repeat this process for all remaining corners and edges.
- Follow my Class 2 video to get a clearer understanding of how to do this.
- Similarly, repeat this process for the squares on the back face and add a border to complete the back side.
In this way, both the front and back faces of your sling bag will be ready!
3. Joining the Front and Back Faces with Single Crochet stitches.
Place the front and back pieces together with their wrong sides facing each other.
Join the edges with single crochet:
- Attach the yarn to the top corner of the bag with a slip stitch and then make 1 single crochet (sc) in the same corner.
- Then work single crochet stitches along the sides and bottom of the bag, joining the front and back pieces together. Finally, finish at the opposite top corner with 1 single crochet stitch.
- Leave the top open as the opening for the bag.
Border for the Top Opening:
- Work 1 single crochet stitch in each stitch around the top opening.
- Complete the first round with a slip stitch in the first sc, then chain 1.
- After that, repeat this process for 2 more rounds. Finally, chain 1 and cut the yarn.
For more clarity, refer to the Class 2 video!
3. Adding the Crochet Strap
Attach the yarn to the top corner of one side of the bag, where you’d like the handle to begin, with a slip stitch (sl st). Follow the Class 3 video in order to understand better.
Work double crochet (dc) stitches for the handle:
- Chain 2 (do not count this as a stitch).
- Do 1 double crochet in the same stitch.
- In the next 2 or 3 stitches (depending on how thick you want the strap), work 1 double crochet in each stitch.
For the next round, start by chaining 2 (do not count this as a stitch).
- Work 1 double crochet in the same stitch and in each stitch from the previous round.
- Repeat this process until the strap reaches your desired length.
Attach the other end of the strap to the opposite top corner of the bag using slip stitches to secure it.
4. Finishing
- Weave in all loose ends with a yarn needle.

Voila! Your sling bag, joined with single crochet stitches, is now complete!
Tips & Suggestions
- Choosing the Right Yarn:
First of all, select yarn that enhances the floral design of the daisy squares. While cotton yarn works best for structure, consider using contrasting or complementary colors to really make the daisies pop. In addition, remember to check the yarn label for recommended hook sizes to ensure your stitches are smooth and neat. - Perfecting Daisy Squares:
To ensure your daisy squares are crisp and vibrant, maintain consistent tension throughout. Moreover, when crocheting the petals, try to keep your stitches uniform to achieve an even appearance. Furthermore, pay attention to the join-as-you-go method when assembling the squares to create a seamless look. - Experimenting with Colors:
Although traditional white and yellow daisies are classic, feel free to experiment with different flower colors. For instance, you could use pastel hues for a soft, feminine touch or bold, bright shades for a more playful vibe. Additionally, alternating between solid and daisy squares can add extra dimension to your bag. - Handle Strength:
In addition to crocheting the body of your sling bag, it’s essential to ensure that the handle is sturdy enough to carry your belongings. To prevent stretching, work double crochet stitches with multiple rows to reinforce the strap, and use the same yarn as your squares for a cohesive look. - Blocking the Bag:
Finally, after assembling your daisy squares, consider blocking them to give your bag a cleaner, more professional shape. While optional, blocking helps to flatten the squares and align the edges perfectly.

Conclusion
In conclusion, creating a crochet sling bag with daisy granny squares is a beautiful way to combine classic floral patterns with modern fashion. Not only does this project offer a chance to enhance your crochet skills, but it also results in a versatile, handmade accessory you can proudly show off. Most importantly, you can personalize the colors and design, making your sling bag truly one of a kind. So, grab your hook and yarn, and let your creativity bloom with every stitch! Happy crocheting!


| Subscribe … on Youtube | Follow … on Pinterest | Follow … on Instagram | |

Just gorgeous my wifey, you are so hardworking and talented.
Thank you so much ❤️❤️❤️