Table Of Contents
Introduction
Crocheting is a fun and creative way to make heartfelt crochet gifts, and what could be more fitting than crocheting a heart amigurumi? In this guide, we’ll walk you through the step-by-step process of crocheting a heart amigurumi, from start to finish. Whether you’re a beginner or an experienced crocheter, this project is not only quick but also satisfying. By the end, you’ll have a cute heart amigurumi ready to gift or use as décor. Let’s get started!

♥️♥️♥️♥️♥️♥️♥️♥️♥️♥️♥️♥️♥️♥️♥️
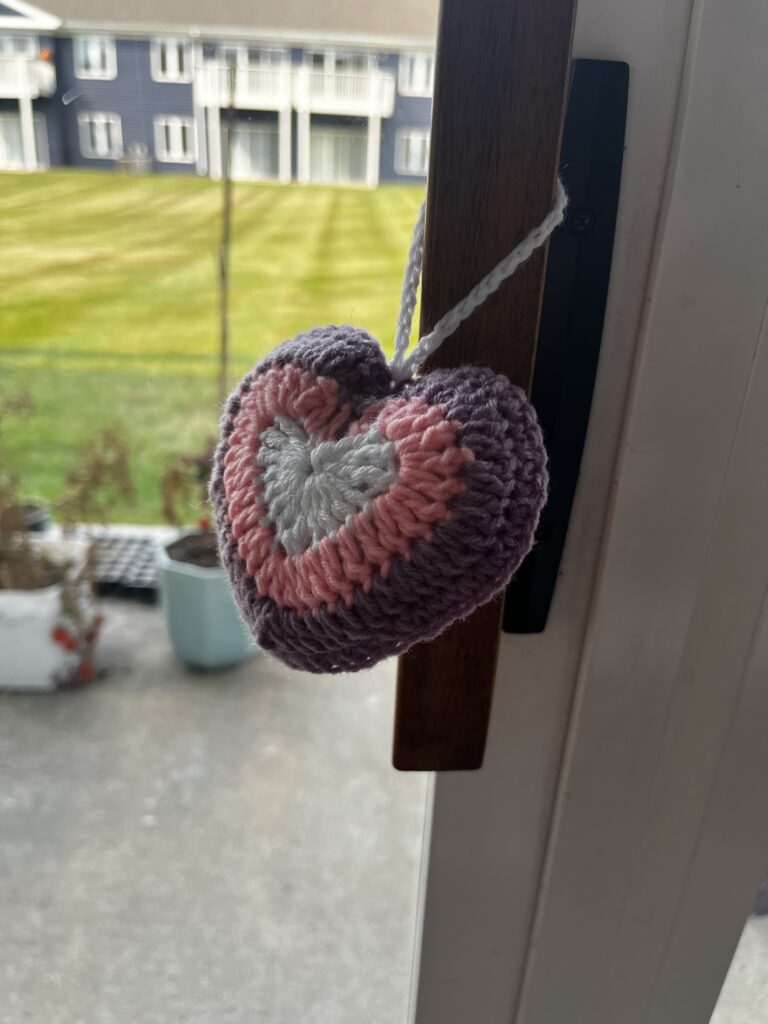
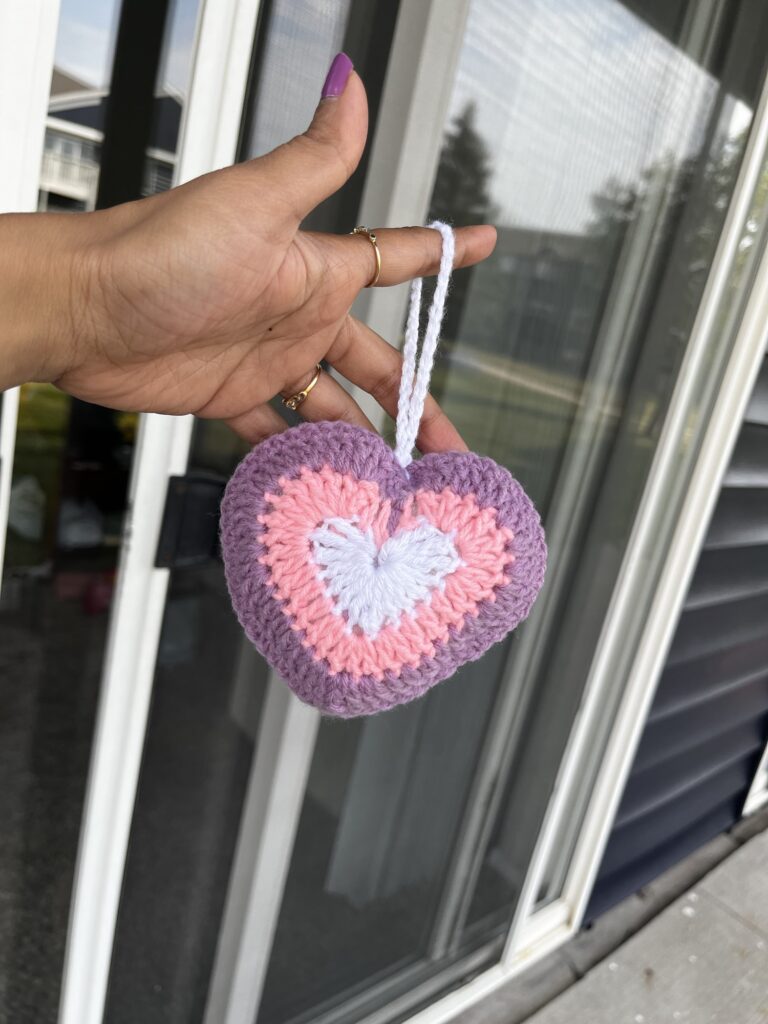
Isn’t this beautiful? You can also use this crochet heart amigurumi pattern to create a variety of fun and colorful decorations for your home or garden! You can Hang them on your Christmas tree as well. However, I am using it as a bag charm and it is super adorable.
I have given the written direction for this very cute and easy Crochet Heart Amigurumi in this blog. However you can also visit my YouTube channel link to understand the stitching technique better.
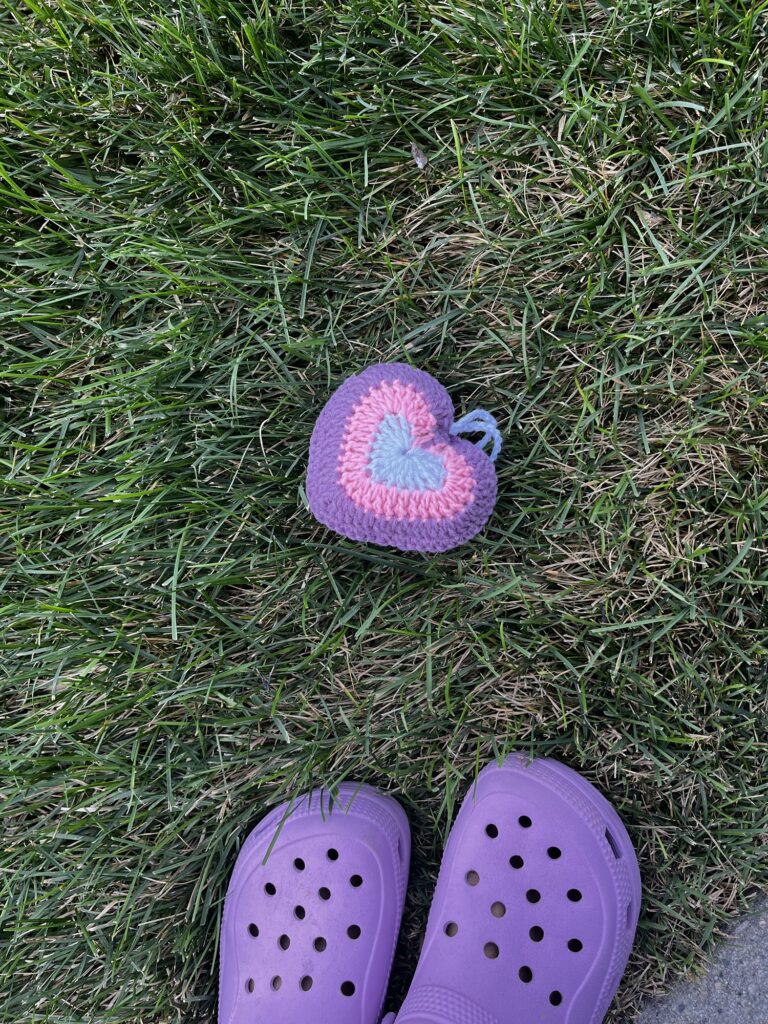
This project is simple and beginner-friendly, thus making it perfect for anyone new to crochet. With its basic stitch patterns, it’s easy to follow and doesn’t require much focus, allowing you to relax while working on it. It’s a great opportunity to enjoy crocheting without the need for complex techniques, offering a fun and satisfying result in no time!
For the step-by-step video tutorial-
Please subscribe to my channel for all the latest and the best patterns.
Since, Most of the crochet lovers just loved this pattern….. I think, you will also love it……
Therefore, just leave a comment in the comment section about it.
For getting updates of all my free patterns, please fill in the subscribe form

DECLARATION
Hi, I am Shabari Dutta. I work very hard on each and every pattern provided in this website, So you can always give a credit by mentioning my name & website www.hookedinloopsbyshabari.com in your posts.....♥️♥️♥️♥️♥️♥️♥️♥️♥️♥️♥️♥️♥️♥️♥️, h
You can sell any product made from this patternowever, you may not distribute this pattern as your own in any way!
Materials Needed To Make the Crochet Heart Amigurumi:
Before we begin, gather the following materials to make your crochet wind spinner:
- Yarn: Three to four colors of your choice. I have used 4 ply acrylic yarn.
- Crochet hook: Size recommended for the yarn (usually 2.5mm-3.5mm)
- Scissors
- fiber fill
- Yarn needle: For weaving in the ends
- Stitch marker: Optional, to mark your rounds
With these materials in hand, you’re all set to start crafting your heart amigurumi.
Abbreviation Key
- mr: magic ring
- ch: chain
- sl st: slip stitch
- tc: triple crochet
- dc: double crochet
- sc: single crochet
Crochet Heart Amigurumi Pattern
Make two crochet hearts:
- Start with a mr. Ch 2, work 3 tc, 4 dc, 1 tc, 4 dc, 3 tc, ch 2, anThis project is simple and beginner-friendly, thus making it perfect for anyone new to crochet. With its basic stitch patterns, it’s easy to follow and doesn’t require much focus, allowing you to relax while working on it. It’s a great opportunity to enjoy crocheting without the need for complex techniques, offering a fun and satisfying result in no time!
- For the step-by-step video tutorial-d then sl st into the mr. Ch 1 and finally cut the yarn.
- Attach color 2 with a sl st to the top of the first tc from round 1. In that same stitch, make a ch2 (don’t count as a st) and 3 dc. In the following stitches, work as follows: (3 dc, 3 dc, 1 dc, 1 dc, 1 dc, 2 dc, (1 dc-1 tc-1 dc), 2 dc, 1 dc, 1 dc, 1 dc, 3 dc, 3 dc, 3 dc). Sc in the last ch 2 from round 1, sc into the mr, and sc into the first ch 2 of round 1. Sl st into the first dc, ch 1, and then cut the yarn.
- Sl st into the second-to-last sc of round 2 (the one you worked into the mr). Ch 1 and sc in the same stitch, then sc in the next stitch. In the following stitch, work (1 sc, 2 dc). In the next 8 stitches, work 2 dc in each. Then in the next 5 stitches, work 1 dc in each. In the next stitch, work 2 dc. In the next stitch, work (1 dc, 1 tc, 1 dc). Then in the next stitch, work 2 dc. In the next 5 stitches, work 1 dc in each. In the next 8 stitches, work 2 dc in each. In the following stitch, work (2 dc, 1 sc). In the next stitch, work 1 sc, then sl st into the first sc of the round, ch 1, and cut the yarn.
Finishing:
Place both hearts together with the wrong sides facing. Join them by working 1 sc through the stitches of both hearts. When about 80% joined, stuff the heart with fiberfill, then continue closing the opening. Sl st into the first stitch, ch 1, and finally cut the yarn if you don’t want a loop.
Optional Crochet Loop:
- If you want to add a loop with the same color, after the sl st, ch 30, then sl st into the same stitch, ch 1, and cut the yarn.
- For a loop with a different color, after the sl st, ch 1 and cut the yarn. Then attach the new color with a sl st to the same stitch, ch 30, sl st into the same stitch, ch 1, and cut the yarn.
And voilà! Your heart amigurumi is ready!
Tips and Suggestions
As you work through the pattern, here are a few tips that will make the process smoother:
- Use stitch markers – Since working in the round can sometimes be confusing, it’s a good idea to use a stitch marker to keep track of your rounds. Thus this will help ensure you don’t lose your place.
- Stuff lightly – When adding the fiberfill, be careful not to overstuff the heart. Too much stuffing can stretch out your stitches, which may eventually distort the shape of your amigurumi.
- Tight tension – Aim for a tighter tension as this will give your heart a more polished look and thus prevent any gaps in the stitches.
Conclusion
In conclusion, crocheting a heart amigurumi is not only a wonderful way to sharpen your crochet skills but also an opportunity to create something meaningful. Whether you use it as a keychain, a gift, or simply as a decorative item, this little heart will undoubtedly spread joy. So, grab your yarn, and let your creativity flow!
Happy crocheting!


| Subscribe … on Youtube | Follow … on Pinterest | Follow … on Instagram | |
