Table Of Contents
Introdution
Making crochet flowers is a delightful way to bring a touch of nature into your handmade projects, and crocheting tulips is an especially beautiful choice. First and foremost, in this blog, I’ll guide you through the process of creating a stunning crochet tulip flower, step by step, with a free pattern that’s perfect for crafters of all skill levels.
Furthermore, whether you’re looking to enhance your home decor, create a unique gift, or simply try your hand at something new, this pattern will help you craft a vibrant tulip that’s sure to brighten any space. Additionally, as you follow along, you’ll discover helpful tips and techniques that will make your crocheting experience both enjoyable and rewarding. So, let’s dive in and bring these lovely flowers to life!
♥️♥️♥️♥️♥️♥️♥️♥️♥️♥️♥️♥️♥️♥️♥️
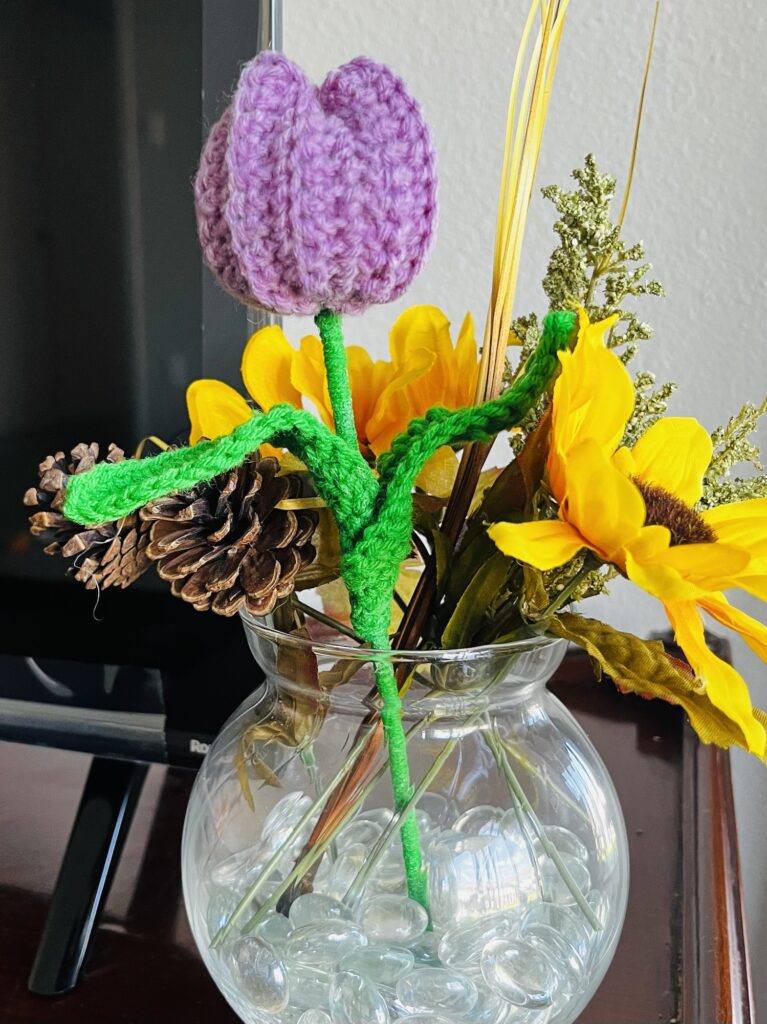
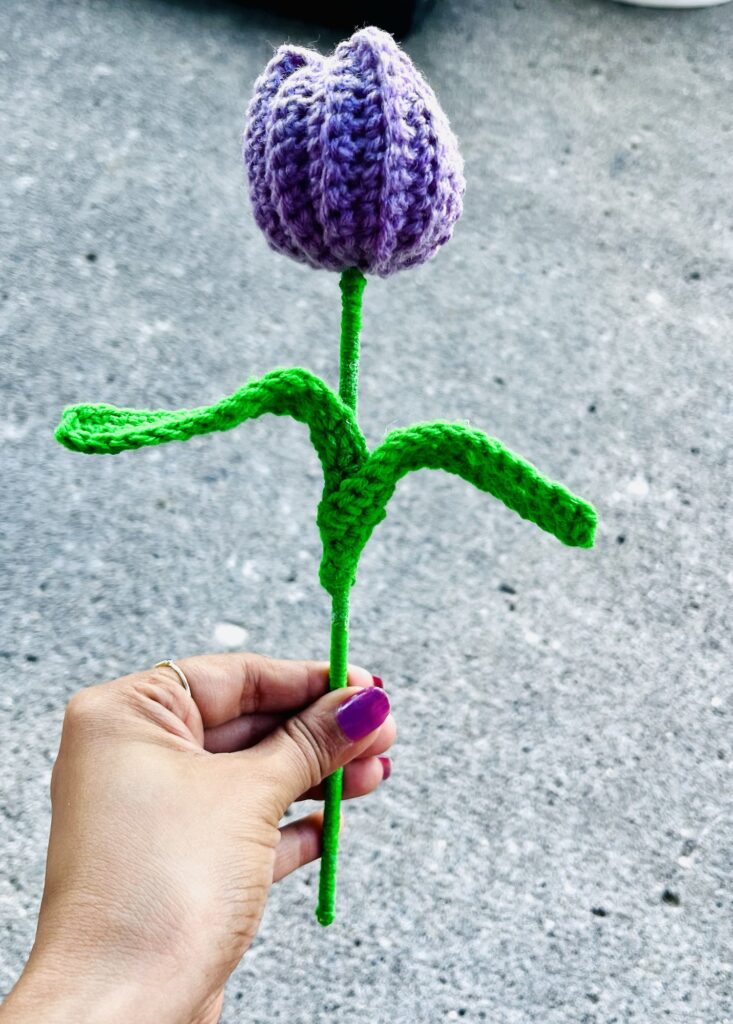
Isn’t this beautiful? You can make a bouquet of Tulip Flowers and then gift this to your dear ones. … Handmade gifts are just perfect !!!!
I have given the written direction for this very cute and easy Tulup Flower in this blog. However you can also visit my YouTube channel link1 and link2 to understand the stitching technique better.
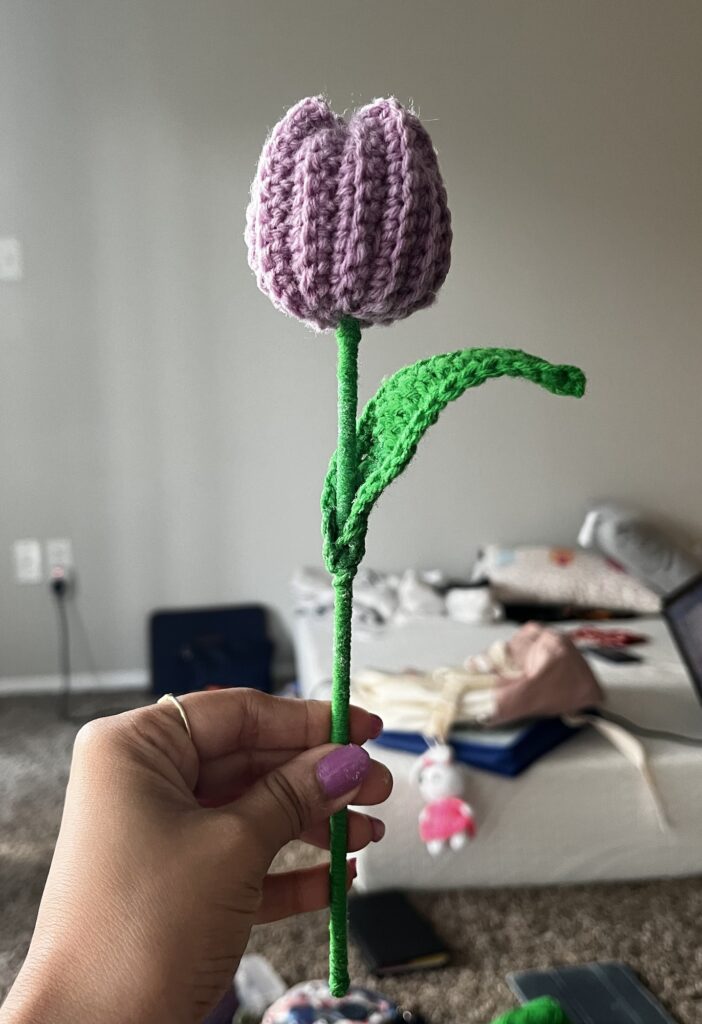
This project is really fast and easy and hence a perfect practice project for beginners.
For the step-by-step video tutorial-
Please subscribe to my channel for all the latest and the best patterns.
Since, Most of the crochet lovers just loved this pattern….. I think, you will also love it……
Therefore, just leave a comment in the comment section about it.
For getting updates of all my free patterns, please fill in the subscribe form
DECLARATION
Hi, I am Shabari Dutta. I work very hard on each and every pattern provided in this website, So you can always give a credit by mentioning my name & website www.hookedinloopsbyshabari.com in your posts.....♥️♥️♥️♥️♥️♥️♥️♥️♥️♥️♥️♥️♥️♥️♥️, h
You can sell any product made from this patternowever, you may not distribute this pattern as your own in any way!
Materials Needed
- Acrylic Yarn (4 ply )
- 3 mm crochet hook
- Tapestry needle for weaving ends
- Scissors
- Fiber fill
Tulip Flower Crochet Pattern
- Foundation Chain: Start by chaining 13.
- Row 1: Begin in the 2nd chain from the hook. Work 1 single crochet (sc) in each of the remaining chains for a total of 12 sc. Then chain 1 (ch 1) and turn your work.
- Rows 2-23: Work 1 single crochet (sc) in each stitch (st) of the previous row, working in the back loop only (blo).Then chain 1 (ch 1) and turn your work at the end of each row.
- Row 24: Work 1 single crochet (sc) in each stitch of the previous row, working in the back loop only (blo). Then chain 1 (ch 1) and cut the yarn, leaving a long tail for sewing.
Assembly Instructions:
- Follow the instructions from Class 1 video:
- Fold the rectangular strip in half to form a cylinder.
- Then use a needle and the long tail of yarn to sew the edges together, creating a cylindrical band.
- Finally close the bottom opening by weaving the needle through alternating stitches along the edge. Pull the yarn tightly to close the opening, forming a small bucket shape. Finally tie a secure knot.
- Stuffing: Then fill the bucket with fiberfill to give it shape.
- Shaping the Flower:
- Insert the needle through a top stitch along the edge of the opening and then pull the yarn through.
- Pinch the opening, then insert the needle through the opposite stitch along the edge and pull the yarn through.
- Repeat this process at a 90-degree angle to the first stitch to fully shape the opening.
- If needed, refer to the Class 1 video for guidance.
- Finishing: Tie a knot to secure the yarn, and finally your Tulip Flower is complete!
Adding the Stem:
- Prepare the Grill Stick: Apply a small amount of glue to one end of a wooden grill stick.
- Wrap with Yarn: Attach the end of the green yarn to the glued area and wrap it tightly around the stick, adding glue as needed to secure it.
- Finish the Stem: Once fully wrapped, cut the yarn and secure the end with a final dab of glue.
Crochet Leaf Pattern:
- Foundation Chain: Chain 20.
- Row 1:
- Starting from the 2nd chain, work the following sequence: 4 single crochets (sc), 1 half double crochet (hdc), 2 double crochets (dc), 6 treble crochets (tc), 2 double crochets (dc), 1 half double crochet (hdc), and 3 single crochets (sc).
- Chain 1 (ch 1).
- Row 2:
- Work 1 single crochet (sc) in each of the opposite chains and then in each stitch from the previous round.
- Slip stitch (sl st) into the first stitch, then chain 1, and cut the yarn.
- Attach the Leaf: Use hot glue to attach the leaf to the stem.

AND THE PATTERN IS COMPLETE!!!!
♥️♥️♥️♥️♥️♥️♥️♥️♥️♥️♥️♥️♥️♥️♥️
Tips and Tricks for Crocheting the Tulip Flower:
- Tension Matters: Maintain consistent tension throughout your stitches to ensure the tulip flower has an even and smooth appearance. Too tight or too loose can affect the overall shape.
- Use a Stitch Marker: Place a stitch marker at the beginning of your rows, especially when working in rounds, to keep track of your starting point and ensure your stitches are aligned.
- Back Loop Only (BLO): When working in the back loop only, be sure to insert your hook correctly. This technique adds texture and flexibility to the flower, giving it a more natural look.
- Secure the Yarn: When cutting the yarn, leave a longer tail for sewing. This helps secure the stitches better when assembling the flower, preventing it from coming apart.
- Shaping the Flower: As you shape the tulip, pinch and pull the yarn tightly when closing the base to give the flower a more defined and rounded look. This will also help the flower hold its shape over time.
- Evenly Stuff the Flower: When filling the flower with fiberfill, ensure it’s evenly distributed to avoid lumps or uneven shapes. Lightly stuff it, so the flower remains soft but structured.
- Sturdy Stem: Wrap the grill stick tightly with green yarn to create a sturdy stem. Secure the yarn with glue at intervals to prevent unraveling and finally ensure the stem stays intact.
- Attach Leaves and Flower Securely: Use hot glue sparingly to attach the leaves and flower to the stem. Too much glue can make the attachment bulky, while too little might not hold well.
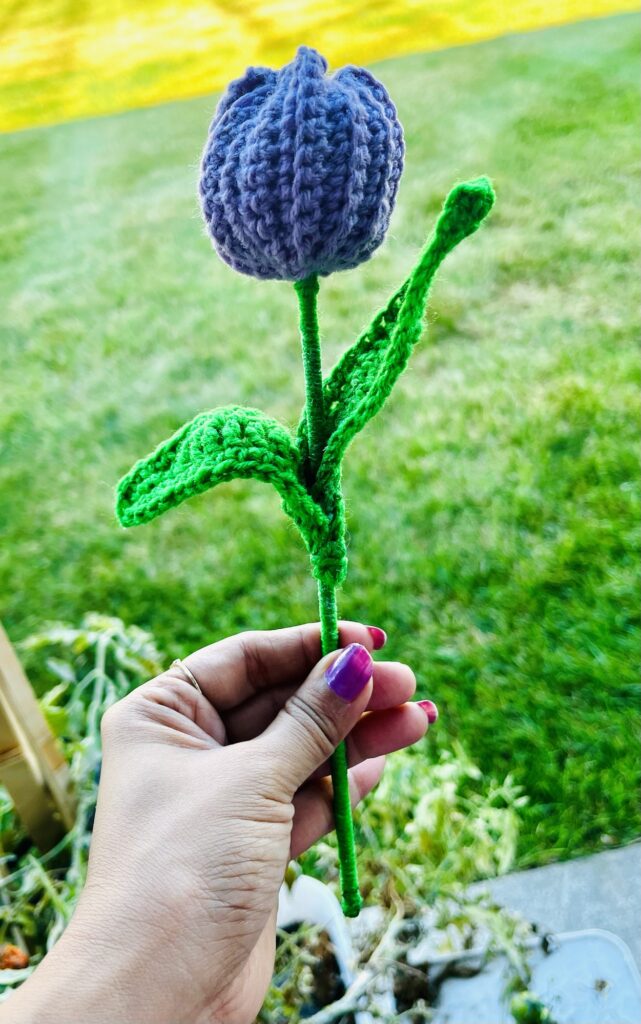
- Experiment with Colors: Don’t hesitate to experiment with different shades of yarn for the tulip petals and leaves. A combination of lighter and darker tones can add depth and realism to your flowers.
- Practice Makes Perfect: If you’re new to crocheting flowers, practice on a few smaller projects first. This will help you get comfortable with the techniques before tackling the tulip flower.
Conclusion
In conclusion, crocheting a tulip flower is not only a fun and creative project but also a wonderful way to add a touch of elegance to your craft collection. By following these tips and tricks, you’ll find that the process becomes smoother and more enjoyable. Moreover, as you experiment with different colors and techniques, you’ll be able to create unique variations of this beautiful flower. Ultimately, with patience and practice, you’ll master the art of crocheting tulip flowers, thus allowing you to craft stunning, handmade decorations that will brighten any space. So, why not grab your hook and yarn, and start your tulip-making journey today?


| Subscribe … on Youtube | Follow … on Pinterest | Follow … on Instagram | |
