Table Of Contents
Introduction
Crochet has long been a beloved craft, cherished for its versatility and creativity. Whether you’re new to the art or a seasoned pro, making small projects like amigurumi hanging charms is both rewarding and practical. One such project, the daisy flower amigurumi charm, not only brings a touch of nature into your home but also makes for a perfect handmade gift. Moreover, this project helps you practice essential crochet techniques while exploring your creative flair.
In this FREE written pattern, I’ll guide you step by step through the process of creating your very own daisy charm. And then by the end, you’ll have a beautiful piece that’s ready to hang on your bag, keys, or wherever you need a dash of daisy-inspired joy!
♥️♥️♥️♥️♥️♥️♥️♥️♥️♥️♥️♥️♥️♥️♥️
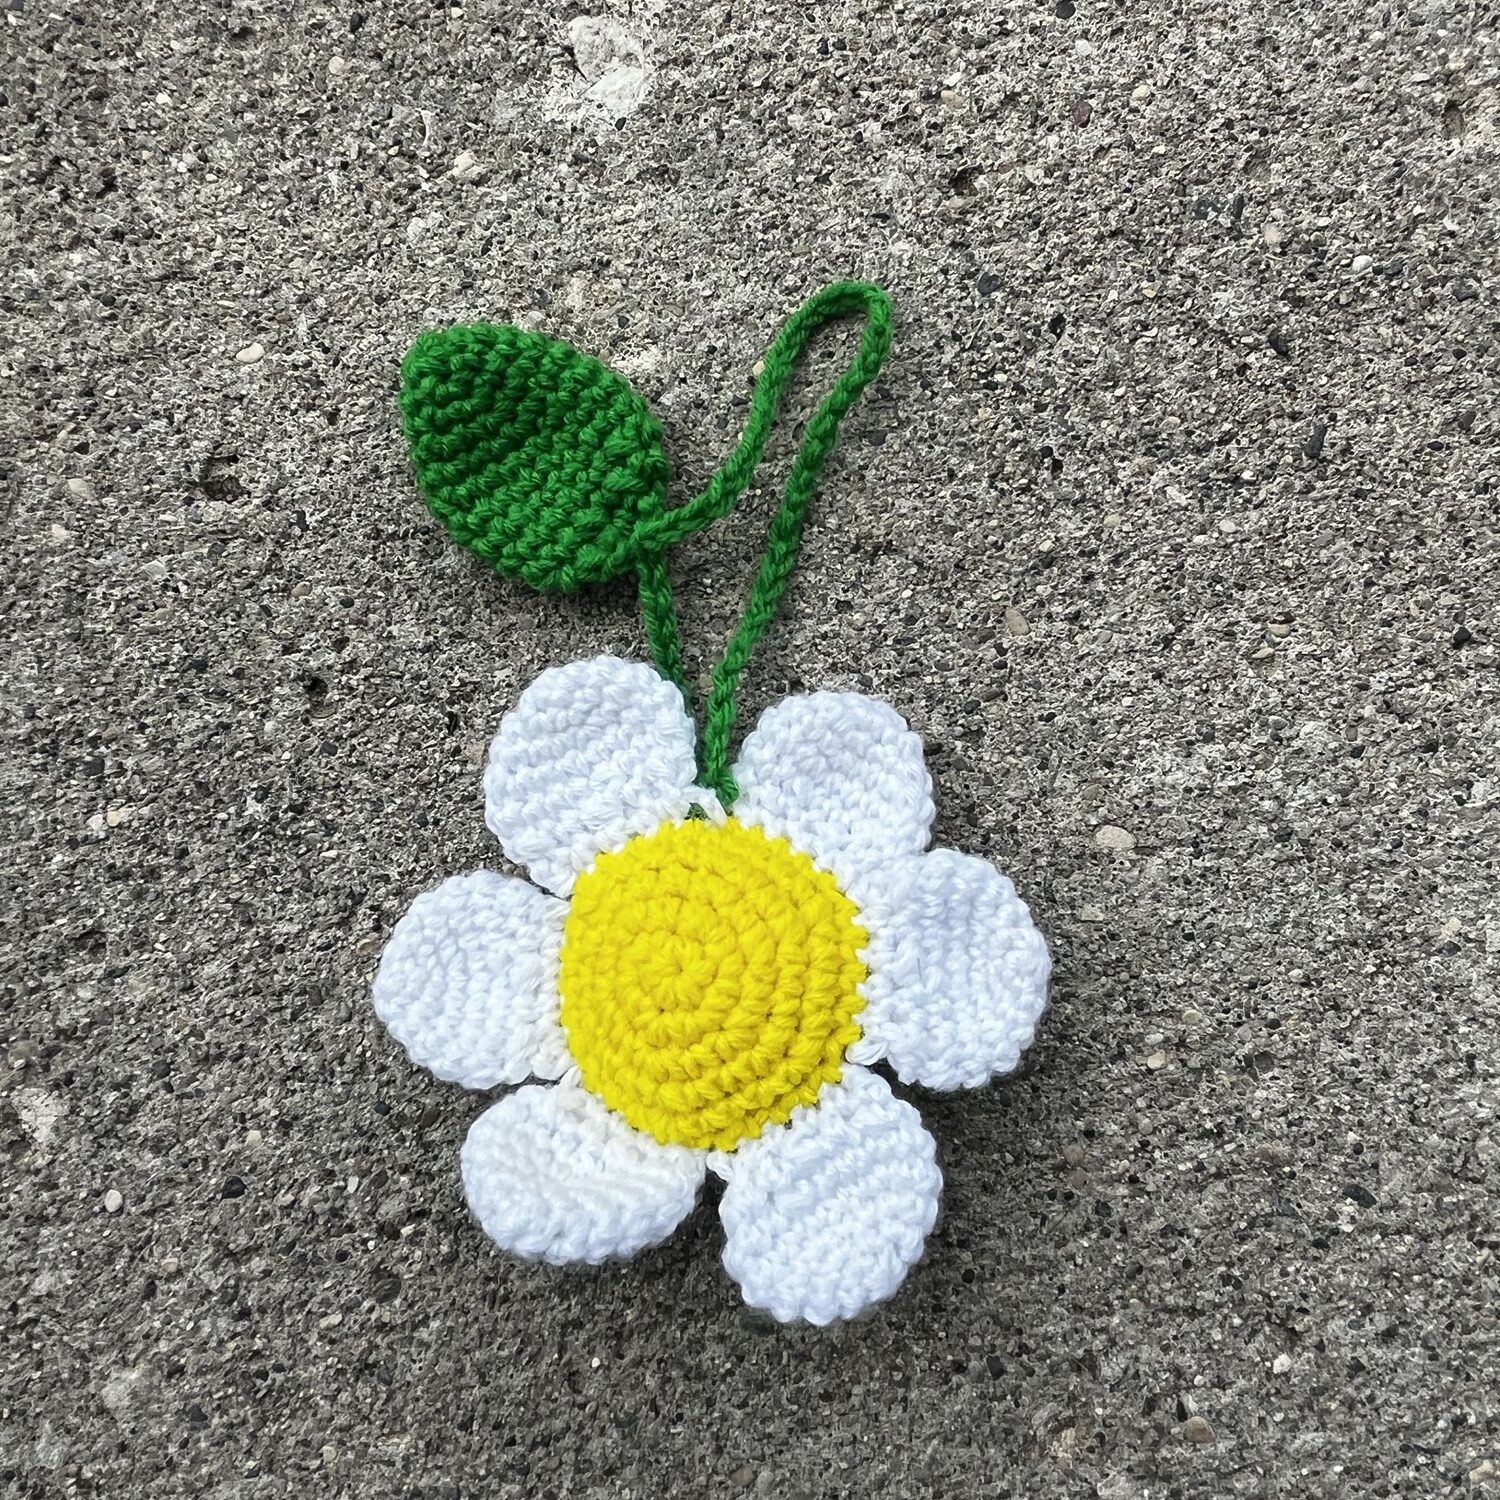
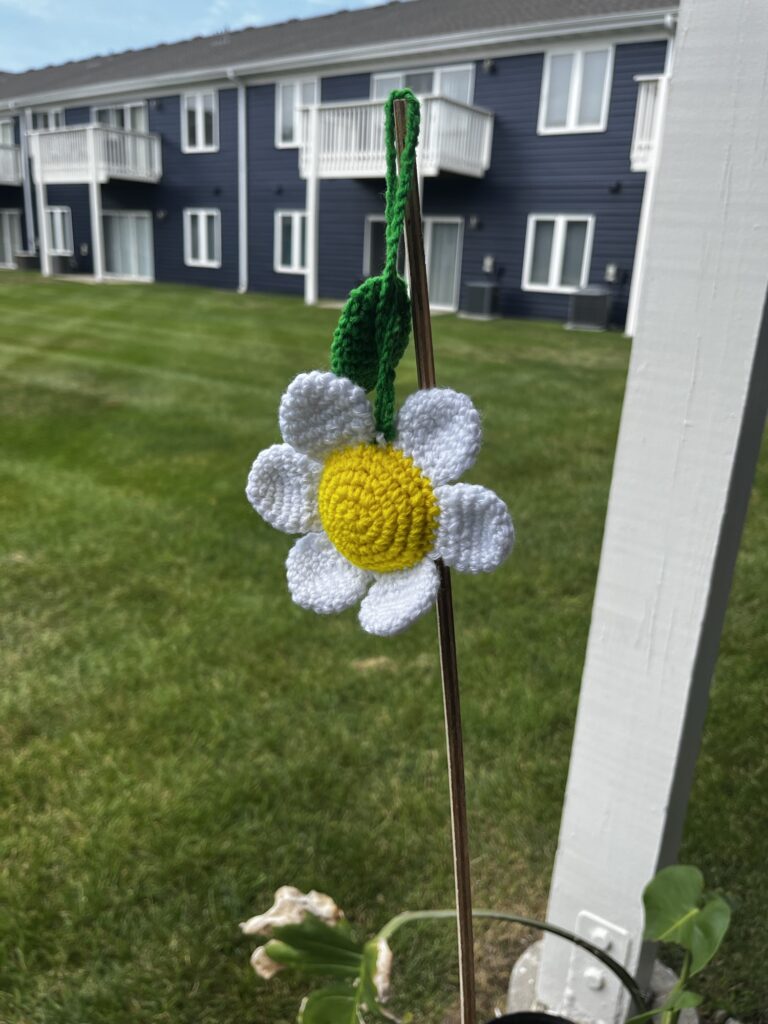
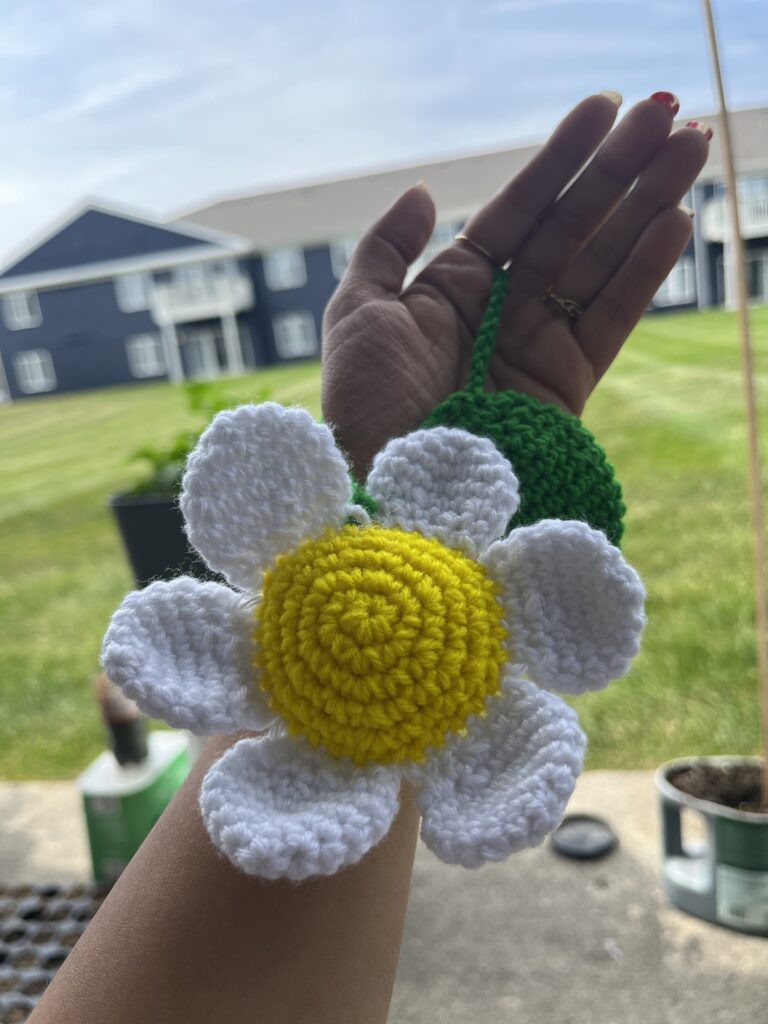
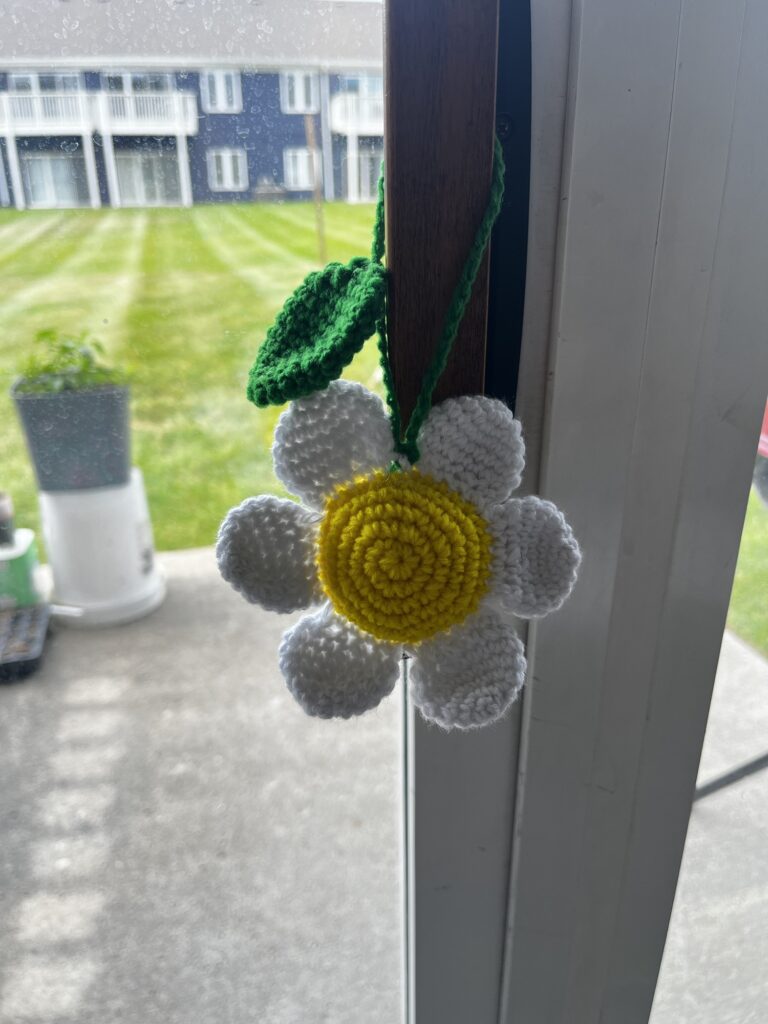
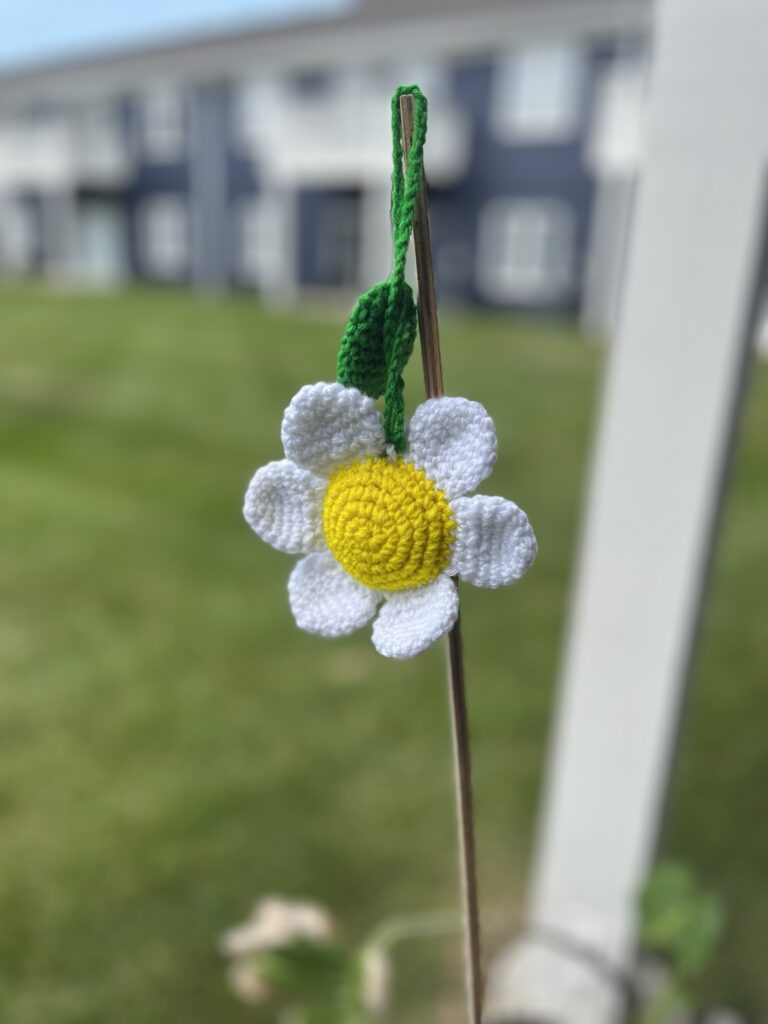
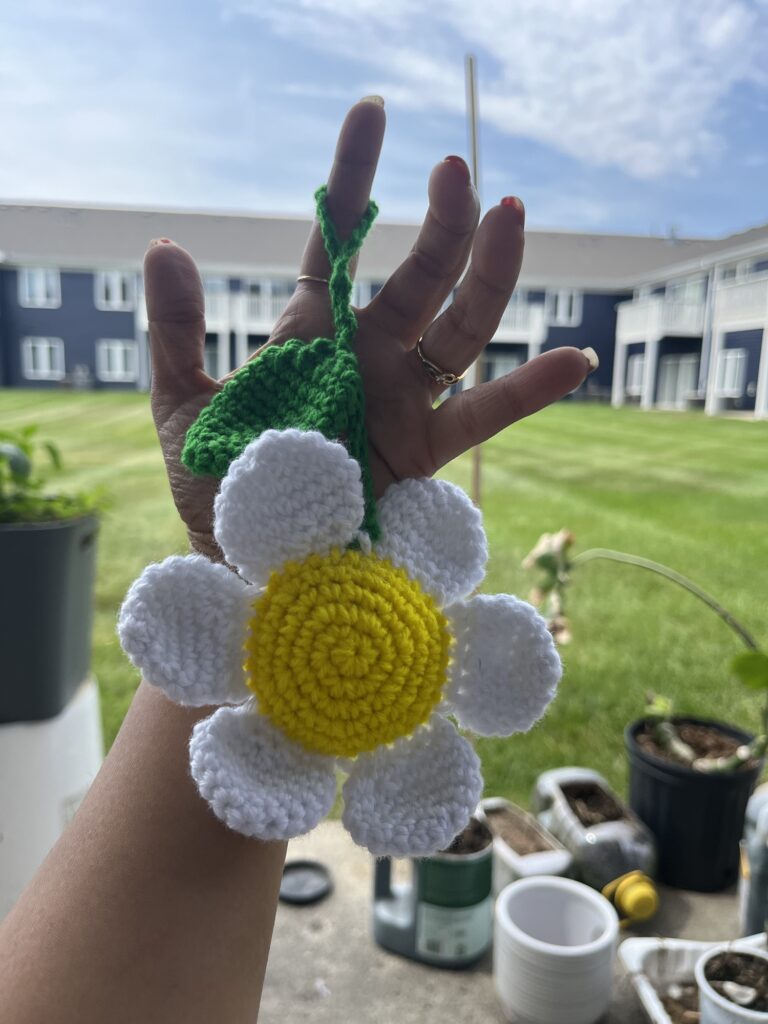
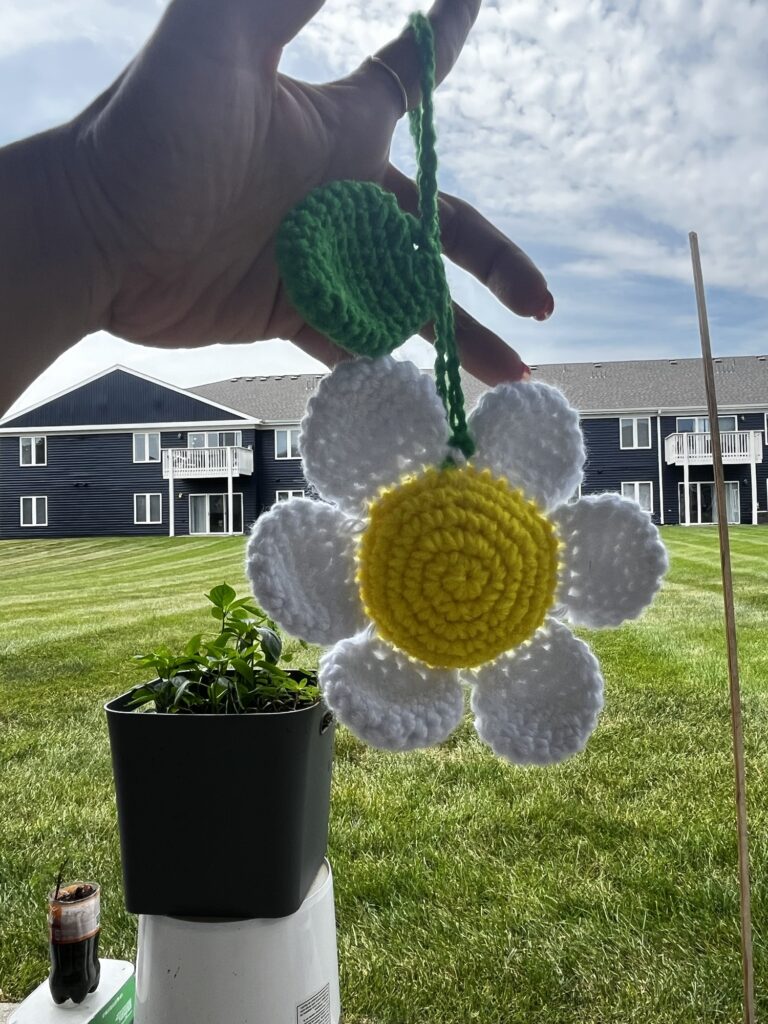
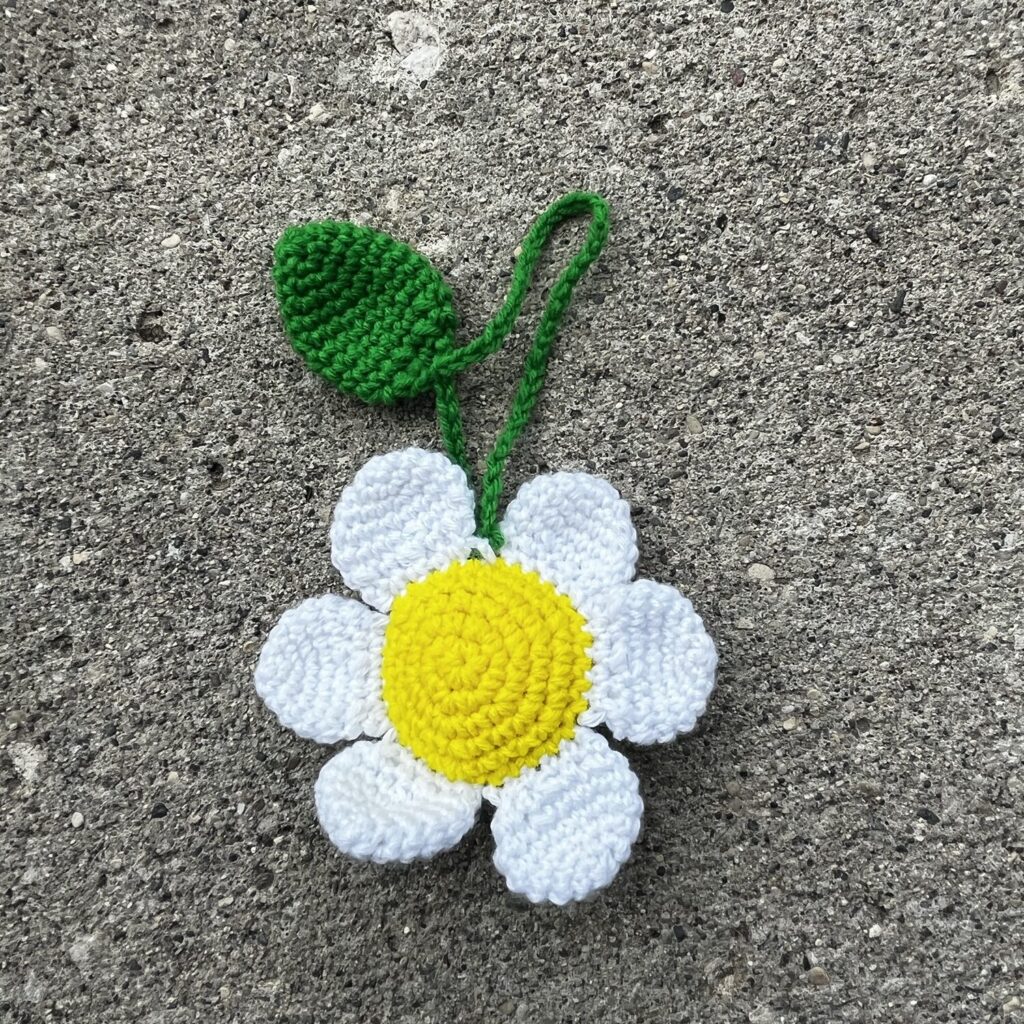
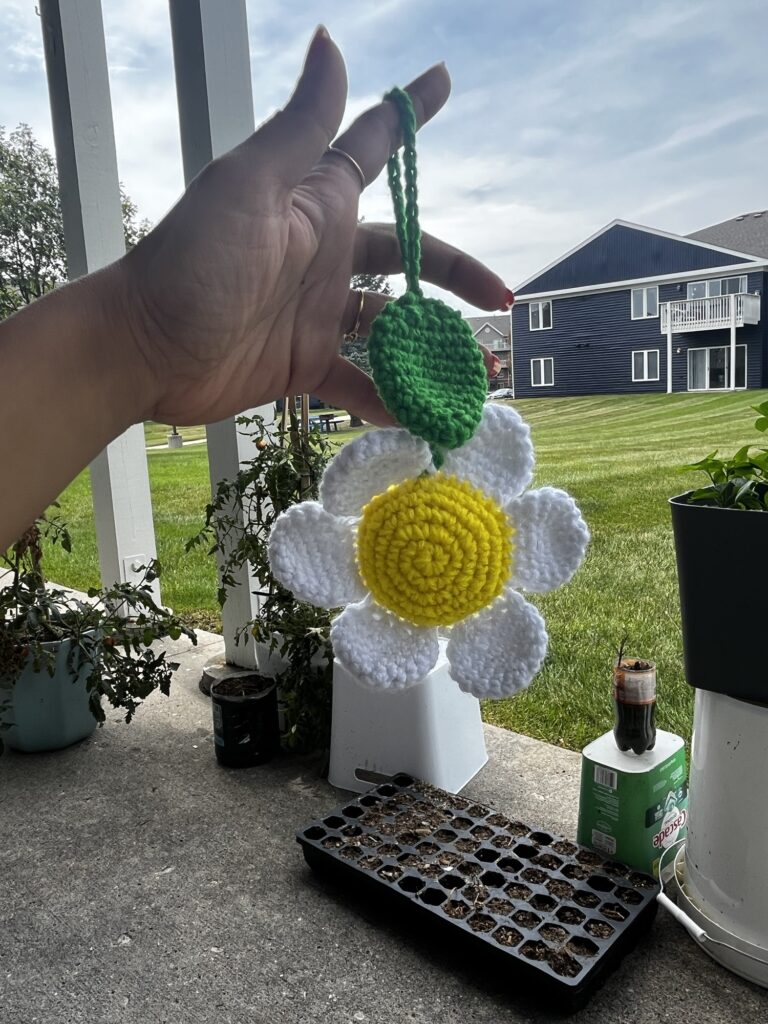
Isn’t this beautiful? You can make this and then gift this to your dear ones…. Handmade gifts are just perfect !!!!
I have given the written direction for this very cute and easy Daisy Flower amigurumi charm in this blog. However you can also visit my YouTube channel link1 and link2 to understand the stitching technique better.
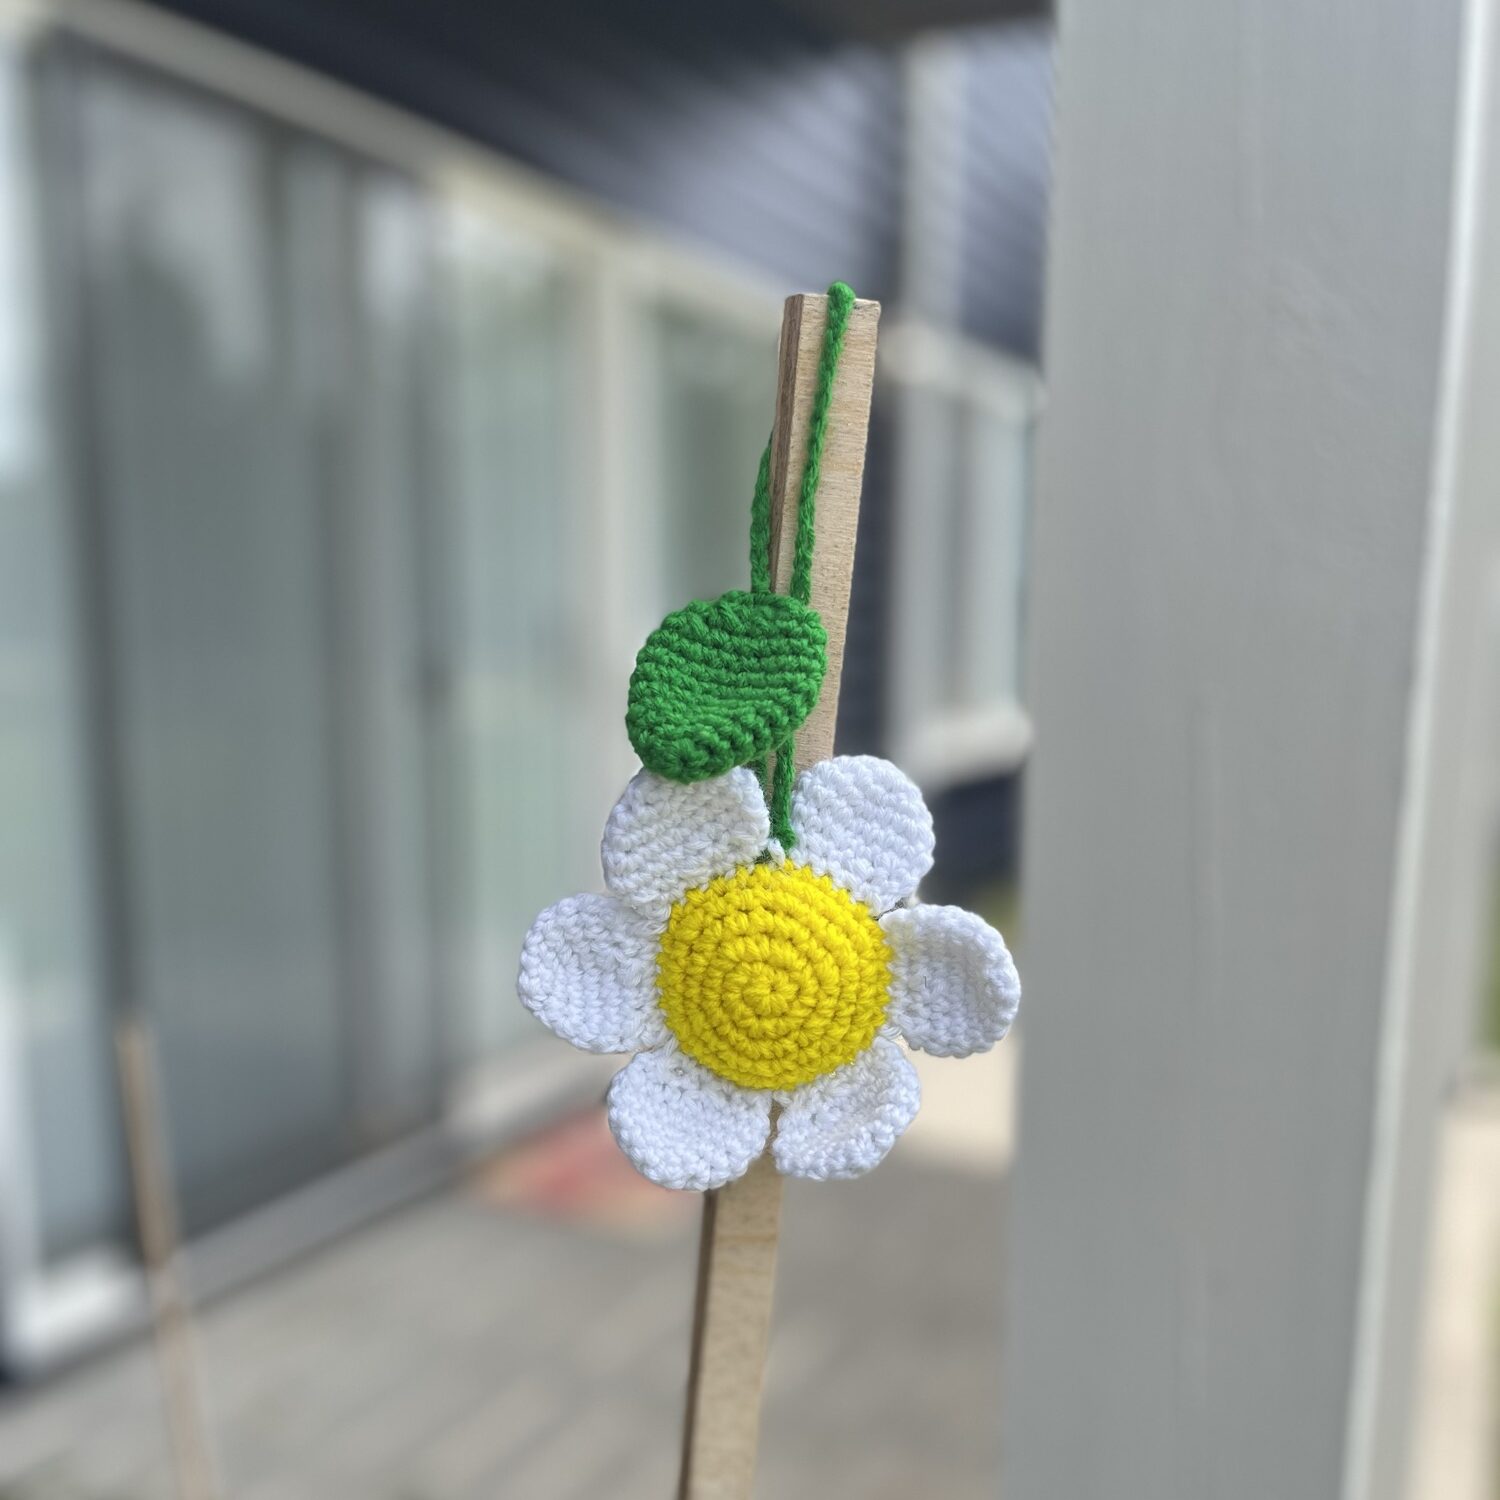
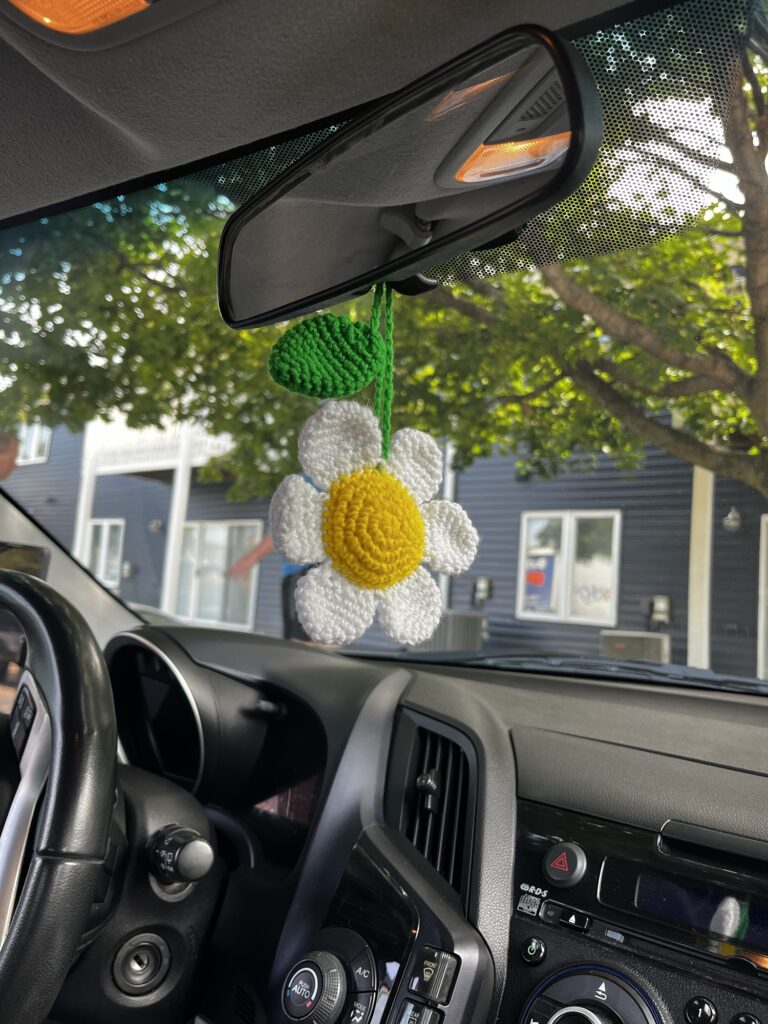
This project is really fast and easy and hence a perfect practice project for beginners. You can also change the pattern little bit by changing colors of the petals and the buds, converting this into a sunflower or a rainbow petals flower and make this into a key/ bag charm. I am using this as our car rear-view mirror hanging.♥️♥️♥️
For the step-by-step video tutorial, click PART 1 and PART 2. The tutorial is divided into two parts for easier learning and better flow! Thus, Please subscribe to my channel for all the latest and the best patterns.
Since, Most of the crochet lovers just loved this pattern….. I think, you will also love it……
Therefore, just leave a comment in the comment section about it.
For getting updates of all my free patterns, please fill in the subscribe form
DECLARATION
Hi, I am Shabari Dutta. I work very hard on each and every pattern provided in this website, So you can always give a credit by mentioning my name & website www.hookedinloopsbyshabari.com in your posts.....♥️♥️♥️♥️♥️♥️♥️♥️♥️♥️♥️♥️♥️♥️♥️, h
You can sell any product made from this patternowever, you may not distribute this pattern as your own in any way!
Materials Needed
- Acrylic Yarn (4 ply ). I have chosen the colors of the daisy flower and- yellow and white. And green for the leaf and the loop.
- 3 mm crochet hook
- Tapestry needle for weaving ends
- stitch markers
- Fiber Fill
Also check out the live class on this pattern
Pattern for Petals (Make 6 petals)
I’m using white yarn to create a daisy flower petal
- Start with a magic ring (mr). Then work 5 single crochet (sc) stitches into the ring.
- Increase (inc) in each stitch around (5 increases total).
- Then repeat (1 sc, 1 inc) around, for a total of 5 times.
- Repeat (1 sc in next 2 stitches, 1 inc) around, for a total of 5 times.
- Then work 1 sc in each stitch around (20 stitches total).
- Repeat (1 sc in next 2 stitches, 1 decrease [dec]) around, for a total of 5 times.
- Then repeat (1 sc, 1 dec) around, for a total of 5 times.
- Flatten the petal, then close the opening by working 1 sc through two opposite stitches (5 sc stitches total). Finally chain 1, cut the yarn, and fasten off.
Flower Bud Pattern (Yellow Yarn)
- Start with a magic ring (mr) and then work 6 single crochet (sc) stitches into the ring.
- Then increase (inc) in each stitch around (6 increases total).
- Repeat (1 sc, 1 inc) around, for a total of 6 times.
- Then repeat (1 sc in next 2 stitches, 1 inc) around, for a total of 6 times.
- Repeat (1 sc in next 3 stitches, 1 inc) around, for a total of 6 times.
- Joining Petals: Attach all 6 petals to the bud by working 1 sc through two opposite stitches on the petals and the bud. (Refer to Part 2 of the video for guidance.)
- Then repeat (1 sc in next 3 stitches, 1 decrease [dec]) around, for a total of 6 times.
- Repeat (1 sc in next 2 stitches, 1 dec) around, for a total of 6 times.
- Then repeat (1 sc, 1 dec) around, for a total of 6 times.
- After that stuff the bud with fiberfill.
- Decrease in each stitch around (6 decreases total).
- Finally slip stitch (sl st) in the next st, chain 1, cut the yarn, fasten off, and close the opening.

Leaf Pattern (Green Yarn)
- Start with a magic ring (mr) and then work 6 single crochet (sc) stitches into the ring.
- Then repeat (1 sc, 1 increase [inc]) around, for a total of 3 times.
- Repeat (1 sc in next 2 stitches, 1 inc) around, for a total of 3 times.
- Then repeat (1 sc in next 3 stitches, 1 inc) around, for a total of 3 times.
- Repeat (1 sc in next 4 stitches, 1 inc) around, for a total of 3 times.
- Then work 1 sc in each stitch around (18 stitches total) for the next 4 rounds.
- Repeat (1 sc, 1 decrease [dec]) around, for a total of 6 times.
- Then work 1 decrease in each stitch around (6 decreases total).
- Flatten the leaf, then close the opening by working 1 sc through two opposite stitches (3 sc stitches total). Chain 1, cut the yarn, and fasten off.
Attach a Chain Loop for Making the Hanging
Using green yarn, join with a sl st to Round 6 of the bud in the space between two petals. Chain 10, then slip stitch into any of the last stitches of the leaf. Chain 20, and sl st back into the same stitch on the bud where you initially began the chains. Chain 1, cut the yarn, and fasten off. (Note: This step is not included in the video tutorial.)
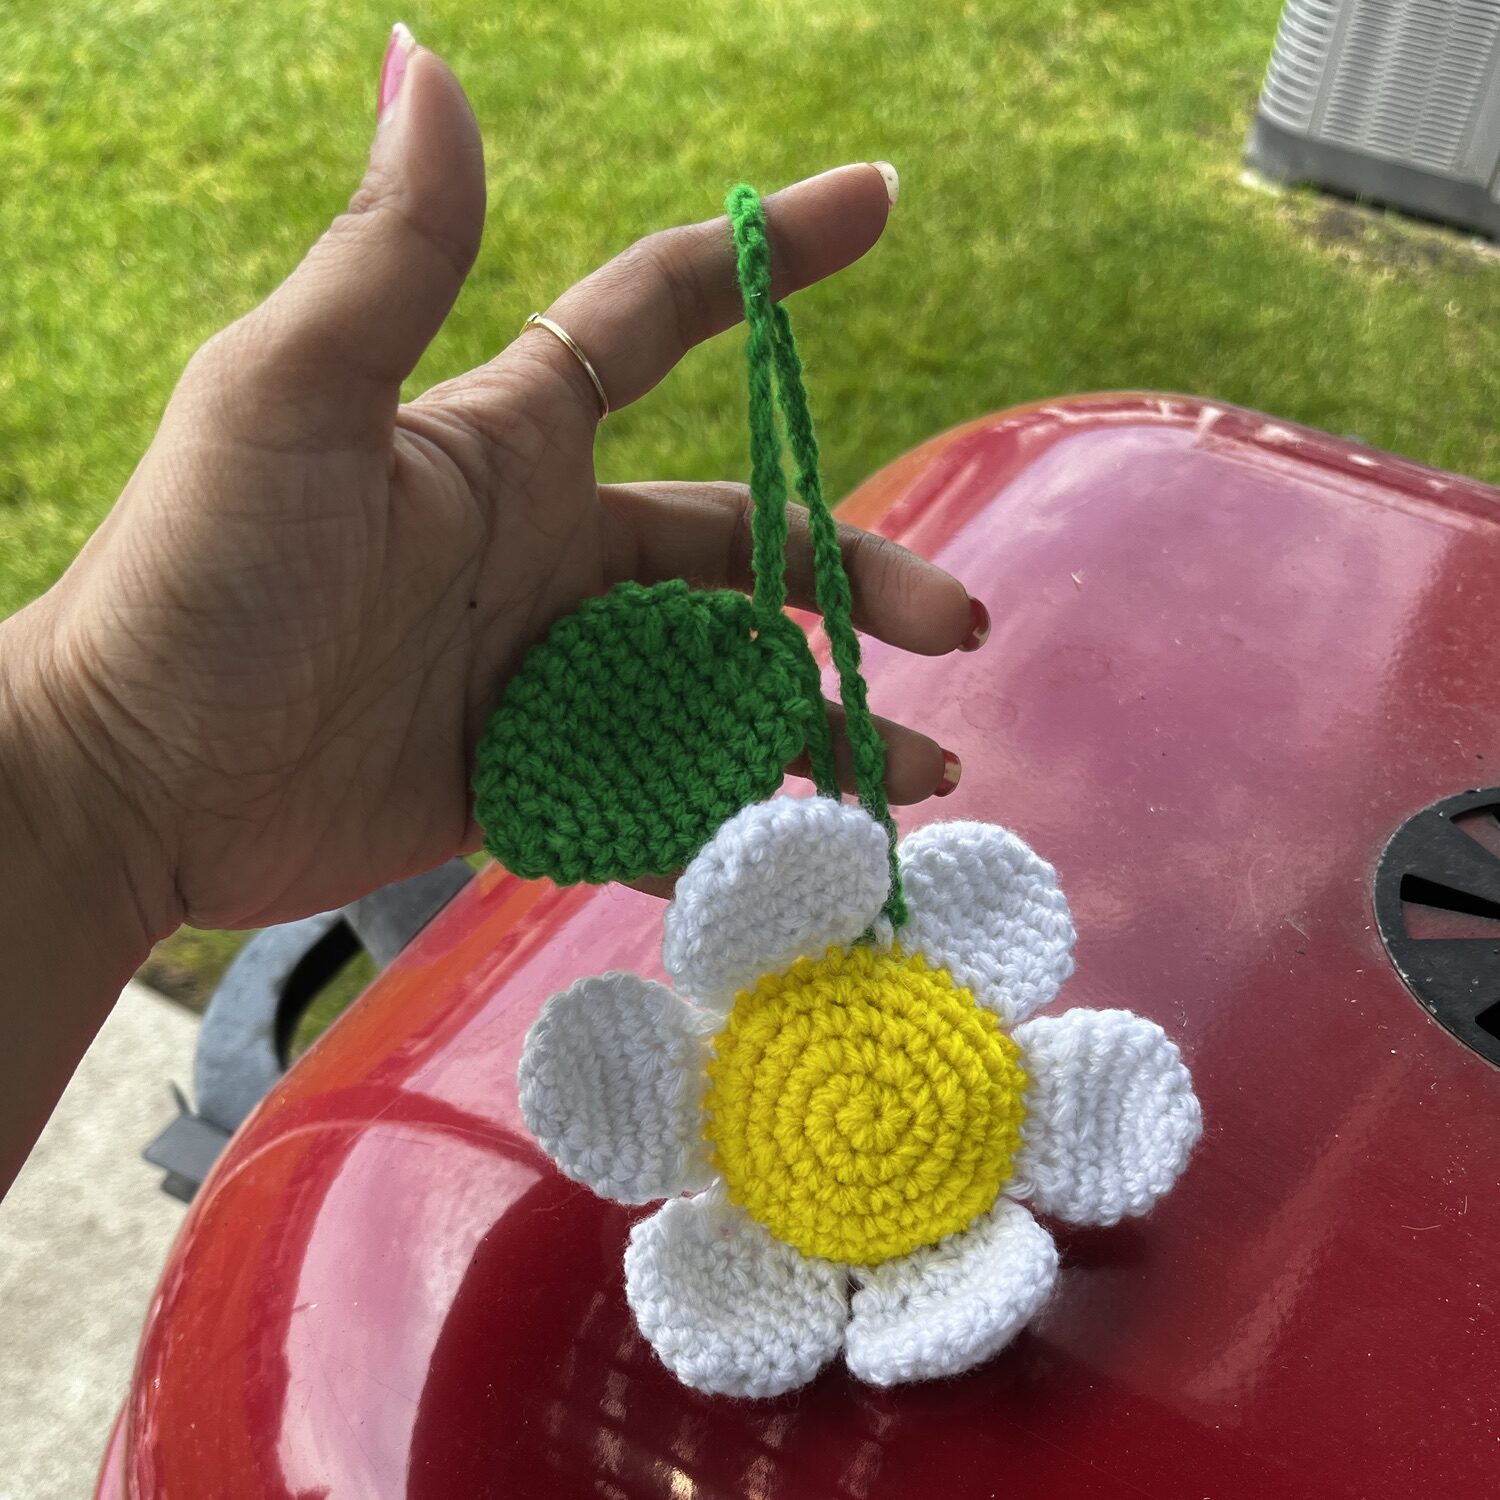
AND THE PATTERN IS COMPLETE!!!!
♥️♥️♥️♥️♥️♥️♥️♥️♥️♥️♥️♥️♥️♥️♥️
Conclusion
In conclusion, crocheting a daisy flower amigurumi charm is not only a fun and simple project but also a wonderful way to add a personal touch to your accessories. As you follow the steps and experiment with different colors and textures, you’ll find that this project is a great way to enhance your crochet skills. Furthermore, once you’ve completed your daisy charm, you’ll have a delightful and handmade piece that can brighten any space. Ultimately, the charm’s versatility makes it a perfect accessory or gift for any occasion. So, with a little practice and creativity, you’ll soon be making beautiful daisy charms in no time!


| Subscribe … on Youtube | Follow … on Pinterest | Follow … on Instagram | |
This is a real charm my love just like you 😍. So awesome 😎
Hey 😍😍 you are incredible 🥰