Table Of Contents
Introduction to Crochet Evil Eye
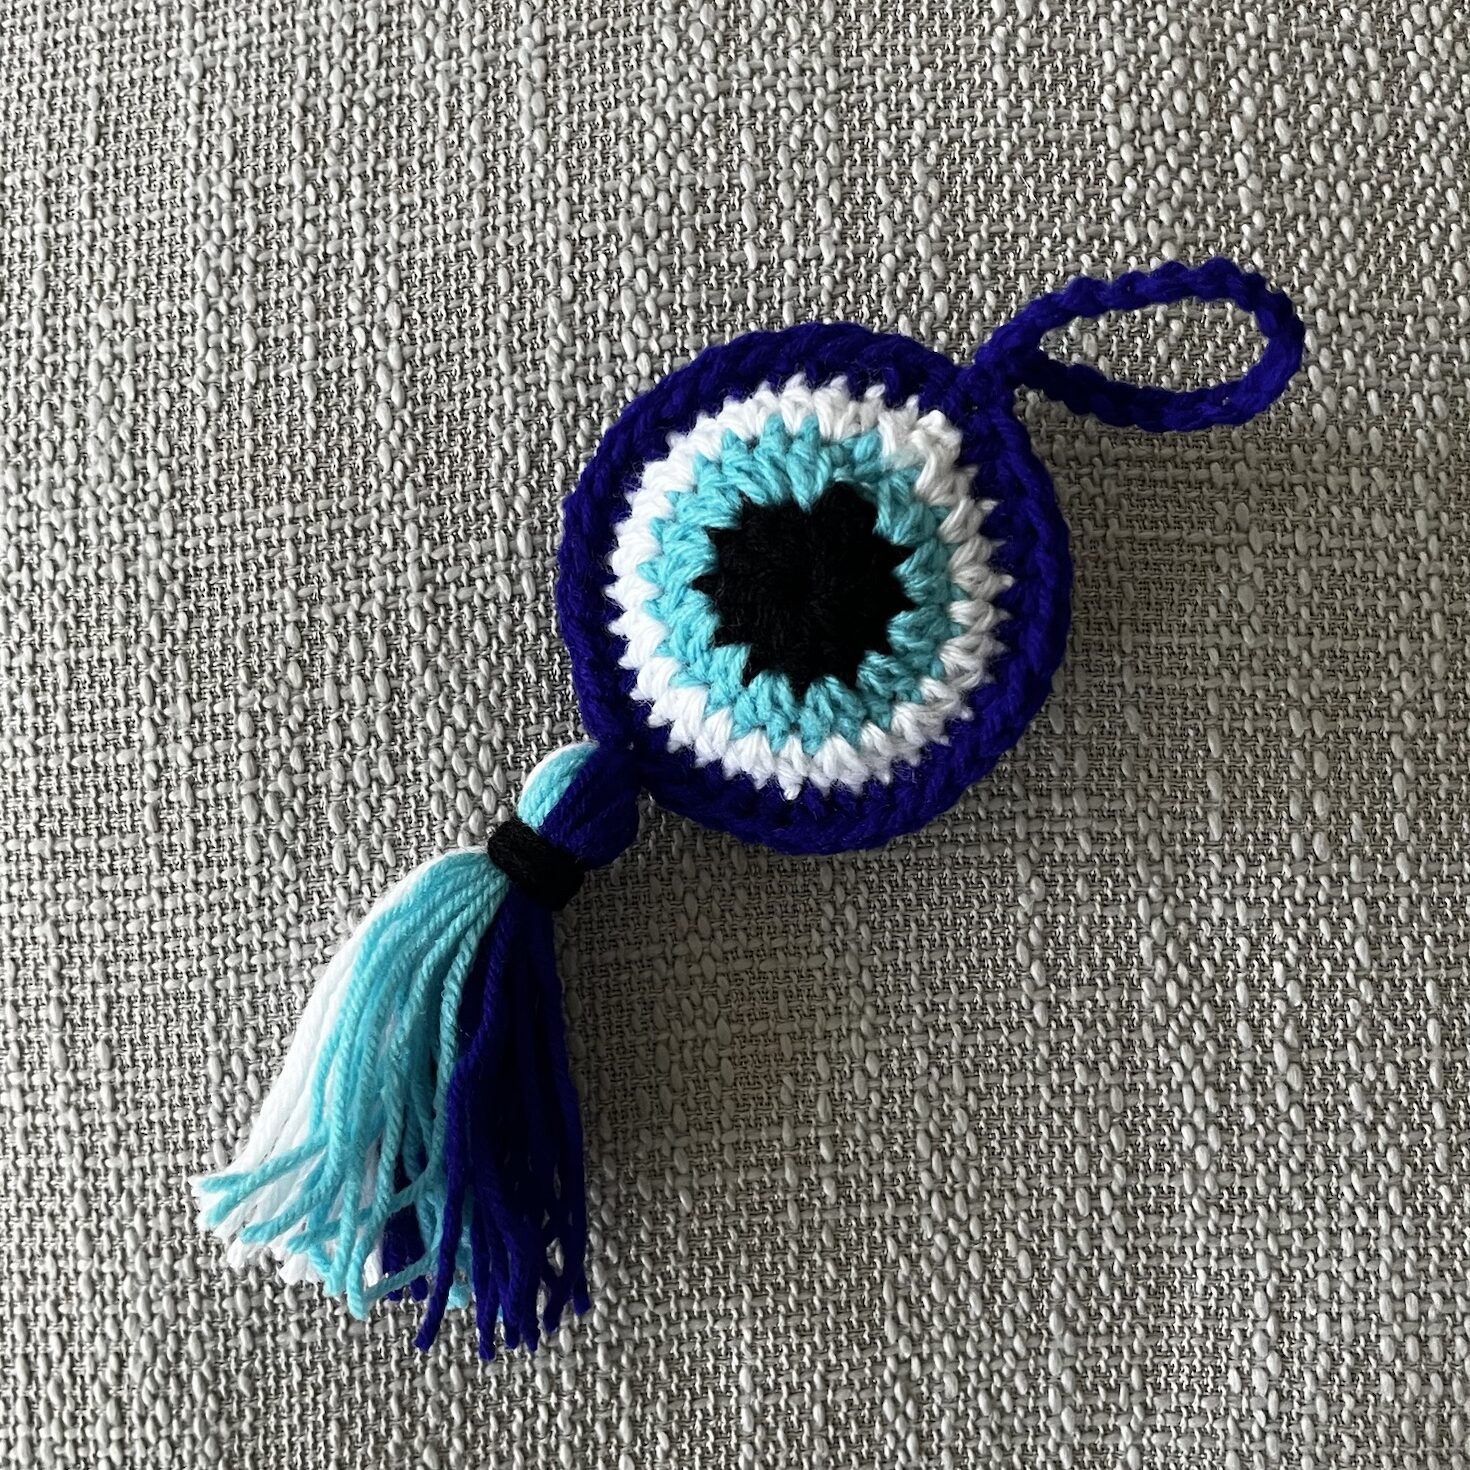
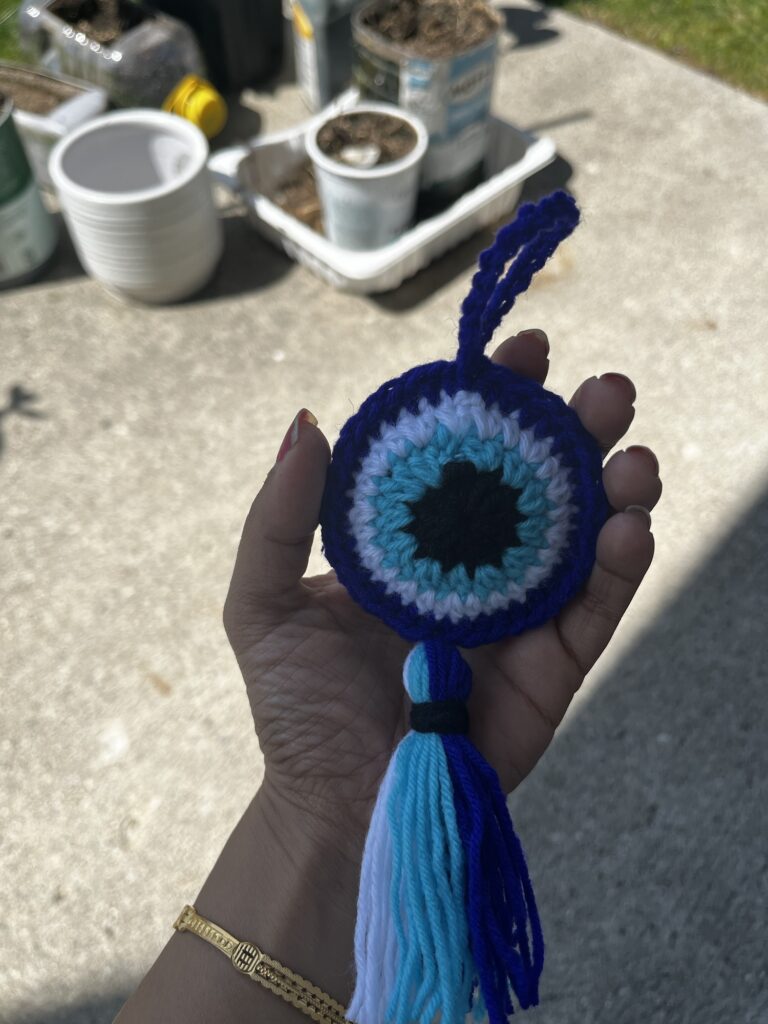
The evil eye has been a symbol of protection for centuries, believed to ward off negative energy and safeguard those who wear or display it. In recent years, this ancient emblem has found new life in the world of crafts, particularly crochet. Creating a crochet evil eye amigurumi charm is not only a fun and engaging project, but it also brings with it the rich cultural significance of the symbol. Whether you’re crafting it as a gift, a personal keepsake, or simply to adorn your space, this pattern will guide you through each step, ensuring your finished piece is both beautiful and meaningful.
The crochet evil eye amigurumi charm is a versatile project that blends creativity with purpose. The small yet striking design makes it an ideal choice for crocheters of all skill levels, from beginners eager to explore new techniques to seasoned crafters looking for a quick, satisfying project. Additionally, with endless color combinations and variations, this charm can be customized to suit your personal style. Let’s dive into the pattern and create a charm that not only looks great but also serves as a protective amulet!

♥️♥️♥️♥️♥️♥️♥️♥️♥️♥️♥️♥️♥️♥️♥️
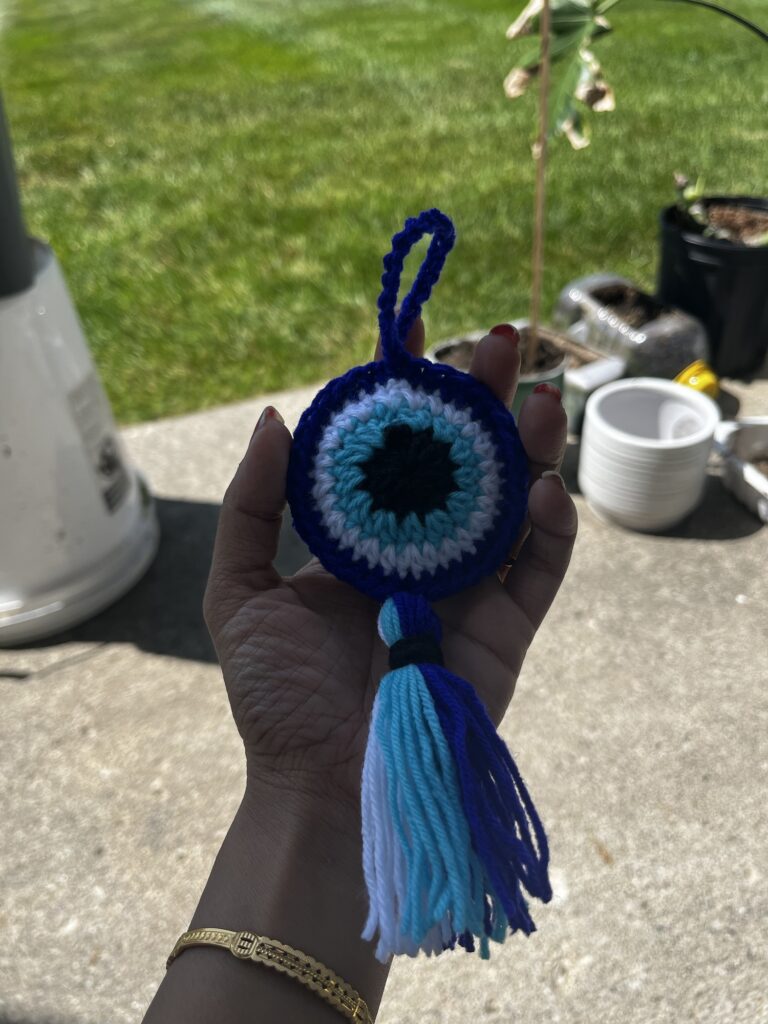
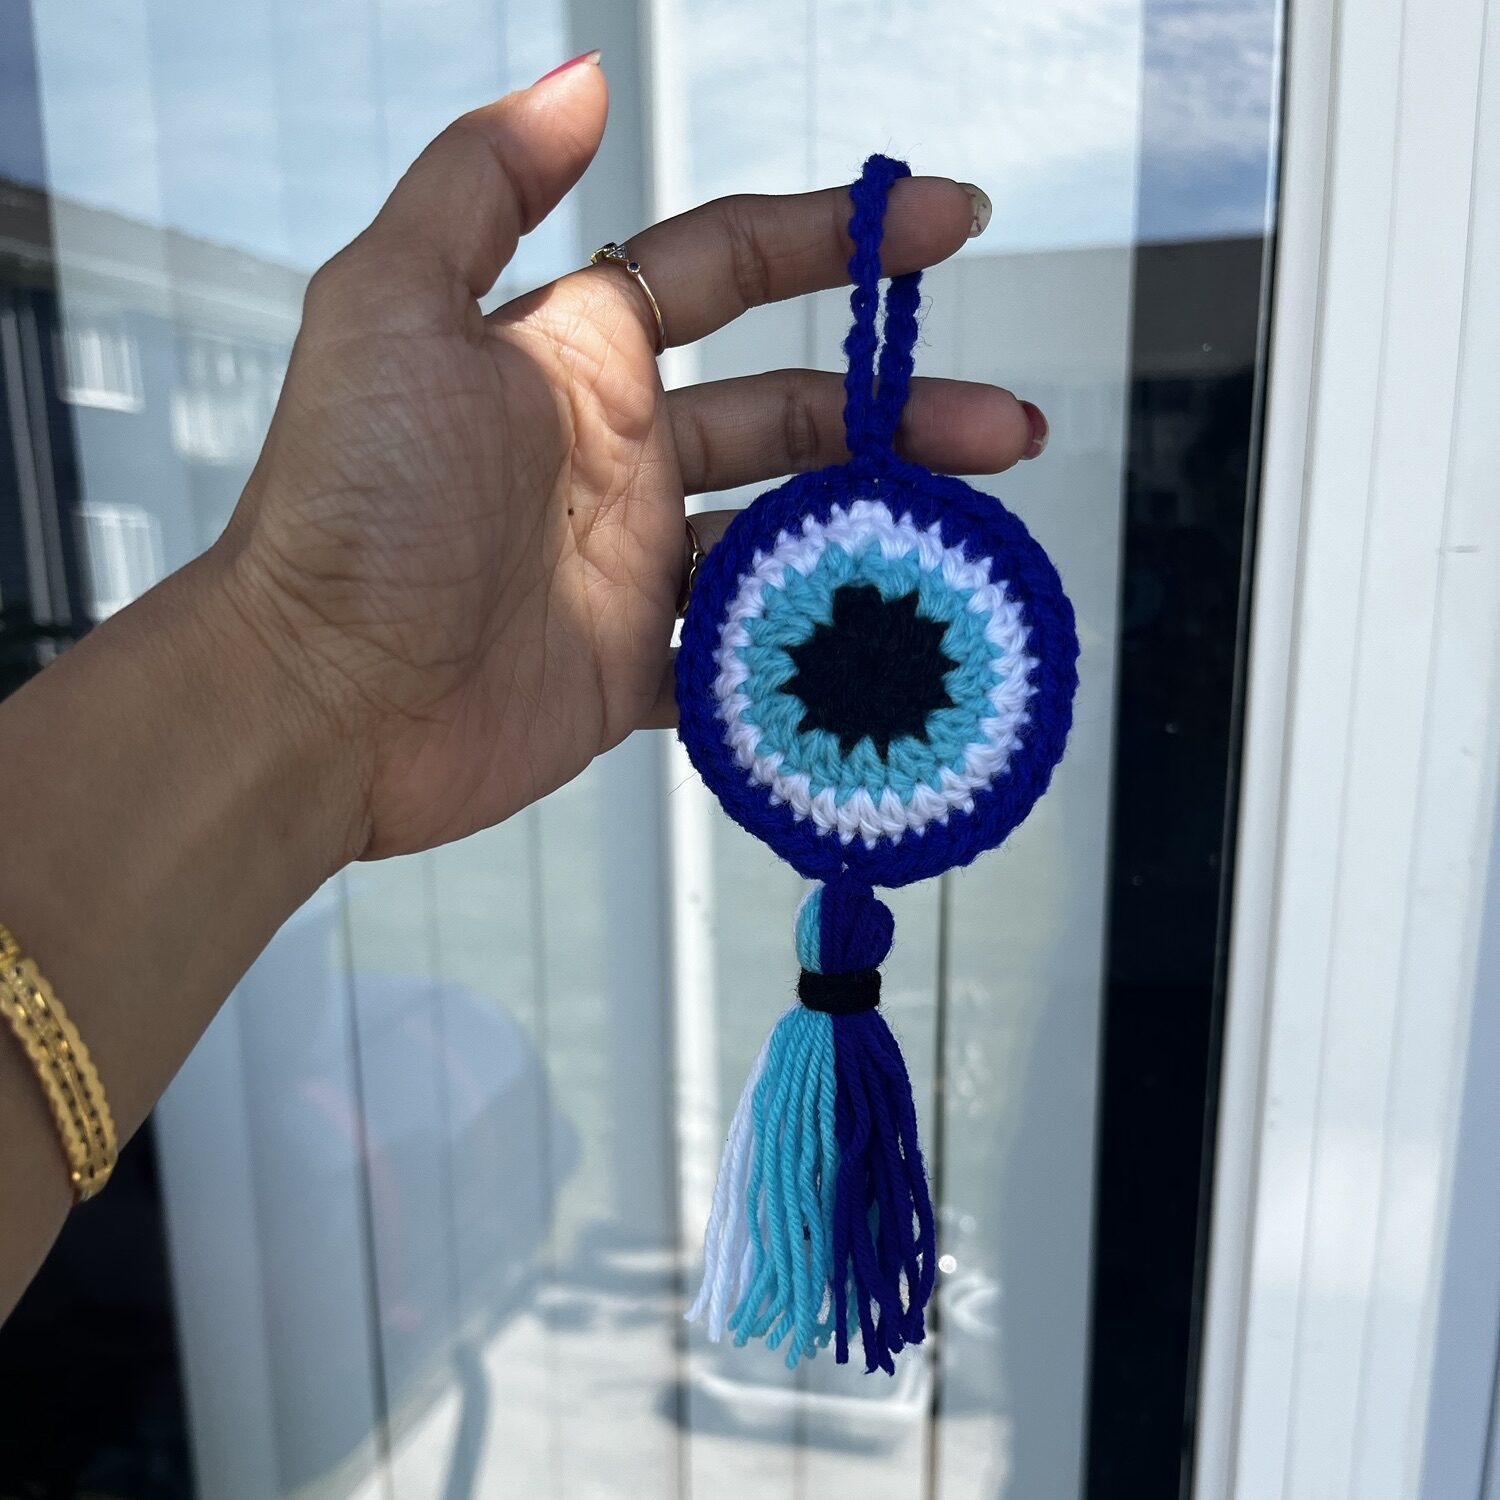
Isn’t this beautiful? You can make this and then gift this to your dear ones…. Handmade gifts are just perfect !!!!
I have given the written direction for this very cute and easy evil eye amigurumi charm in this blog. However you can also visit my YouTube channel link to understand the stitching technique better.
This project is really fast and easy and hence a perfect practice project for beginners. You can also change the pattern little bit by changing colors or rather converting the hdc stitches to dc stcs. You can decorate with beads too ♥️♥️♥️
For the step-by-step video tutorial, click here. Thus, Please subscribe to my channel for all the latest and the best patterns.
Since, Most of the crochet lovers just loved this pattern….. I think, you will also love it……
Therefore, just leave a comment in the comment section about it.
For getting updates of all my free patterns, please fill in the subscribe form
DECLARATION
Hi, I am Shabari Dutta. I work very hard on each and every pattern provided in this website, So you can always give a credit by mentioning my name & website www.hookedinloopsbyshabari.com in your posts.....♥️♥️♥️♥️♥️♥️♥️♥️♥️♥️♥️♥️♥️♥️♥️, h
You can sell any product made from this patternowever, you may not distribute this pattern as your own in any way!
Abbreviation
- mr- magic ring
- sl st – slip stitch
- hdc- half double crochet
- dc- double crochet
- ch – chain
- sts- stitches
Materials Needed
- Acrylic Yarn (4 ply ). I have chosen the colors of the evil eye- black, sky blue, deep blue and white.
- 3 mm crochet hook
- Tapestry needle for weaving ends
- stitch markers
- Fiber Fill
PATTERN (how to crochet the Evil Eye)
Also check out the live class on this pattern
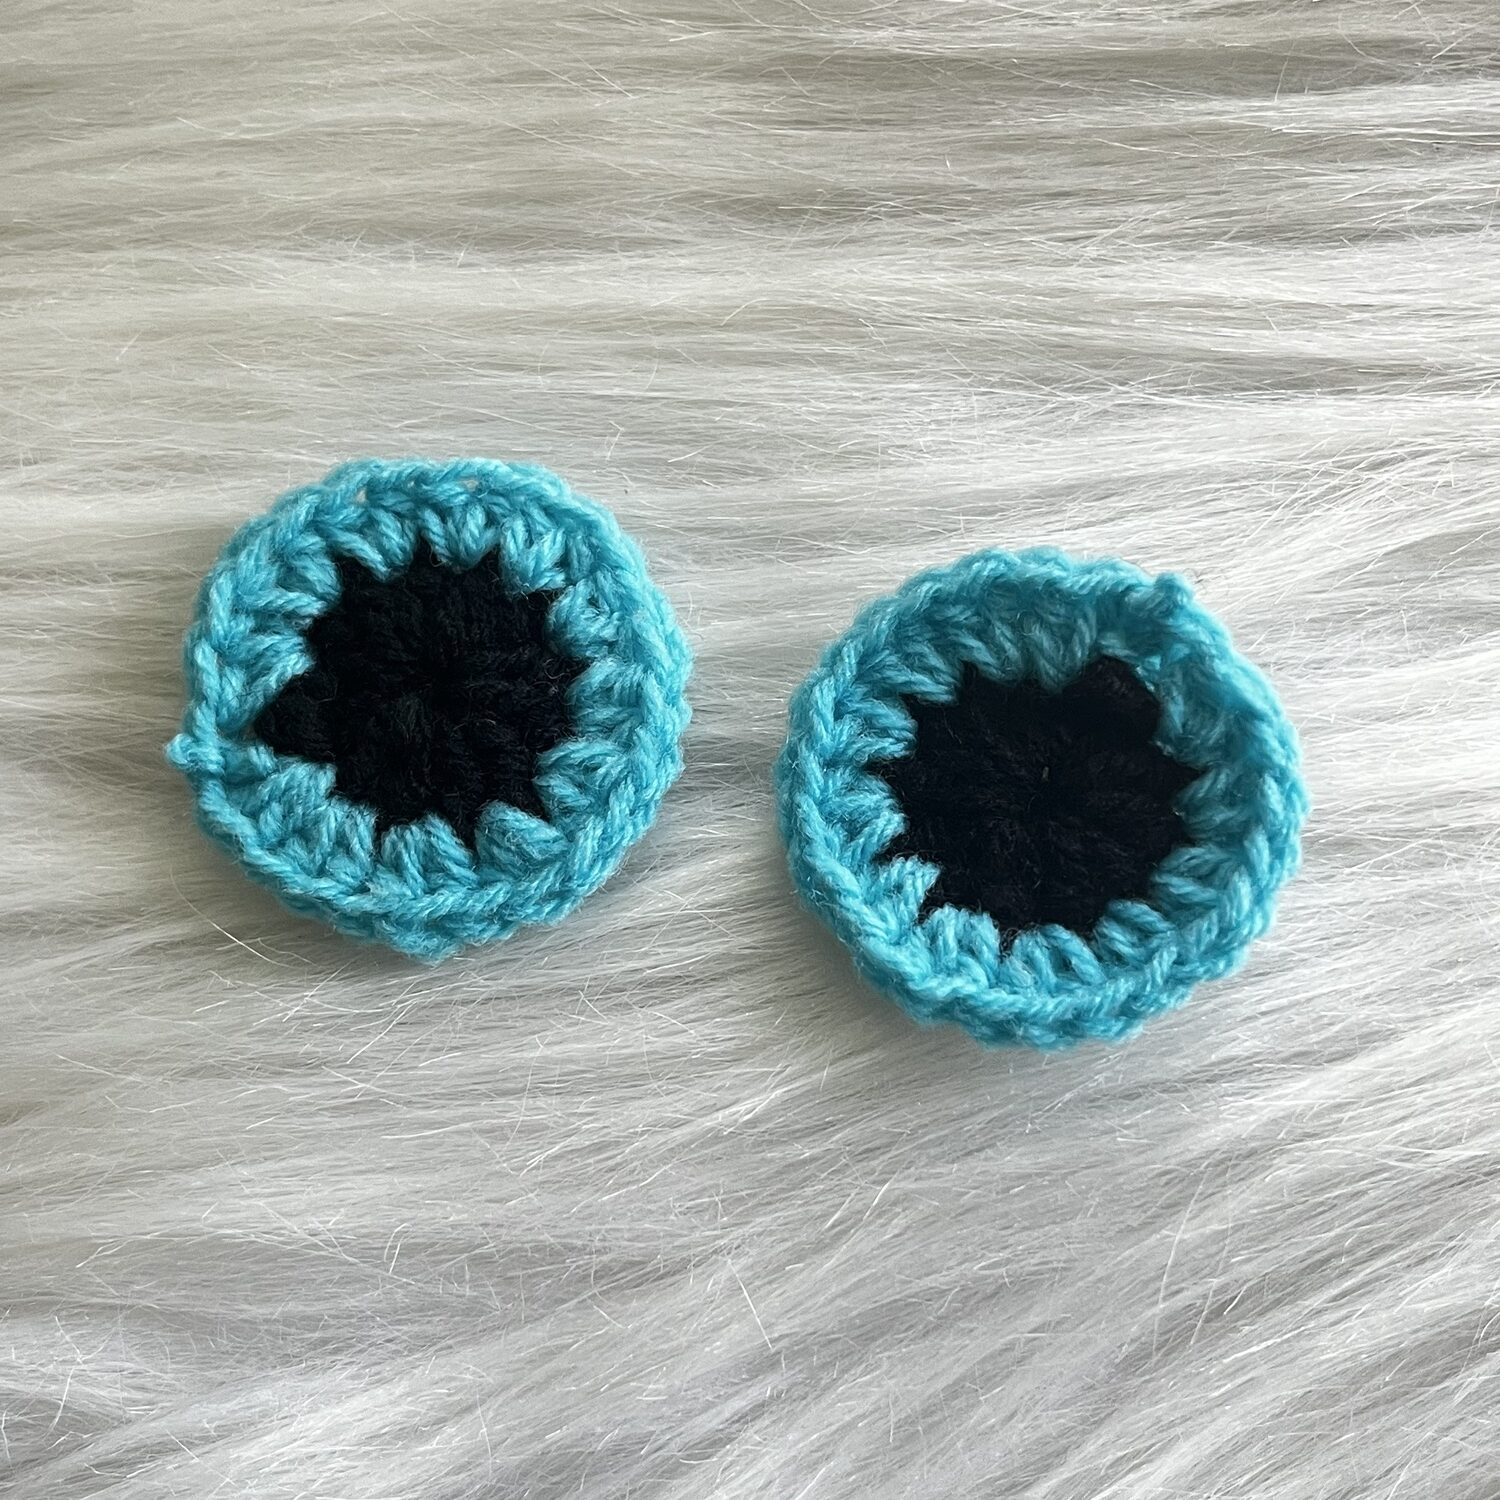
1. Using black yarn, begin with a magic ring (mr). First, work 12 hdc into the ring, then sl st into the first hdc. Next, ch 1 and cut the yarn.
2. Then, switch to sky blue yarn and make a slip knot. Join the yarn with a sl st in any stitch of the last round. After that, ch 1 and, in the same stitch, make 2 hdc. Continue by working 2 hdc in each stitch around. Then, sl st into the first hdc, ch 1, and cut the yarn.
3. Next, take white yarn and make a slip knot. Join the yarn once again with a sl st in any stitch of the last round, ch 1, and in the same stitch, make 1 hdc. Then in the next stitch, work 2 hdc. Continue repeating the sequence (1 hdc, 2 hdc) all the way around. After that, sl st into the first hdc, ch 1, and cut the yarn.
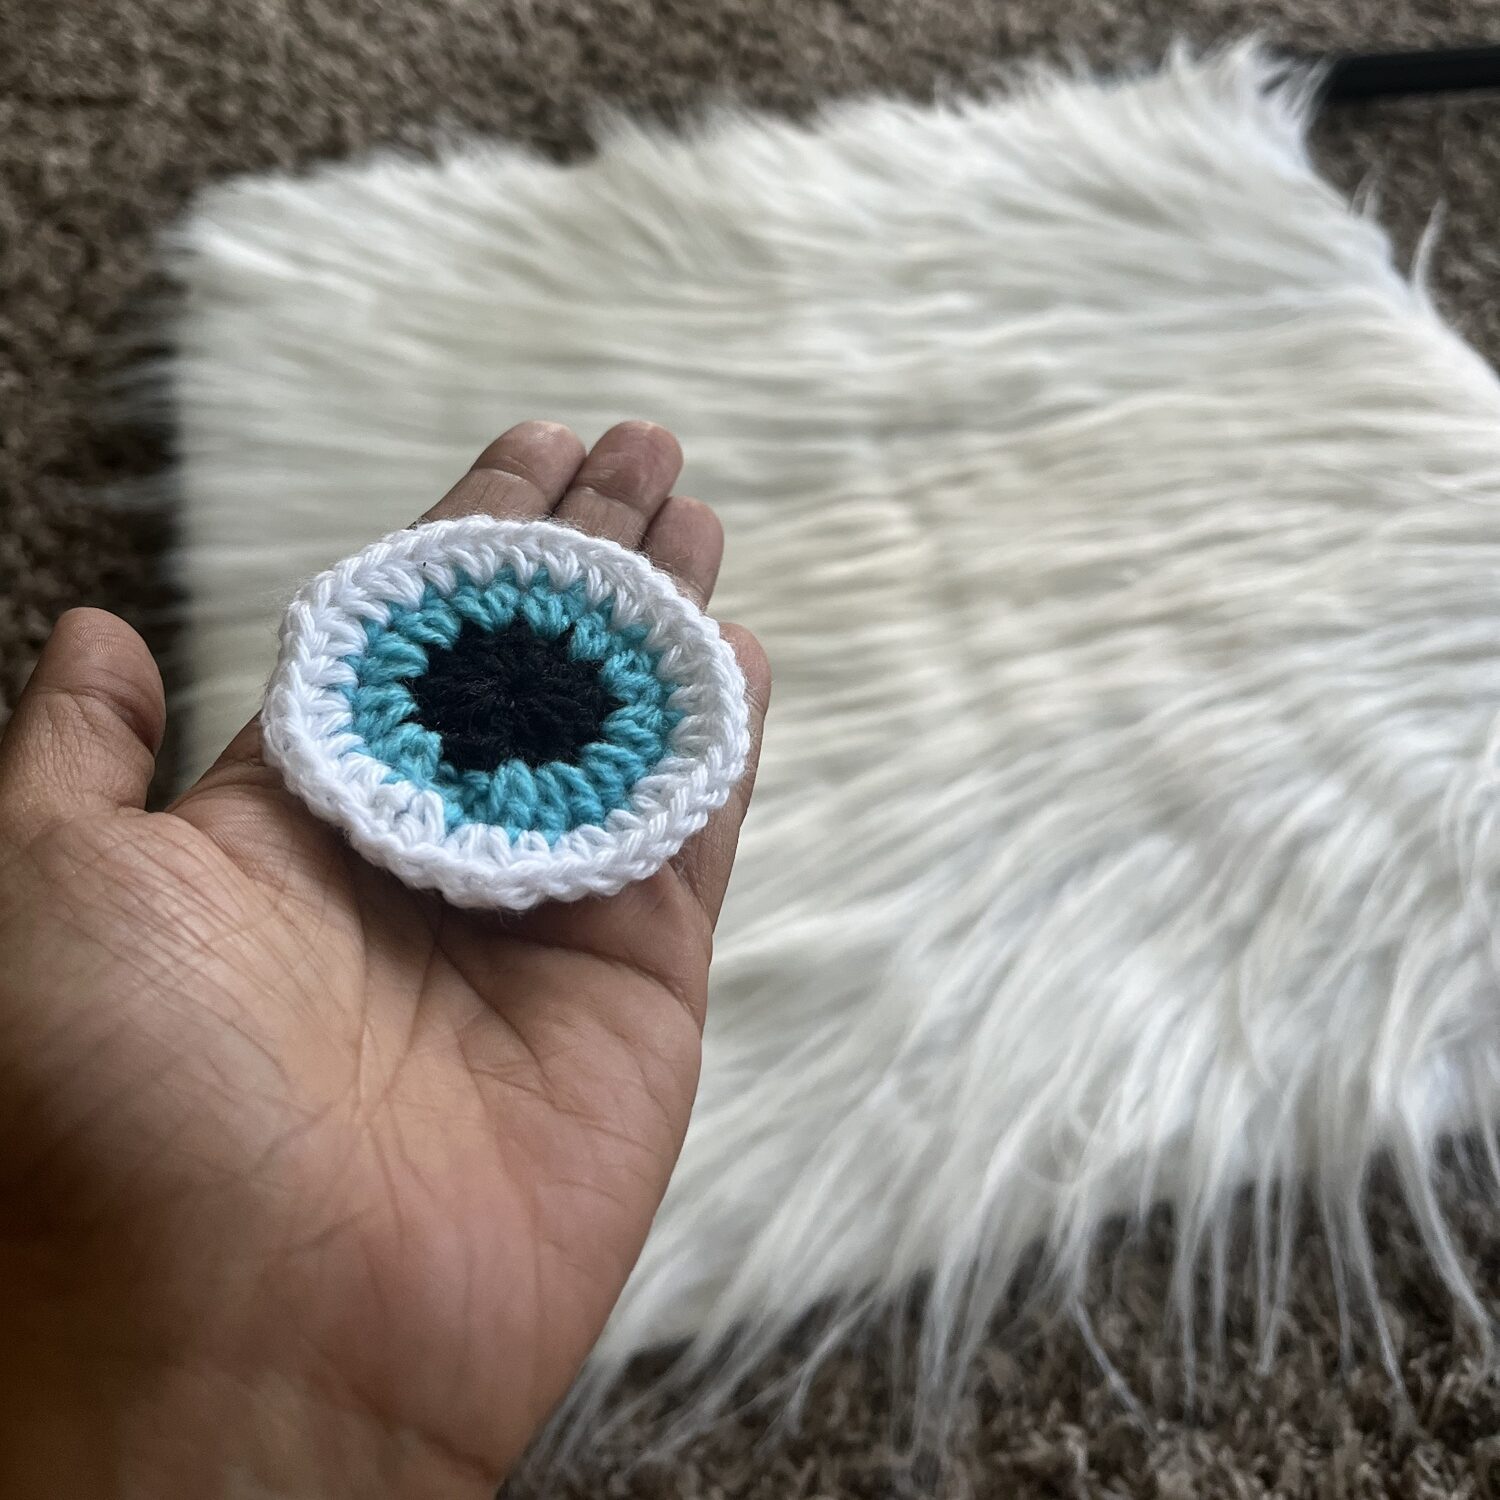

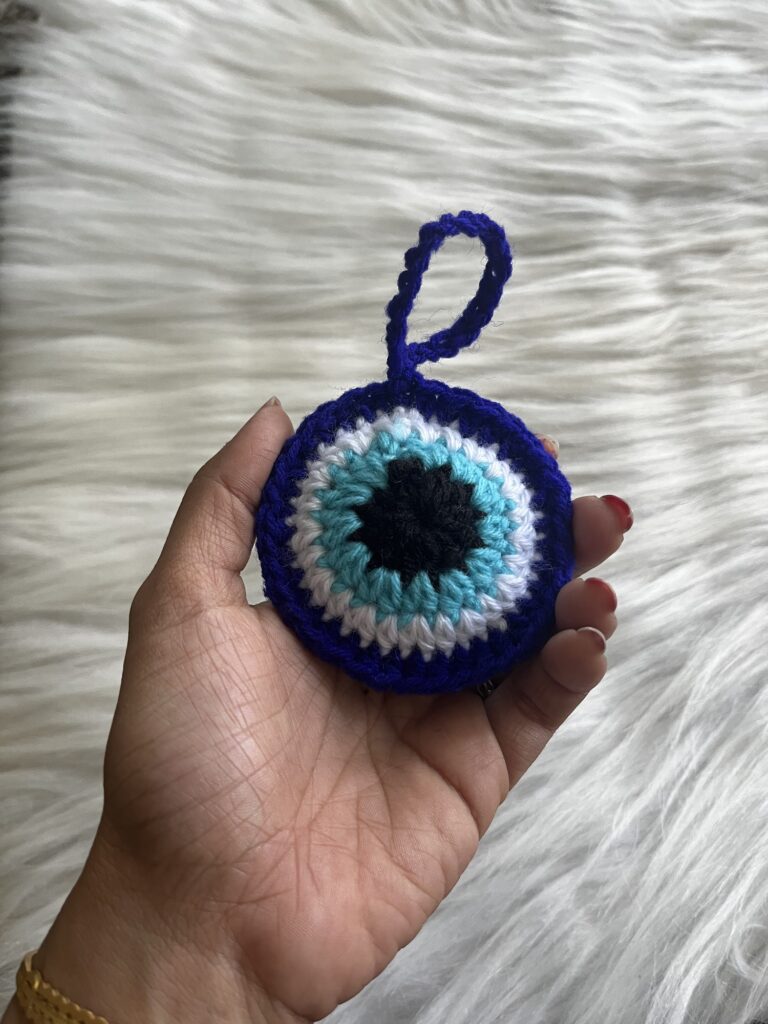
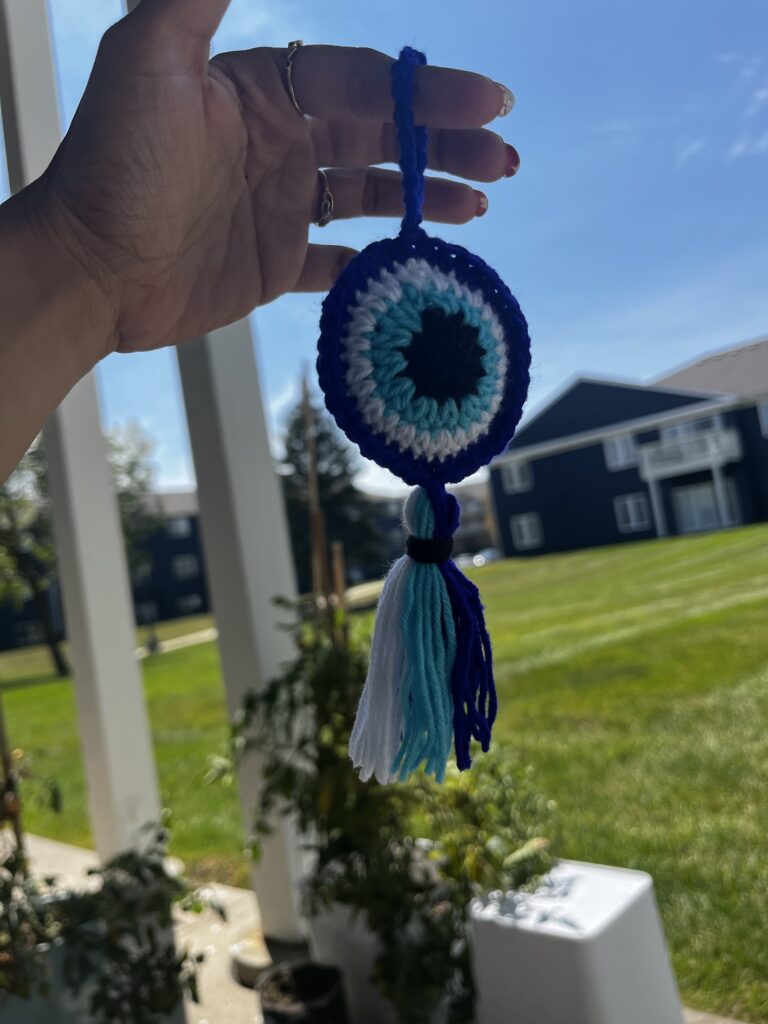
4. Make two such pieces, working until round 3. Now, using deep blue yarn, make a slip knot. To join the two pieces together, align them and sl st through two opposite stitches of both circles. Ch 1 and then make 1 hdc through the same two opposite stitches. Continue joining the circles by making 1 hdc through two opposite stitches until you’ve worked more than halfway around. Next, stuff the piece with fiberfill, then finish joining the remaining stitches with hdc. Finally, sl st into the first hdc, ch 20, sl st into the same stitch, ch 1, and cut the yarn.


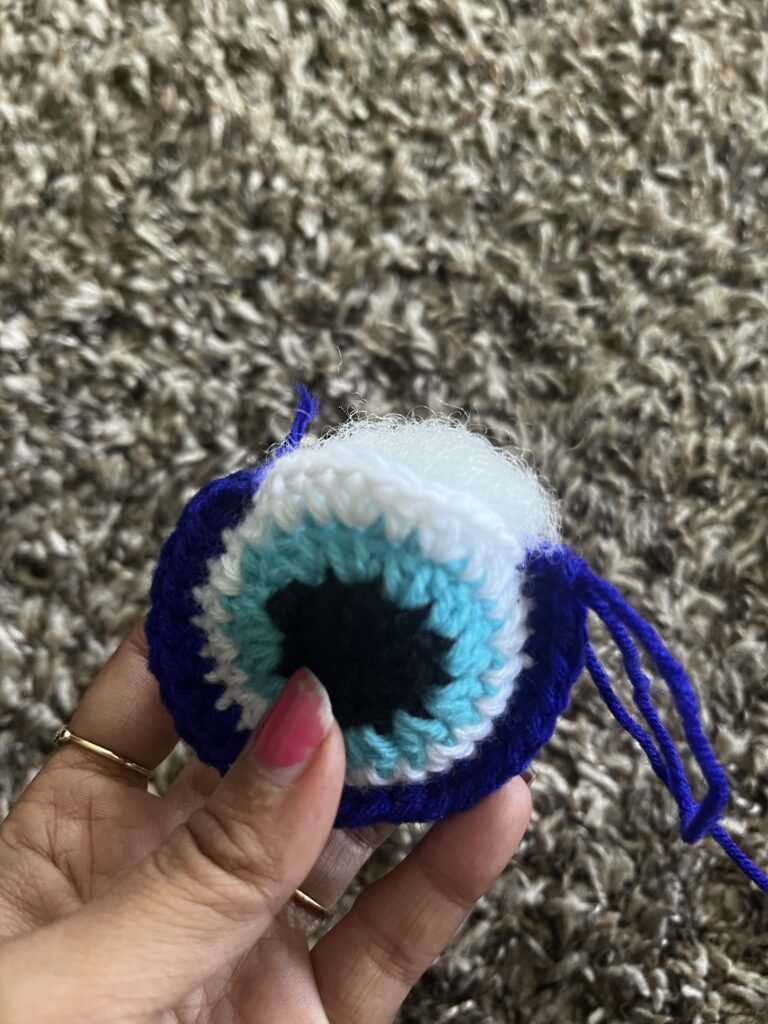


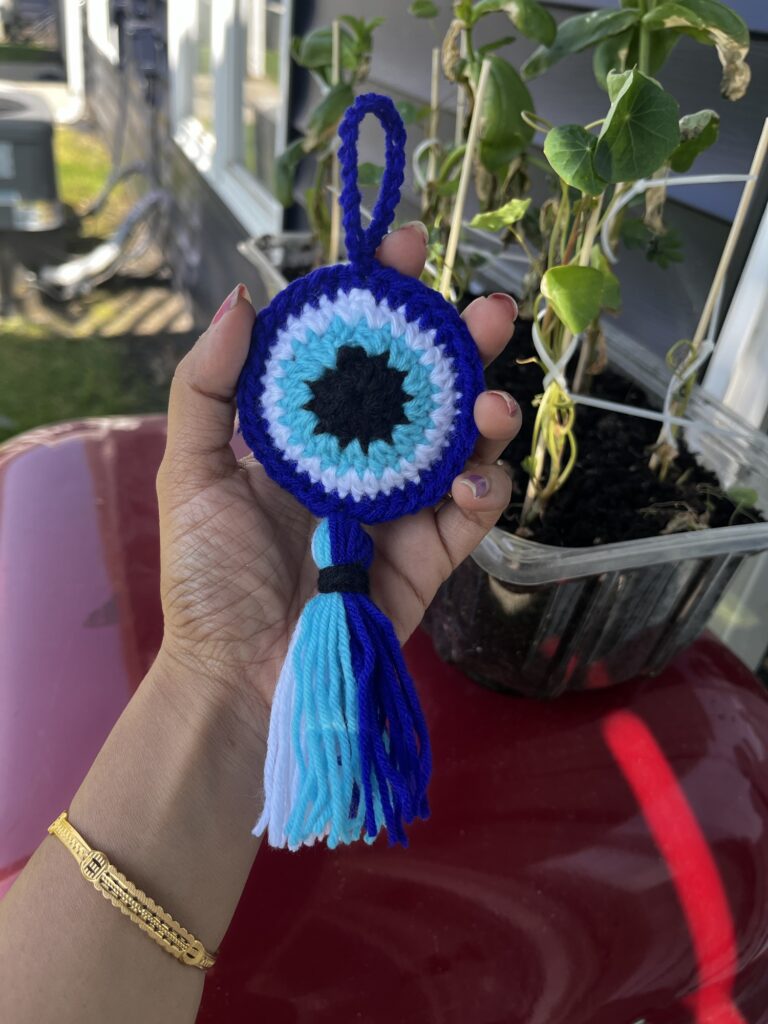
5. You can also add tassels and decorate with beads. I simply added a tassel to my evil eye..


Weave in all the lose ends in order to make the craft neat and clean.
AND THE PATTERN IS COMPLETE!!!!
♥️♥️♥️♥️♥️♥️♥️♥️♥️♥️♥️♥️♥️♥️♥️
Conclusion
Crafting an evil eye amigurumi charm is not just about the act of creating; it’s also about connecting with a symbol that carries deep-rooted significance across cultures. As you crochet each stitch, you’re weaving together the strands of history, protection, and artistry. This project is a wonderful way to practice your crochet skills while also crafting something with personal meaning. Once finished, your charm will serve as a small yet powerful reminder of positivity and protection. Whether you hang it in your home, gift it to a loved one, or use it as a keychain, the crochet evil eye charm is sure to be a conversation starter and a cherished piece in your collection.


| Subscribe … on Youtube | Follow … on Pinterest | Follow … on Instagram | |
Incredible my love 😘
Thank You for always supporting me 🥰🥰🥰
Thank you for being of assistance to me. I really loved this article.
Thank you