Table Of Contents
Introduction to Crochet Mandalas
Crochet mandalas, particularly in the form of delicate doilies, have adorned homes for centuries, adding a touch of elegance and craftsmanship to everyday decor. Originating in the 19th century, doilies were often created as intricate lace pieces, used to protect furniture or as decorative accents. While they started as purely functional items, they quickly became a symbol of creativity and artistry within domestic spaces. Today, as crochet continues to evolve, doilies have found a new life, blending traditional techniques with modern styles.
With this free mandala doily pattern, you’ll not only learn to create a beautiful piece but also connect to the rich history of handcrafted decor that has spanned generations. So, whether you’re looking to enhance your crochet skills or add a touch of vintage charm to your home, this pattern is perfect for you.
Let’s dive into the world of crochet and explore the joy of crafting something truly timeless!
♥️♥️♥️♥️♥️♥️♥️♥️♥️♥️♥️♥️♥️♥️♥️
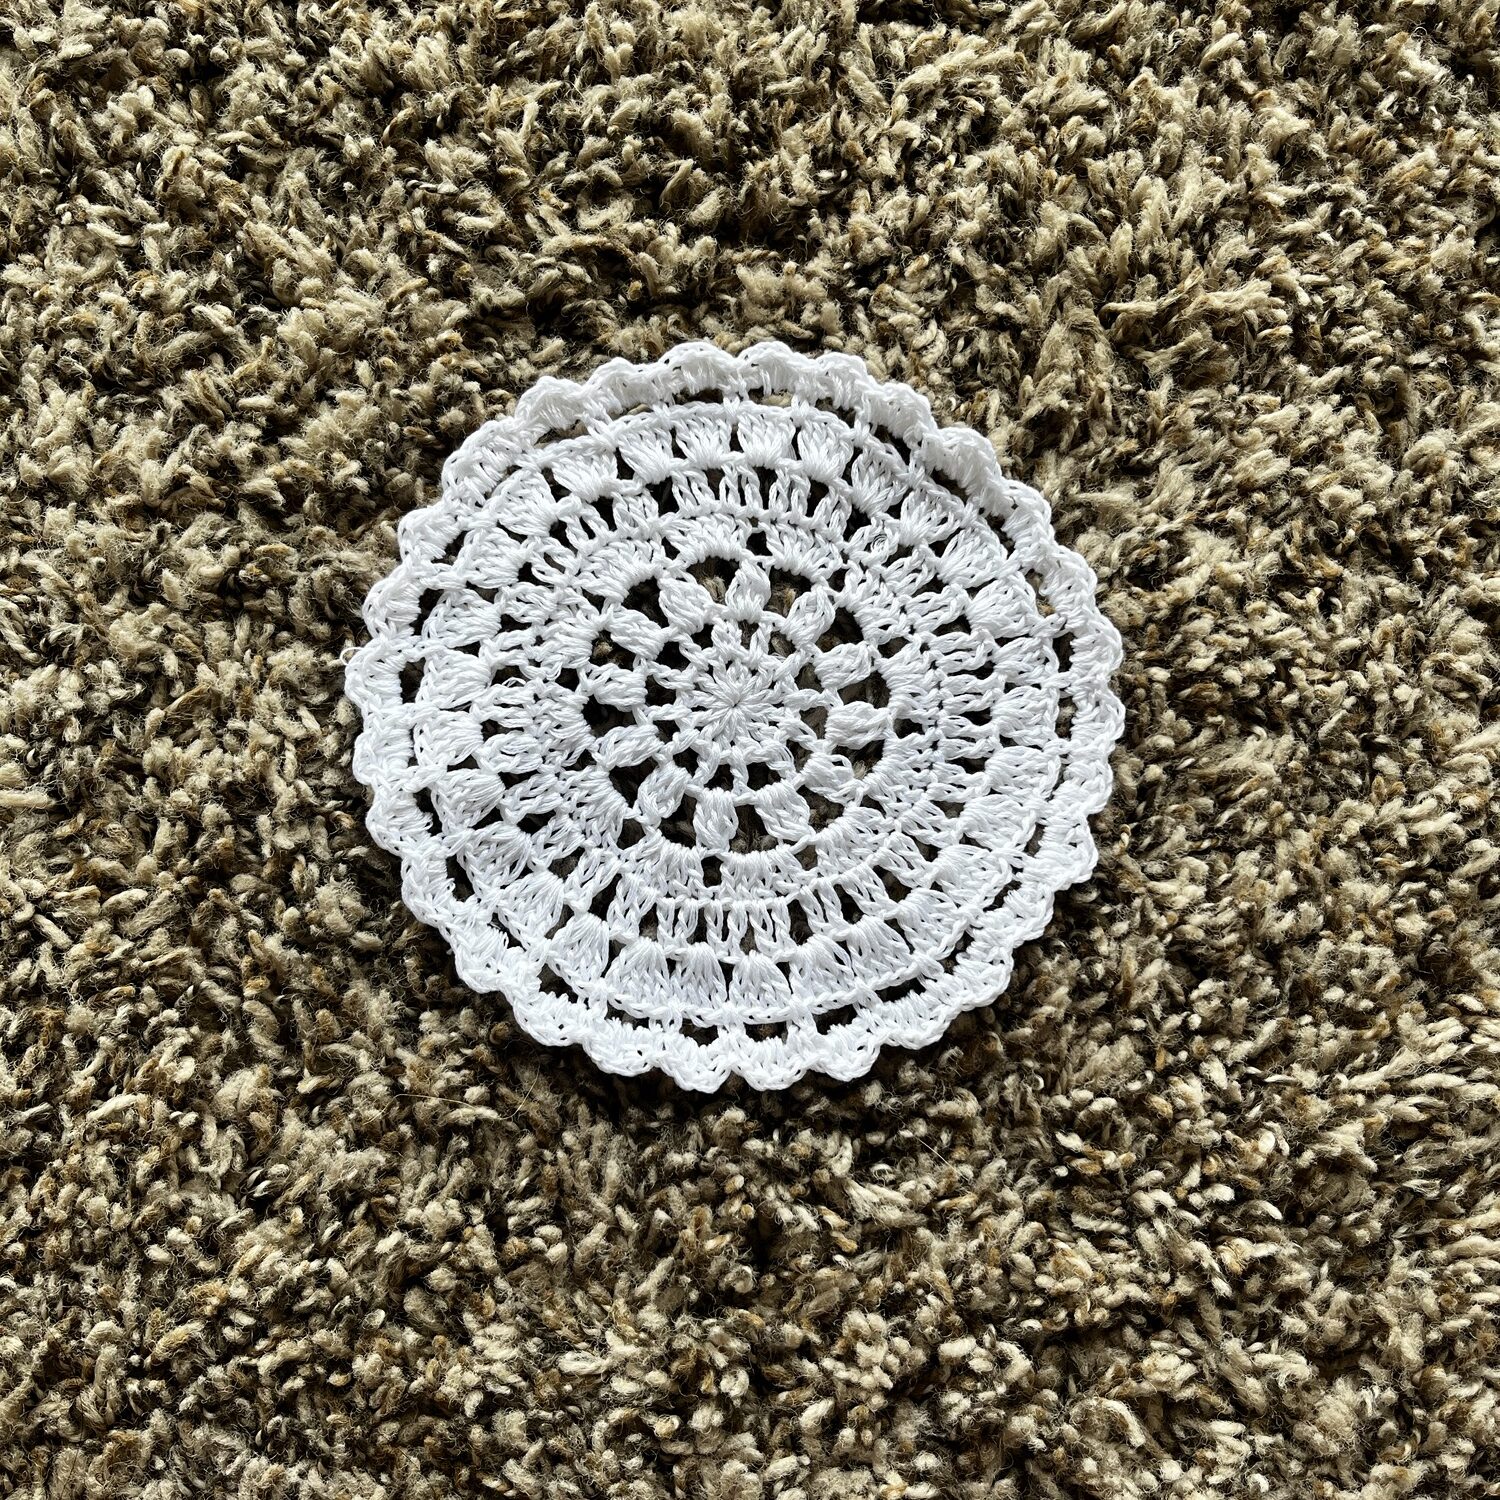
Isn’t this beautiful? You can make this and then gift this to your dear ones…. Handmade gifts are just perfect !!!!
I have given the written direction for this very cute and easy mandala in this blog. However you can also visit my YouTube channel link1 and link2 to understand the stitching technique better.

This project is really fast and easy and hence a perfect practice project for beginners. You can also change the pattern little bit for making different doilies ♥️♥️♥️
For the step-by-step video tutorial, click PART 1 and PART 2. The tutorial is divided into two parts for easier learning and better flow! Thus, Please subscribe to my channel for all the latest and the best patterns.
Since, Most of the crochet lovers just loved this pattern….. I think, you will also love it……
Therefore, just leave a comment in the comment section about it.
For getting updates of all my free patterns, please fill in the subscribe form
DECLARATION
Hi, I am Shabari Dutta. I work very hard on each and every pattern provided in this website, So you can always give a credit by mentioning my name & website www.hookedinloopsbyshabari.com in your posts.....♥️♥️♥️♥️♥️♥️♥️♥️♥️♥️♥️♥️♥️♥️♥️, h
You can sell any product made from this patternowever, you may not distribute this pattern as your own in any way!
Abbreviation
- mr- magic ring
- sc – single crochet
- sl st – slip stitch
- dc- double crochet
- hdc- half double crochet
- ch – chain
- sts- stitches
- yo- yarn over
- sp- space
SPECIAL STITCH
3 dc cluster stitch – Yo, insert your hook in the indicated st/sp, yo and pull up a loop. Then yo, pull through 2 loops on your hook* thrice in the same st/sp. yo, pull through all 4 loops on your hook.
Materials Needed
- Embroidery Floss (your choice of colours)
- 1.75 mm crochet hook
- Tapestry needle for weaving ends
- stitch markers
skill level- easy
PATTERN (how to crochet the coaster)
- Do a mr.
- Start with a ch2 (do not consider this to be any stitch). In the mr, do (1dc + ch1)x 12. Then at the end do a sl st in the 1st dc st of this round.
- Then sl st in the adjacent ch1 sp. In the ch1 sp, do ch2 (do not consider this to be any stitch) and then *(1dc + ch2)*. In the same way repeat the pattern *()* in each and every ch1 sp of the last round. At the end, sl st in the 1st dc st of the round.
- Similar to the previous round, sl st to the 1st ch2 sp of the last round. Then start with a ch2 (do not consider this to be any stitch). In the same sp,do a *(3dc cluster st +ch4)*. Repeat the same pattern in *()* in each of the remaining ch2 sps of the last round. At the end, sl st in the 1st cluster st of the round.
- Sl st in the 1st ch4 sp of the last round. As usual start with a ch2 (do not consider this to be any stitch). Then in the same ch4 sp do 5 dc sts. In each of the remaining ch4 sps also, do 5 dc sts in each one of those. At the end, sl st in the 1st dc st of the round.
- Start with a ch2 (do not consider this to be any stitch). Then in the same st- 1dc. In the next st do 1dc + ch2. * In the next st- 1dc and in the following st- 1dc+ ch2*- repeat this pattern thoughout. At the end, sl st in the 1st dc st.
- Sl st in the next dc st and sl st in the ch2 sp. Do a ch2 (do not consider this to be any stitch). In the same sp do 4dc sts. Repeat this pattern in all the remaining ch2 sp. At the end sl st in the 1st dc st.
- Sl st in each of the next 3 dc sts. Then sl st in the gap between two sets of 4dcs, and do a ch1. then in the same sp, 1sc + ch4. Again do 1sc+ch4 in the next gap and repeat this till the end. t the end, sl st in the 1st sc st.
- Do a ch1 followed by 1 sc in the same st. In the adjacent ch4 sp do- ( 1hdc, 2dc, 1hdc). Do 1 sc in the next sc st. And again in the ch4 sp do- ( 1hdc, 2dc, 1hdc). Repeat this pattern till the end. Finally at the end, sl st in the 1st sc st. do a ch1. Cut the yarn.
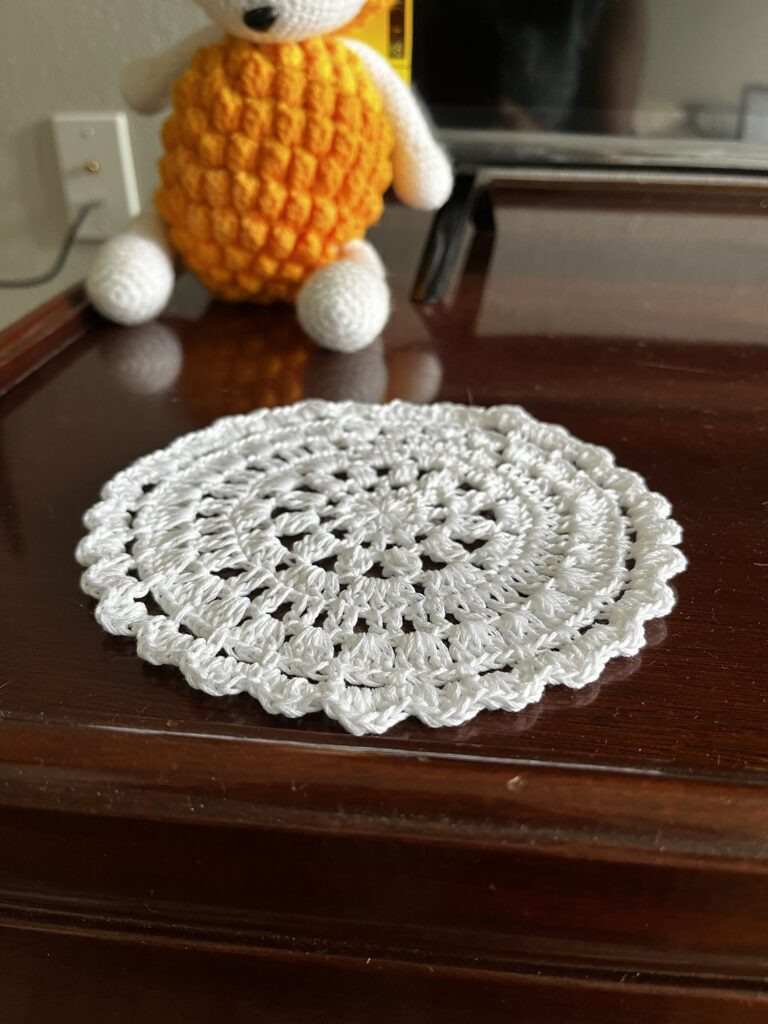
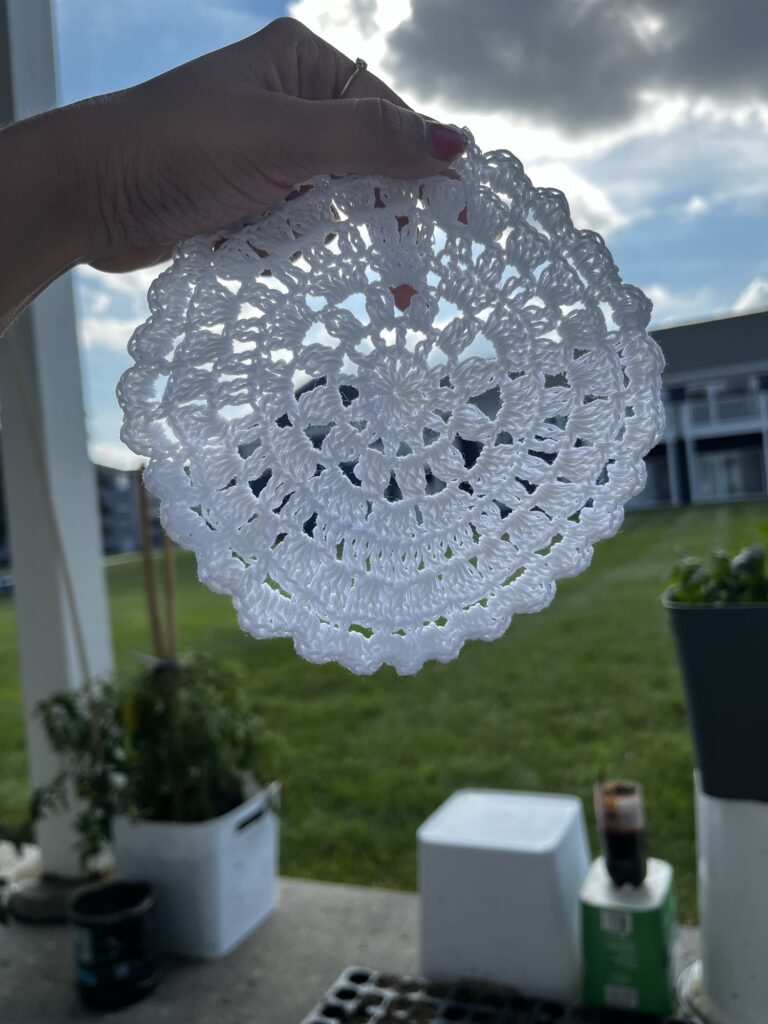
Weave in all the lose ends in order to make the craft neat and clean.
AND THE PATTERN IS COMPLETE!!!!
♥️♥️♥️♥️♥️♥️♥️♥️♥️♥️♥️♥️♥️♥️♥️
Conclusion
To wrap up, crocheting a simple coaster is an ideal project for beginners and a wonderful opportunity to hone your skills. With just a few fundamental stitches and straightforward steps, you can quickly craft a functional yet beautiful piece that adds a personal touch to your space while making a charming handmade gift. Plus, feel free to get creative with colors and patterns to truly make your coasters one-of-a-kind.
Happy crocheting, and always remember that, the more you practice, the better you’ll become! Additionally, if you enjoyed this tutorial, feel free to explore my other crochet guides and patterns. Finally, share your creations in the comments below or on social media.
Thank you so much for reading this pattern blog…I hope you will love the item you create from it.
Namaste!!!!!!!


| Subscribe … on Youtube | Follow … on Pinterest | Follow … on Instagram | |
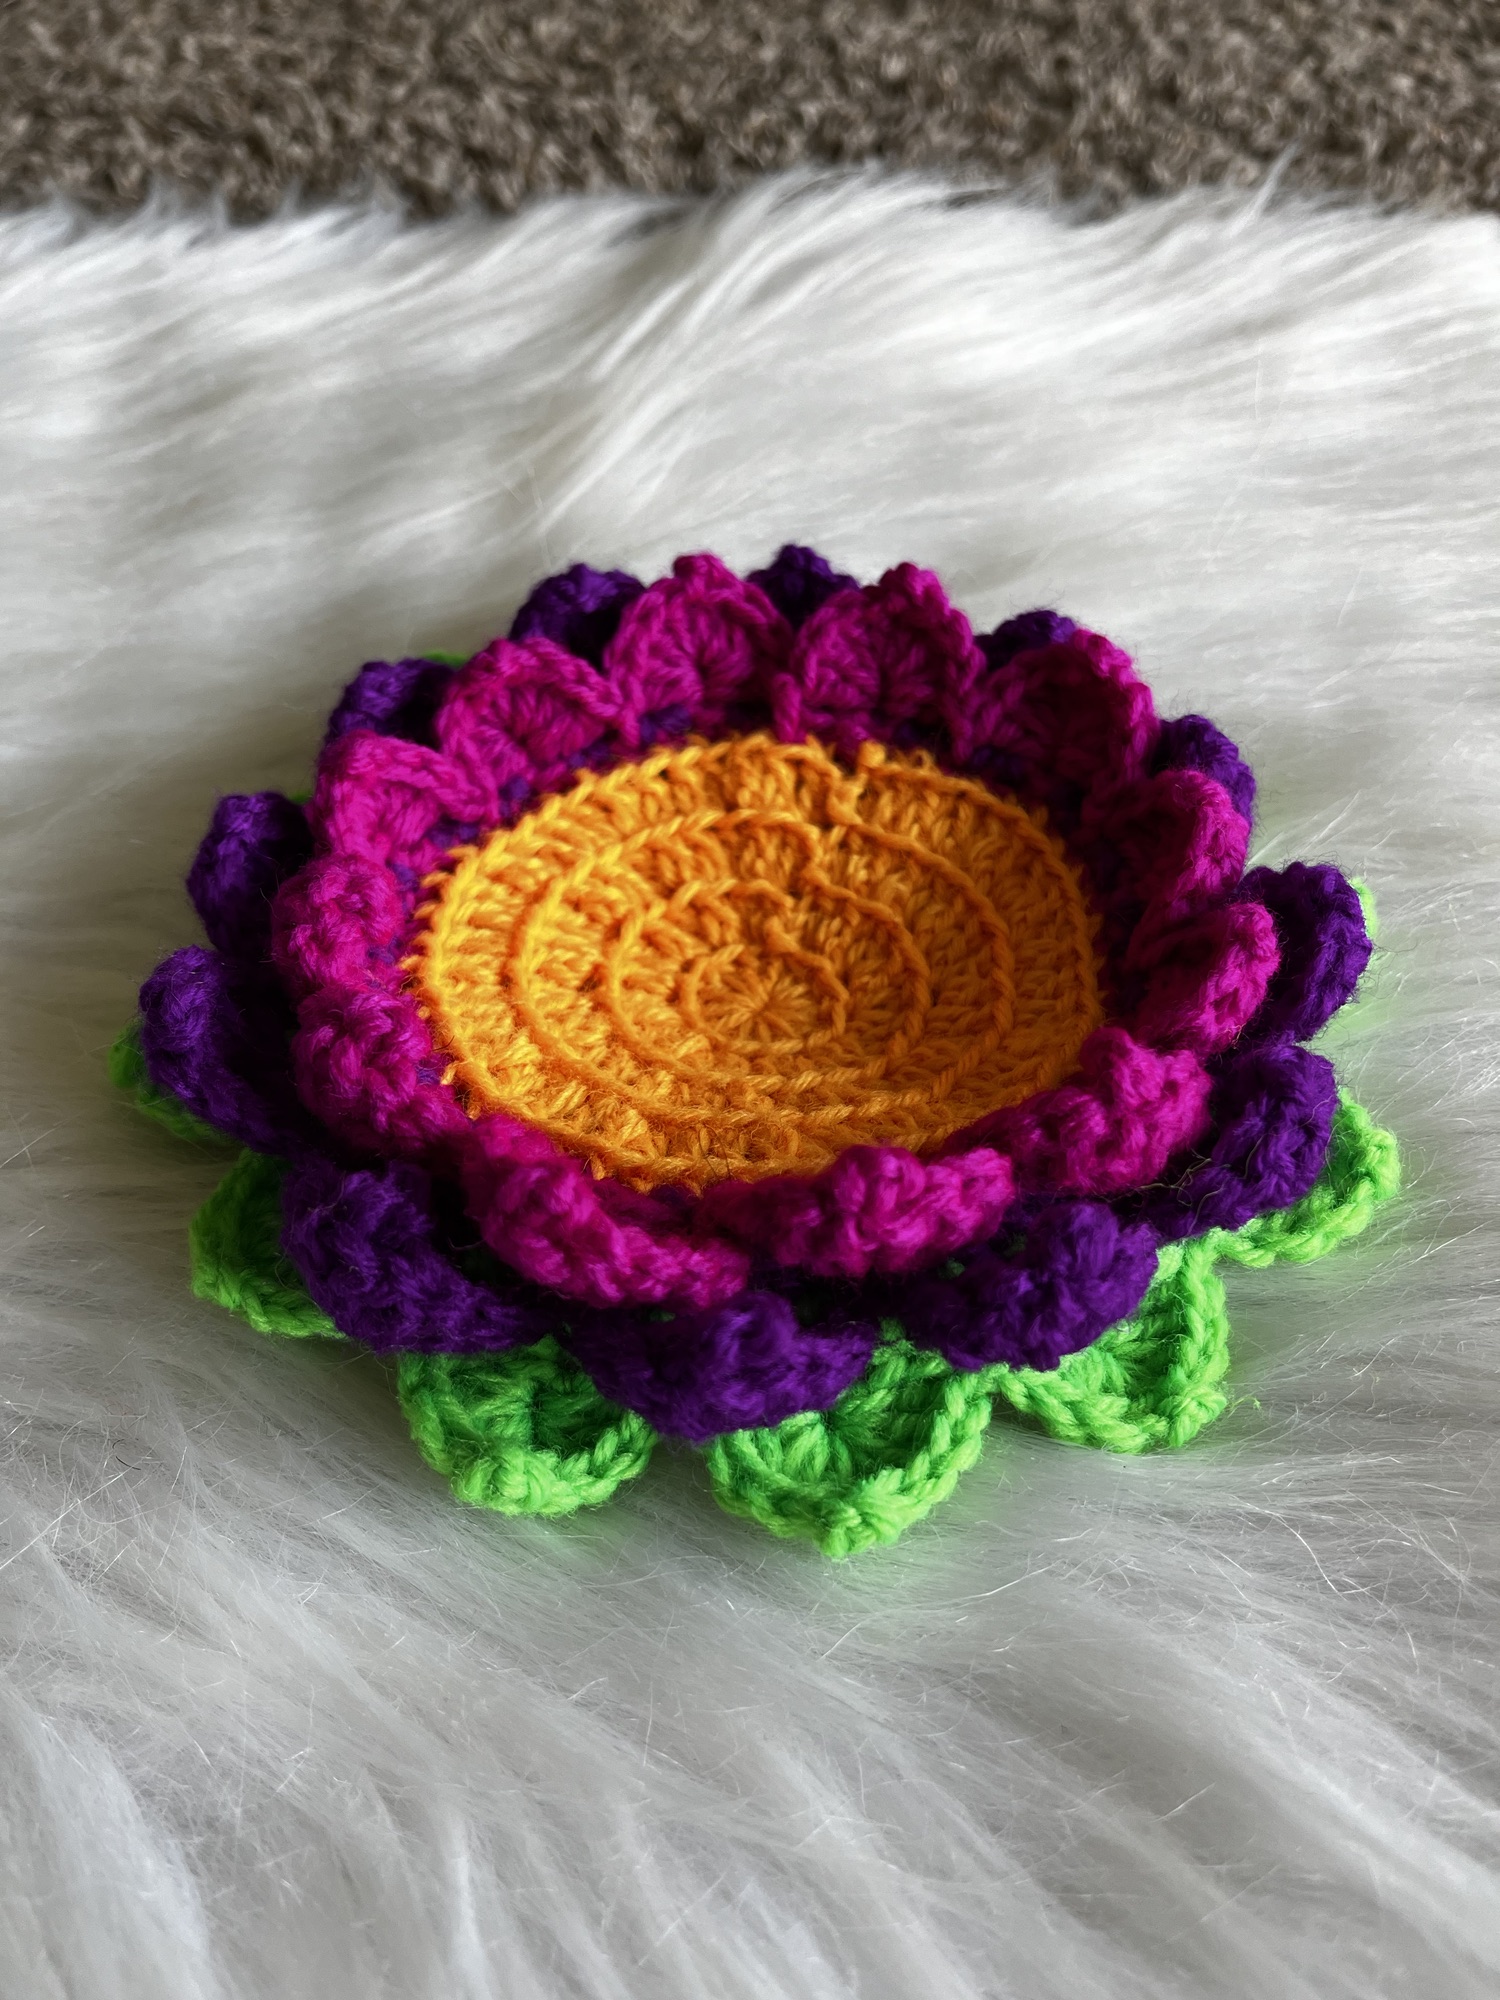
So amazing, specially the picture and the USA background 😻
Thank you so much ❤️❤️❤️my love 🇺🇸 you are amazing