Table Of Content
Introduction
Curious about how to crochet? Crochet is a beautiful and classy crafting technique. Moreover, it is easy to learn, allowing you to create both beautiful and functional items. And, one such delightful project is the ‘Crochet Daisy Scrunchie’. It is not only pretty but also contains basic crochet stitches. Not only are these scrunchies trendy and charming, but they also make excellent gifts.
In this blog post, I will guide you through the process of creating your own crochet daisy scrunchies therefore, let’s dive in!
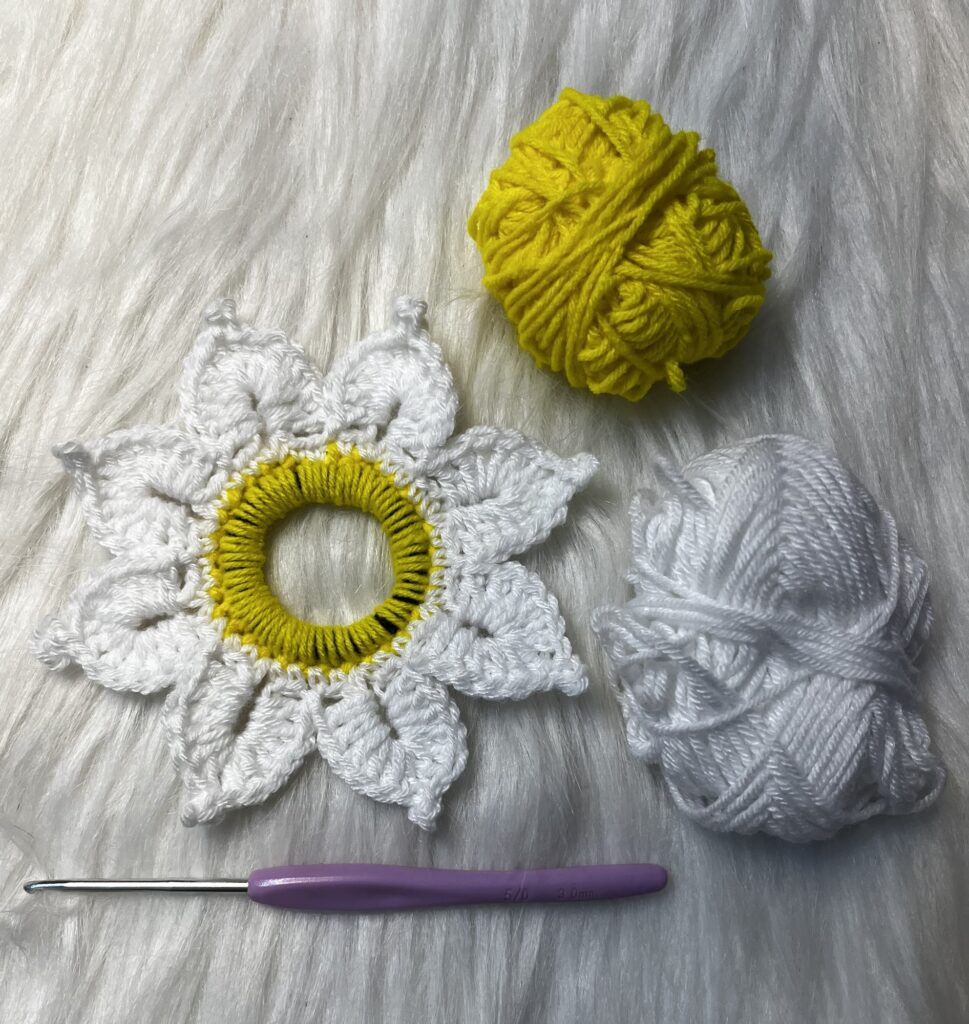
Level of the Project: Beginner
This pattern is available for personal use only and therefore you cannot share or sell this written pattern. You can sell your own hand-made products from this pattern, but please tag @shabaris_life for design credit. Thank you so much for your cooperation!
Check out the Free Live Class on my Scrunchie Tutorial!!
Materials & Tools
Before we dive into the pattern, let’s gather the materials you’ll need:
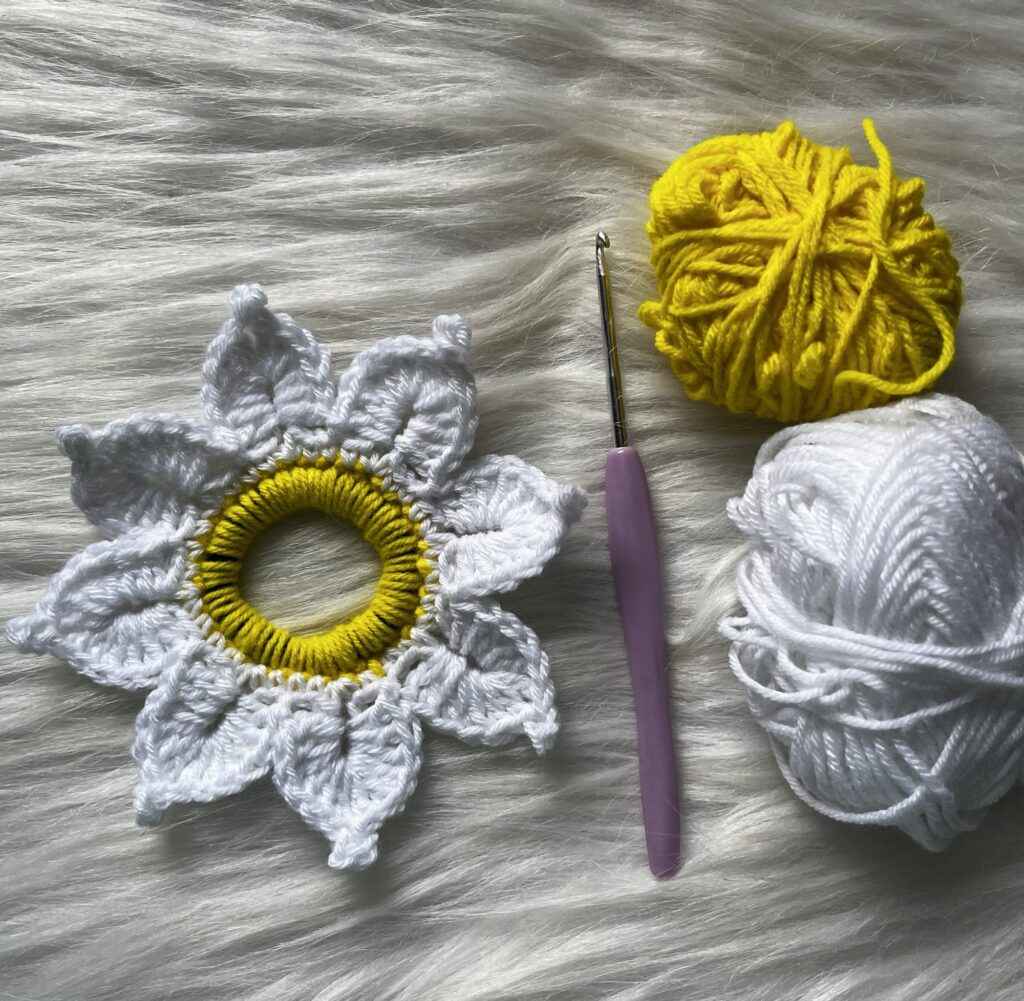
- You can use any yarn of your choice. However, I have used 4 ply acrylic yarns (two colors: one for the cente and one for the petals).
- Crochet hook appropriate for your yarn weight (typically recommended hook size for your yarn). But for my work I have used 3 mm size hook.
- rubber bands
- Scissors
- Yarn needle for weaving in ends
Abbreviation used in the Written Pattern
- sl knot- slip knot
- ch- chain
- sc- single crochet
- dc- double crochet
- st- stitch
- sl st- slip stitch
- sp- space
How to Crochet the Daisy Scrunchis (Written Pattern)
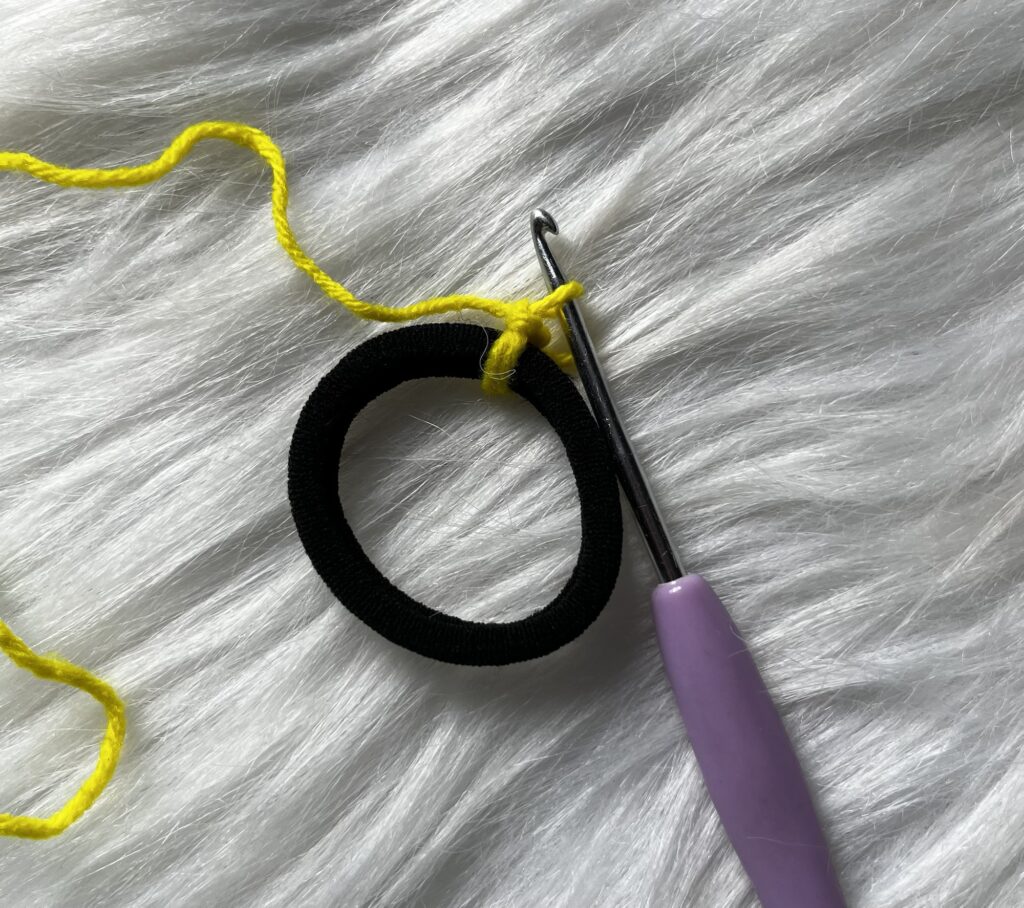
- Take yellow coloured yarn, make a sl knot and then insert your hook in it. After that, do a sl st around your rubber band, followed by a ch1.

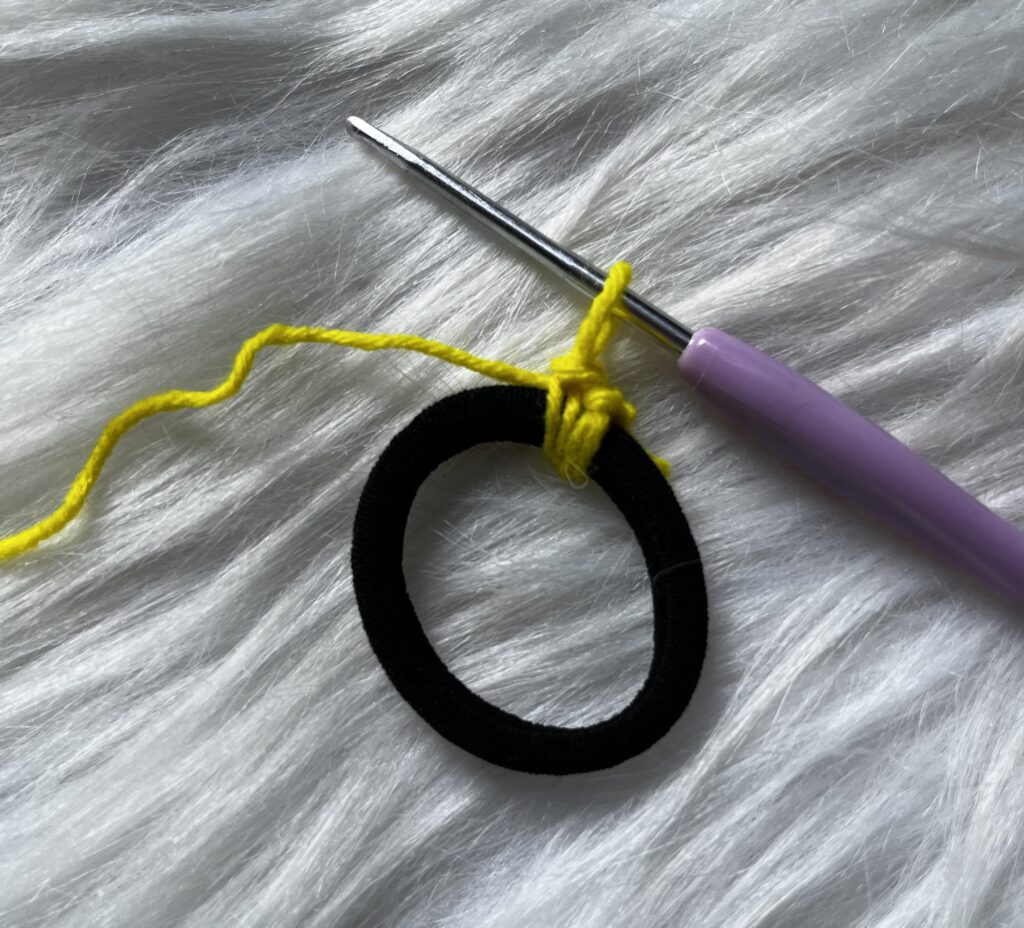
- After that, do 32 sc sts around the rubber band. Complete the 1st round by doind a sl st to the 1st sc st of the round. And finally, do a ch1 and cut the yarn.
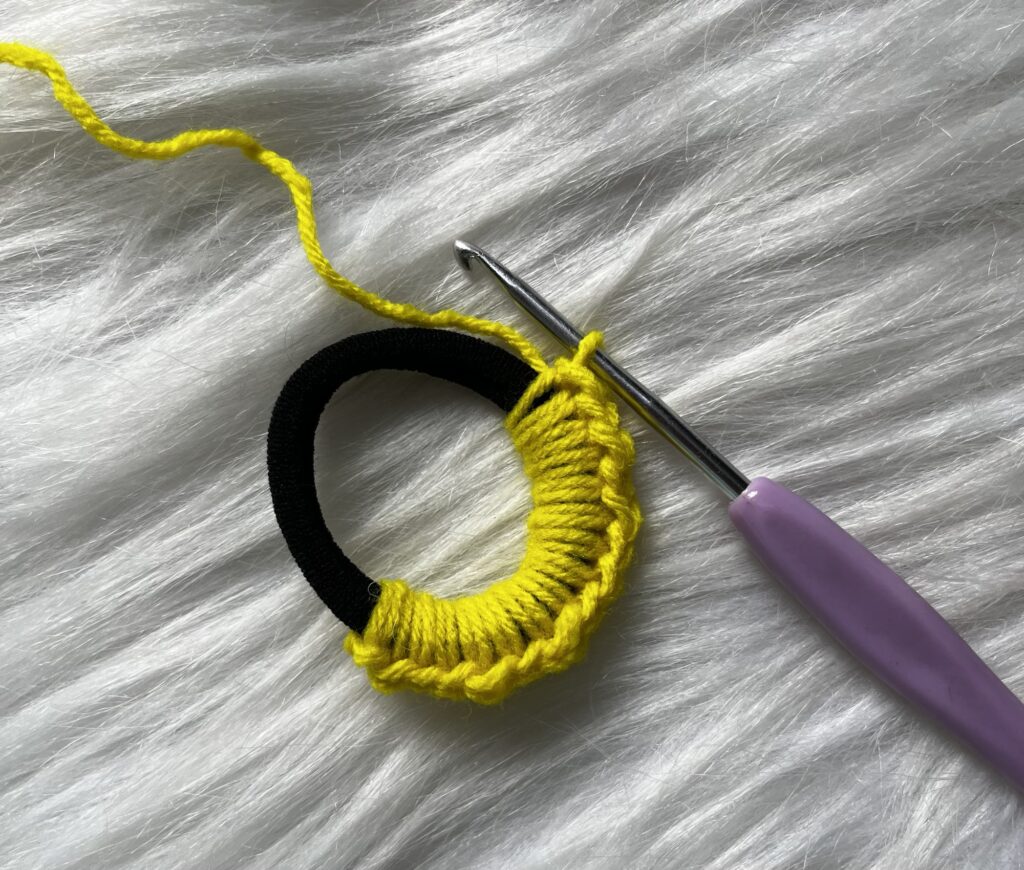


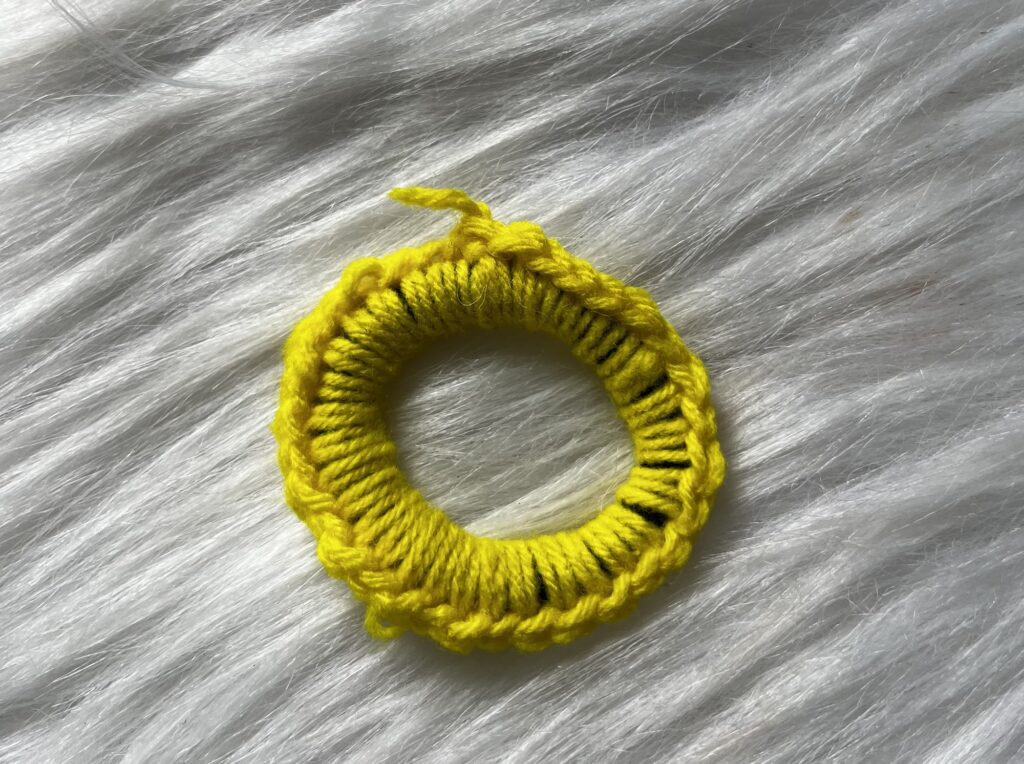
- For the 2nd round- take the white yarn and make a sl knot and then insert the hook in it for doind a colour change. Do a sl st in any st of the last round followed by a ch1.
- Do 1sc st in the same st and then 1 sc in the next st. In the following st, do (1sc, ch6, 1sc). *{In the following 3 sts, do 1 sc in each one of them, and in the next st do (1sc, ch6, 1sc)}*. Repeat everything in the *{}*. When you have reached the end, do 1 sc st in the remaining st of the last round. Complete the round 2 with a sl st in the 1st sc st of the round 1.

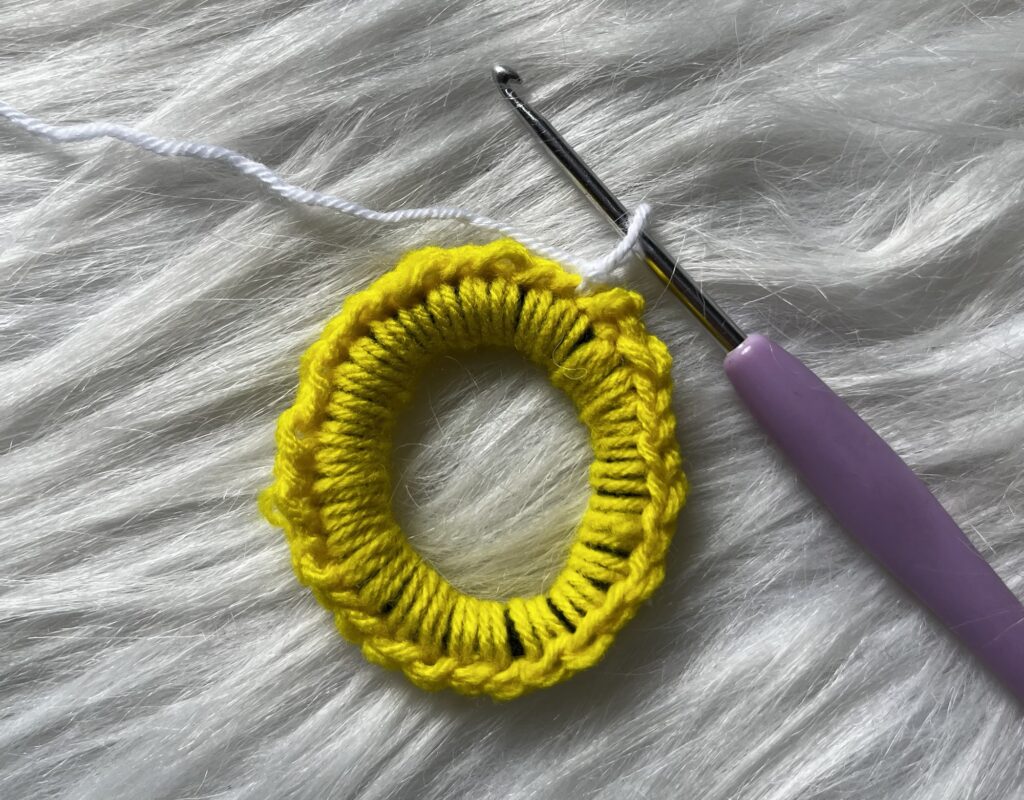
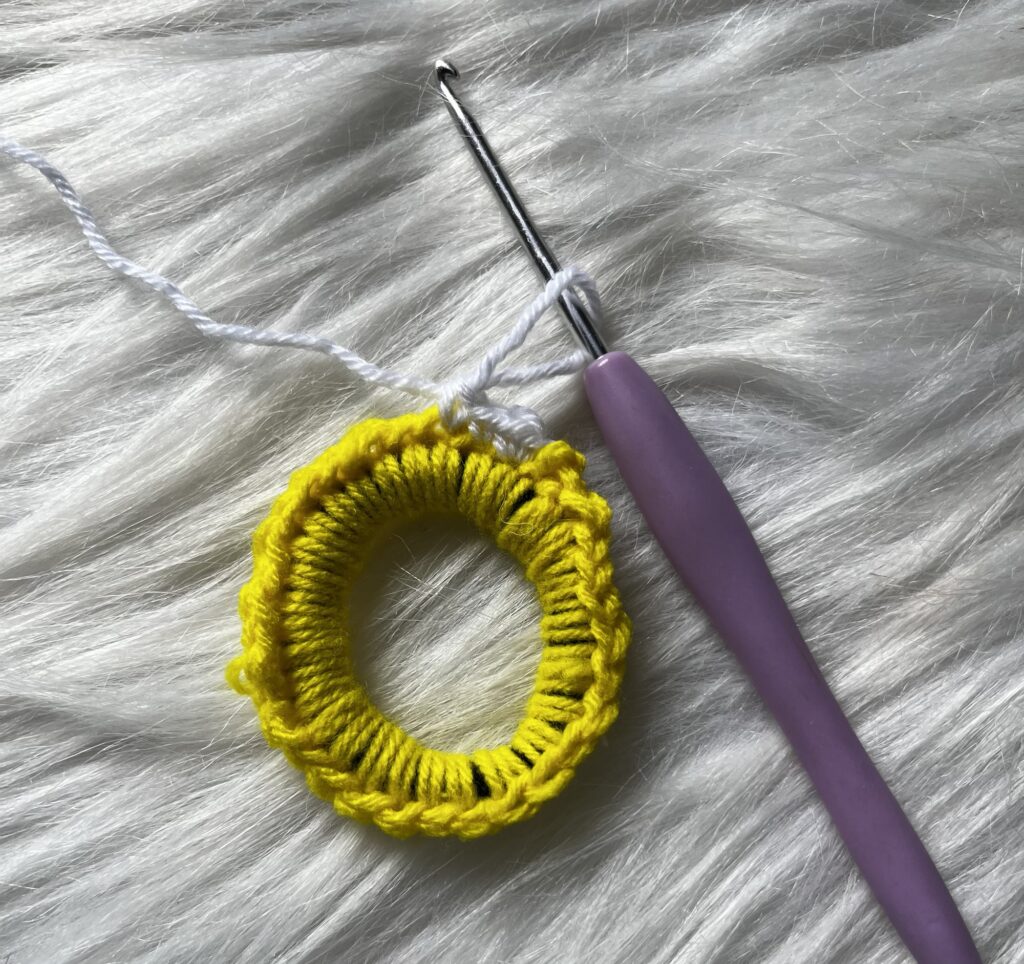


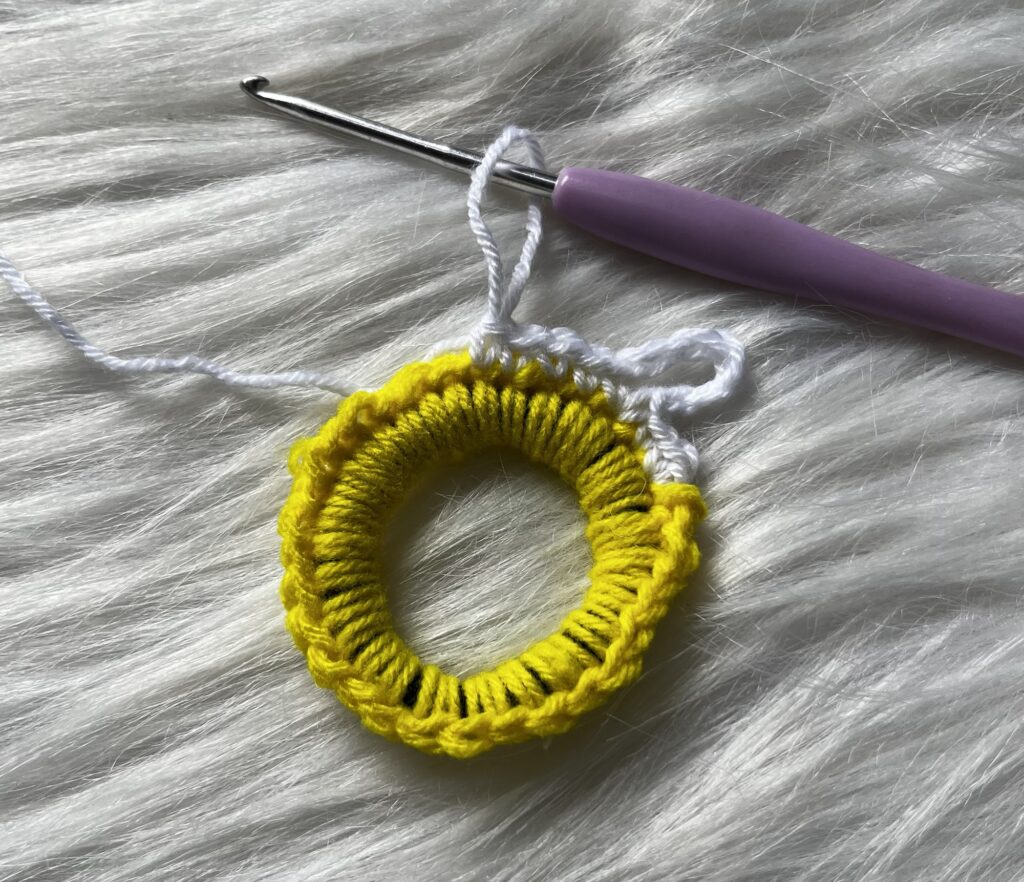


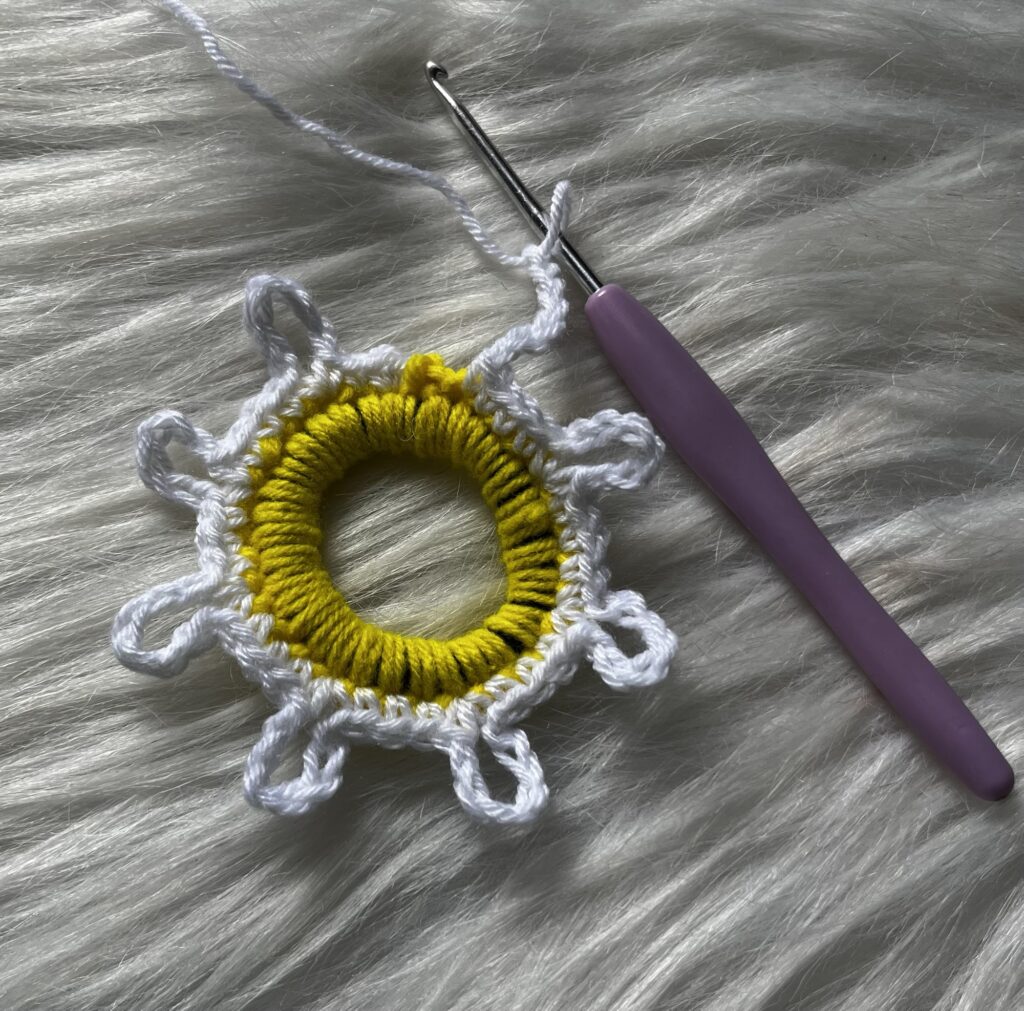


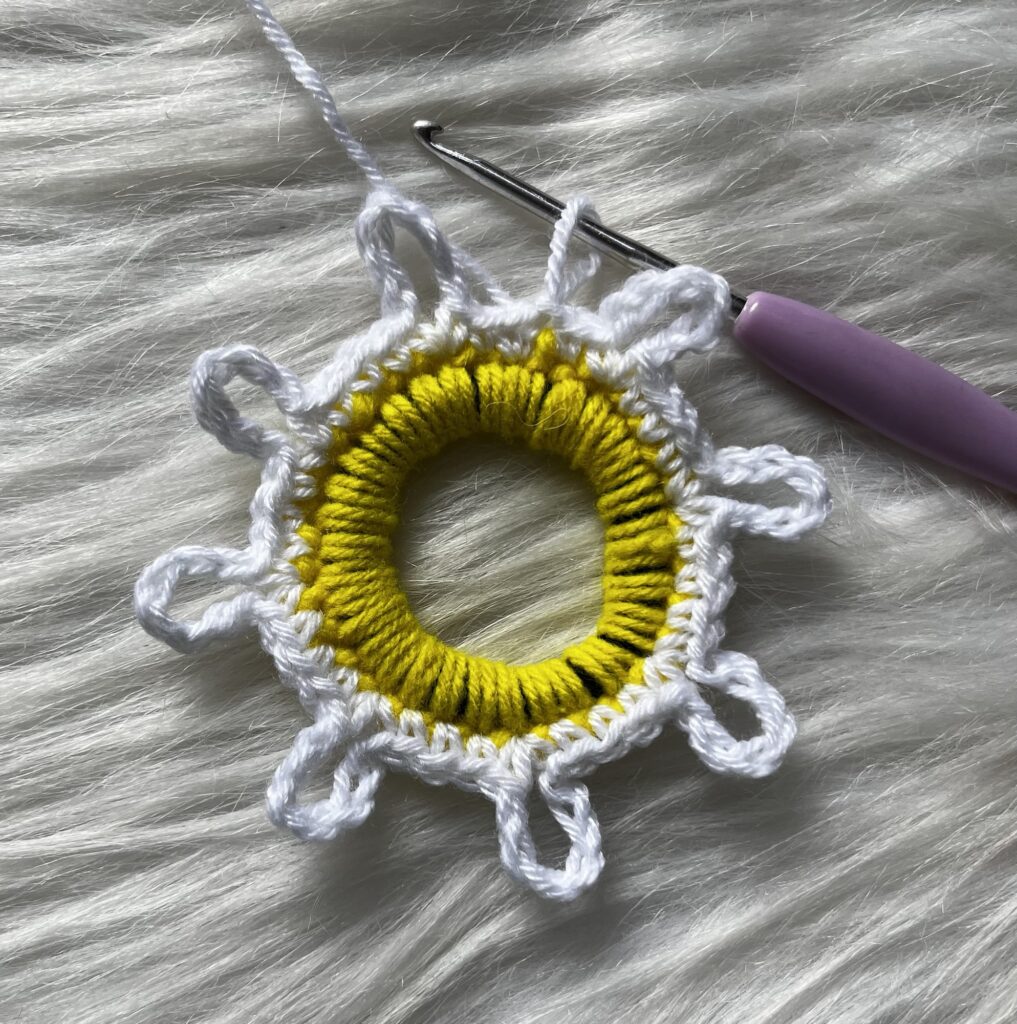
- We will begin round 3 where we left off in the previous round. In the 1st ch6 sp of the last round, do (6dc, ch3 picot and 6dc in the same ch6 sp). Then, *{skip the next 2 sts, and do a sl st in the 3rd st of the last round. Again, in the next ch6 sp of the last round, do (6dc, ch3 picot and 6dc in the same ch6 sp)}*. Repeat everything in the *{}*.When you have reached the end, do a sl st in the 1st where you began the round 3. Do a ch1 and then cut the yarn and weave in the loose ends.
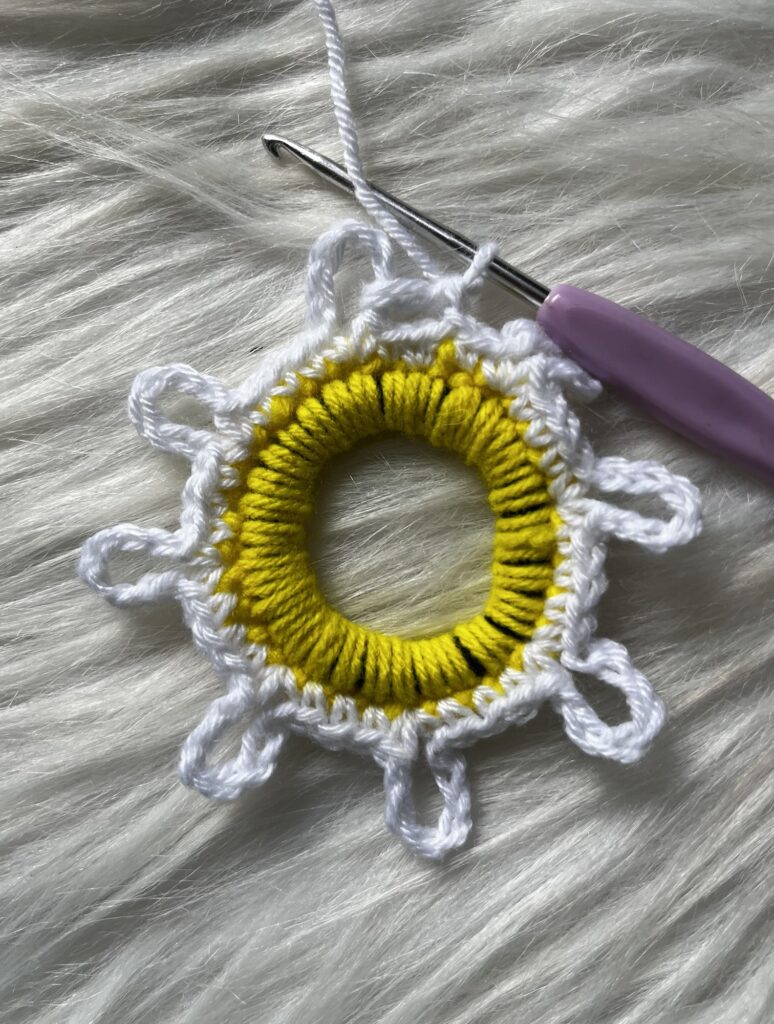
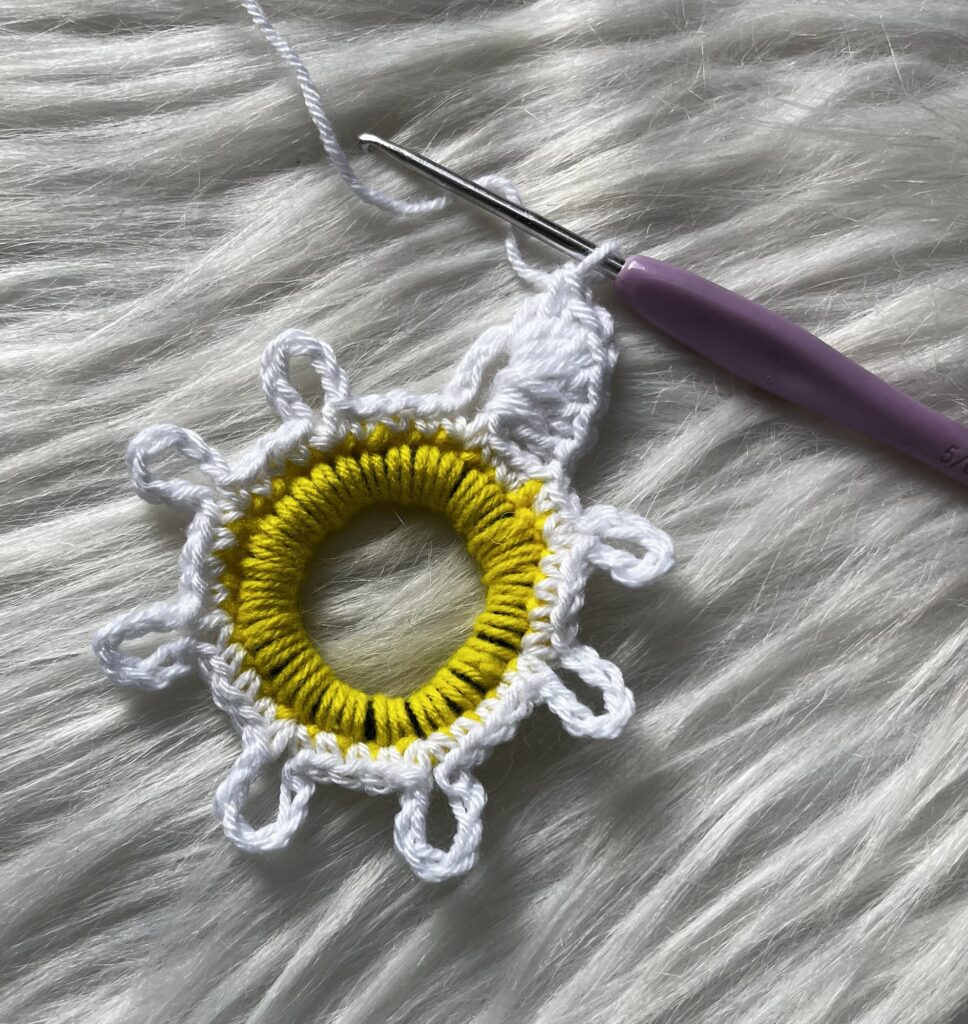


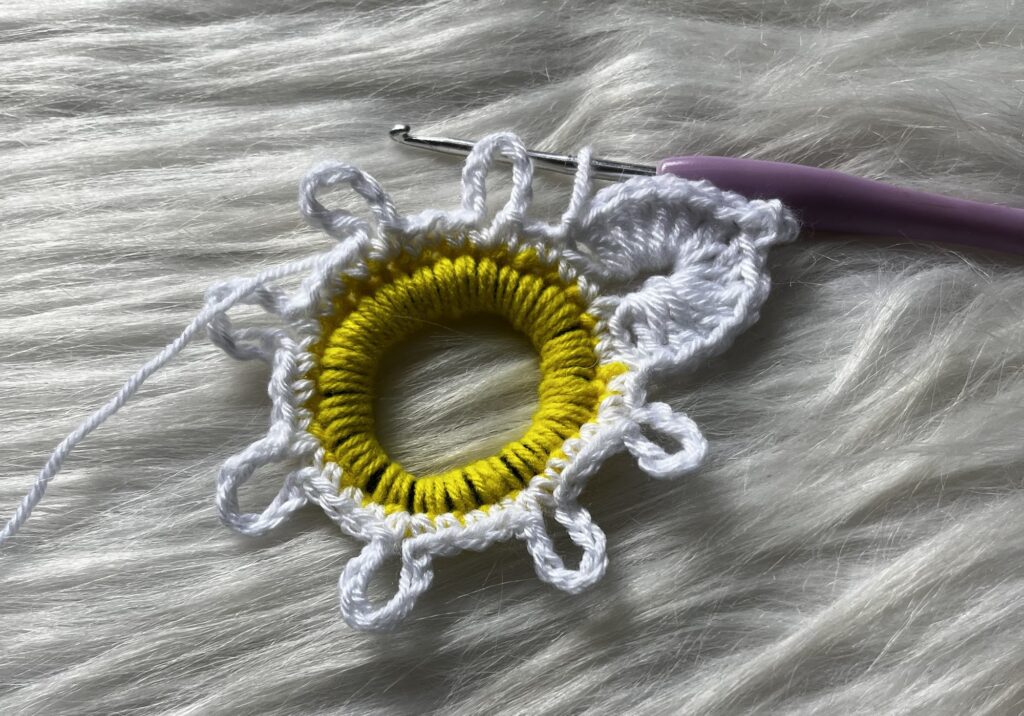
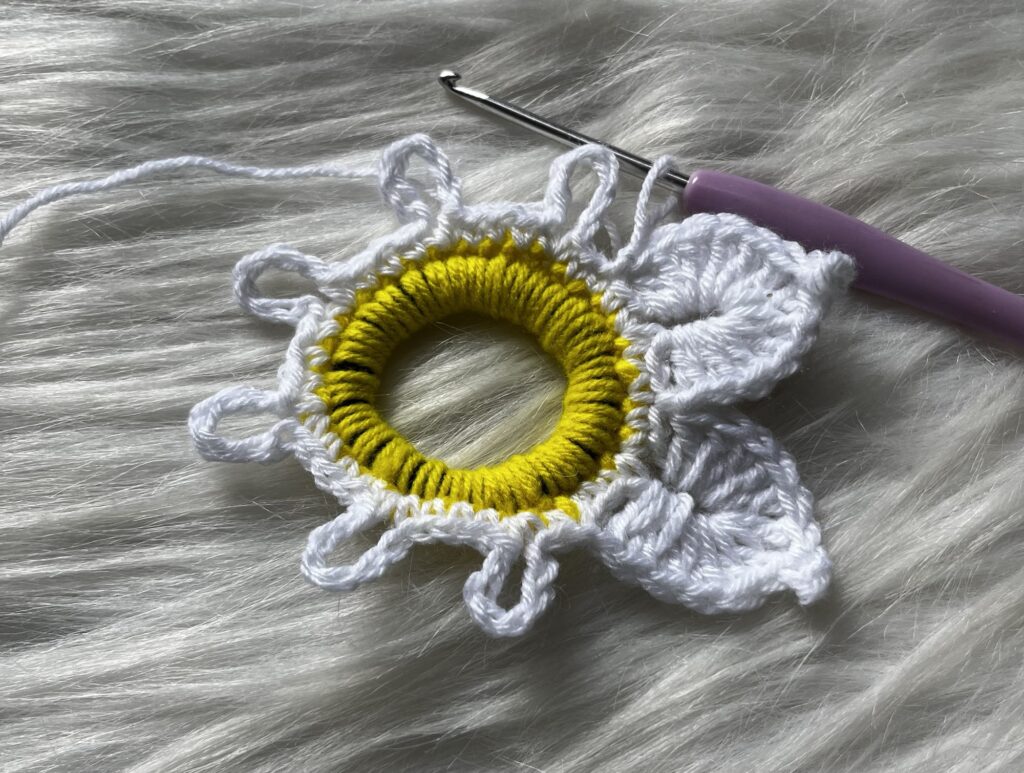

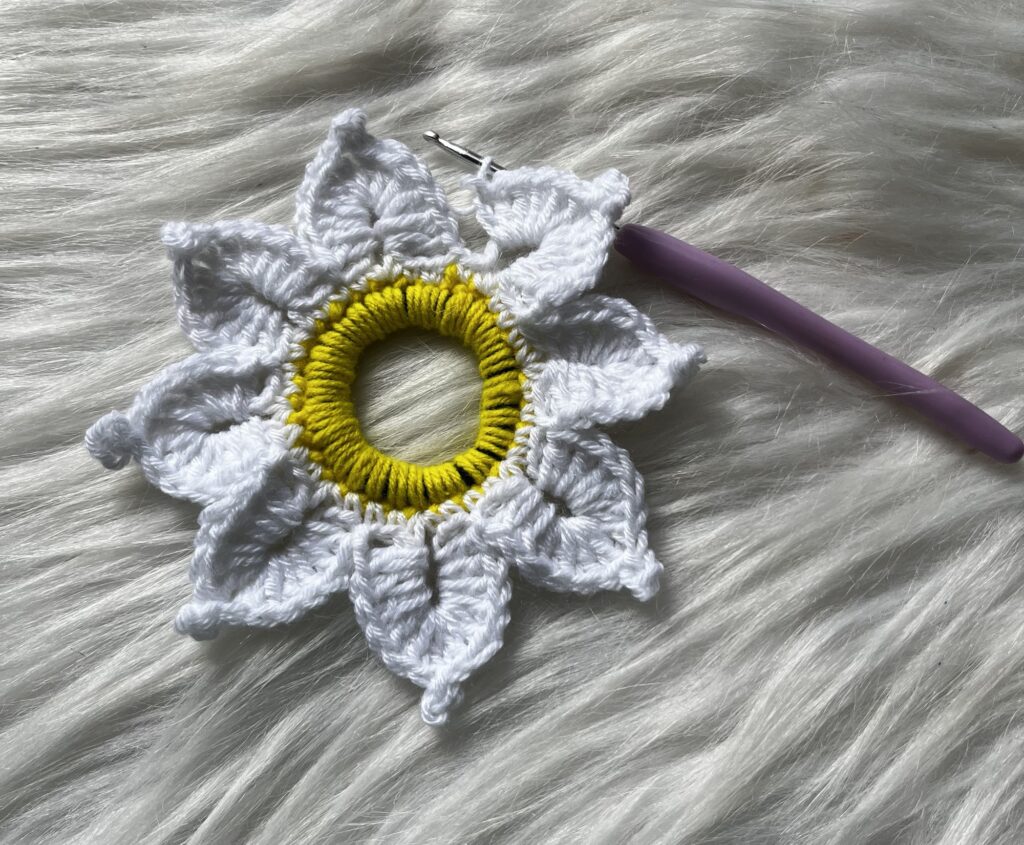
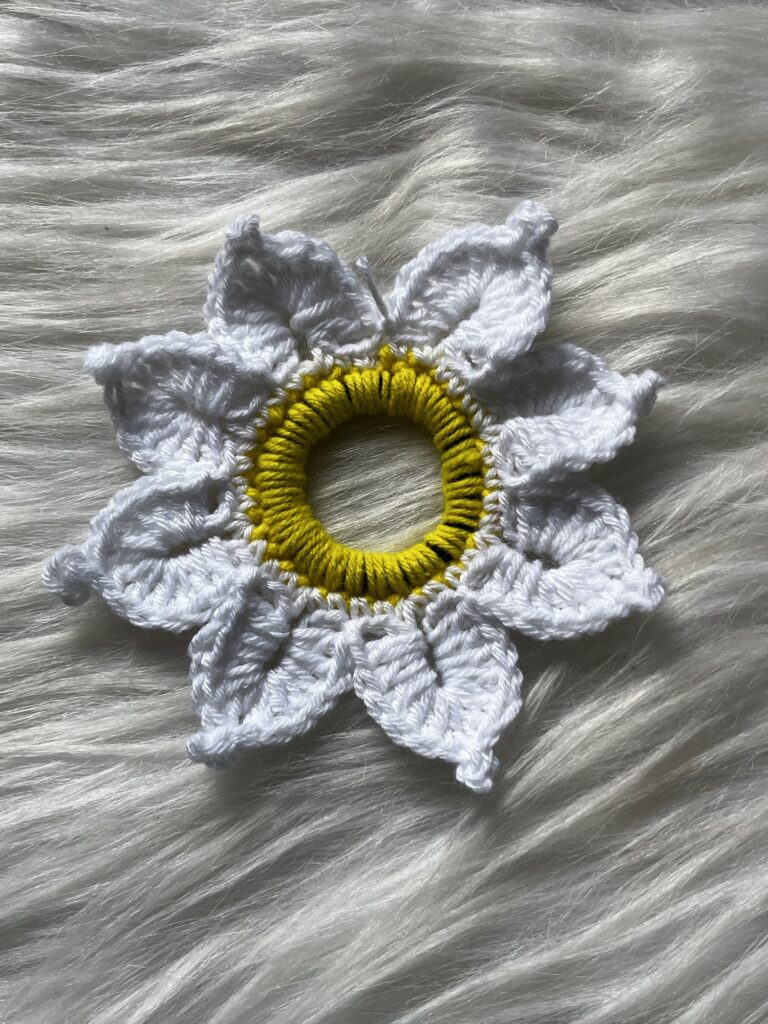
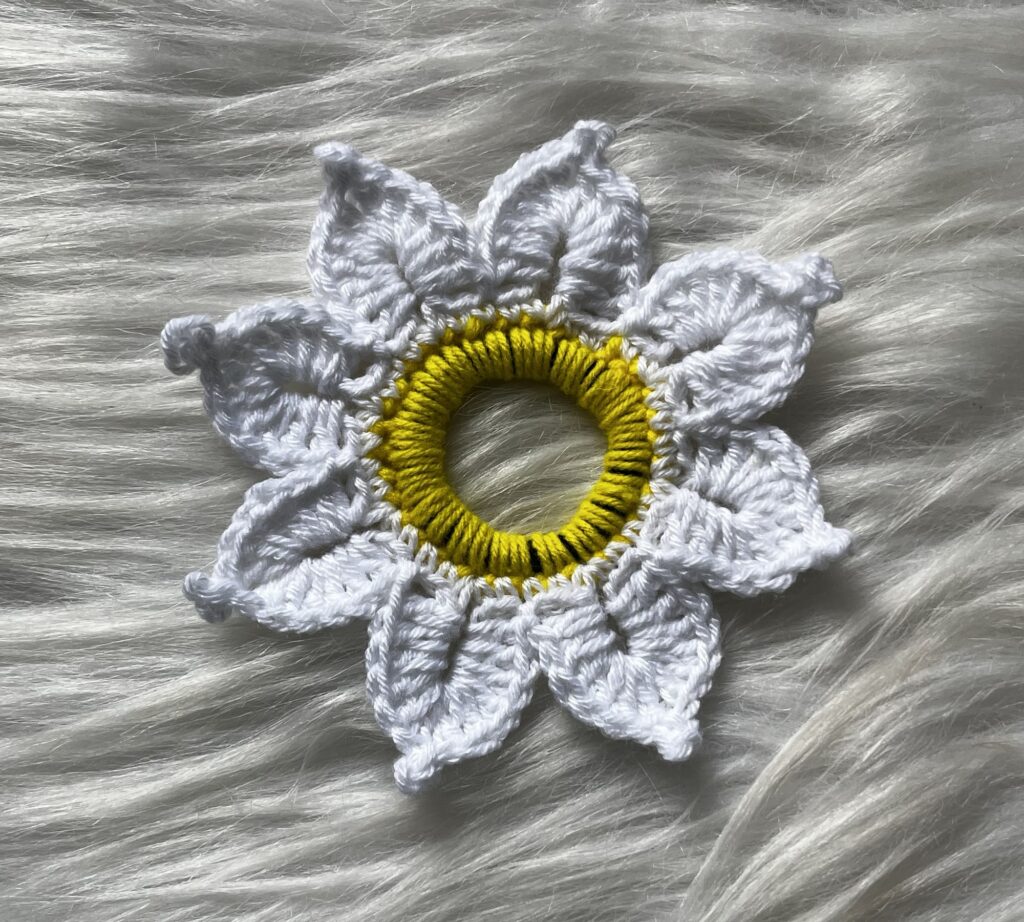
And there you have it—your daisy scrunchie is ready!
Conclusion
In conclusion, creating crochet daisy scrunchies is a fun and rewarding project. Not only do you get to enjoy the process of crocheting, but you also end up with a lovely accessory. Whether for yourself or as a gift, these scrunchies are sure to delight. Moreover, they are an excellent way to use up small amounts of leftover yarn. So, grab your materials, follow these steps, and start creating your own beautiful crochet daisy scrunchies today!
| Subscribe … on Youtube | Follow … on Pinterest | Follow … on Instagram | |
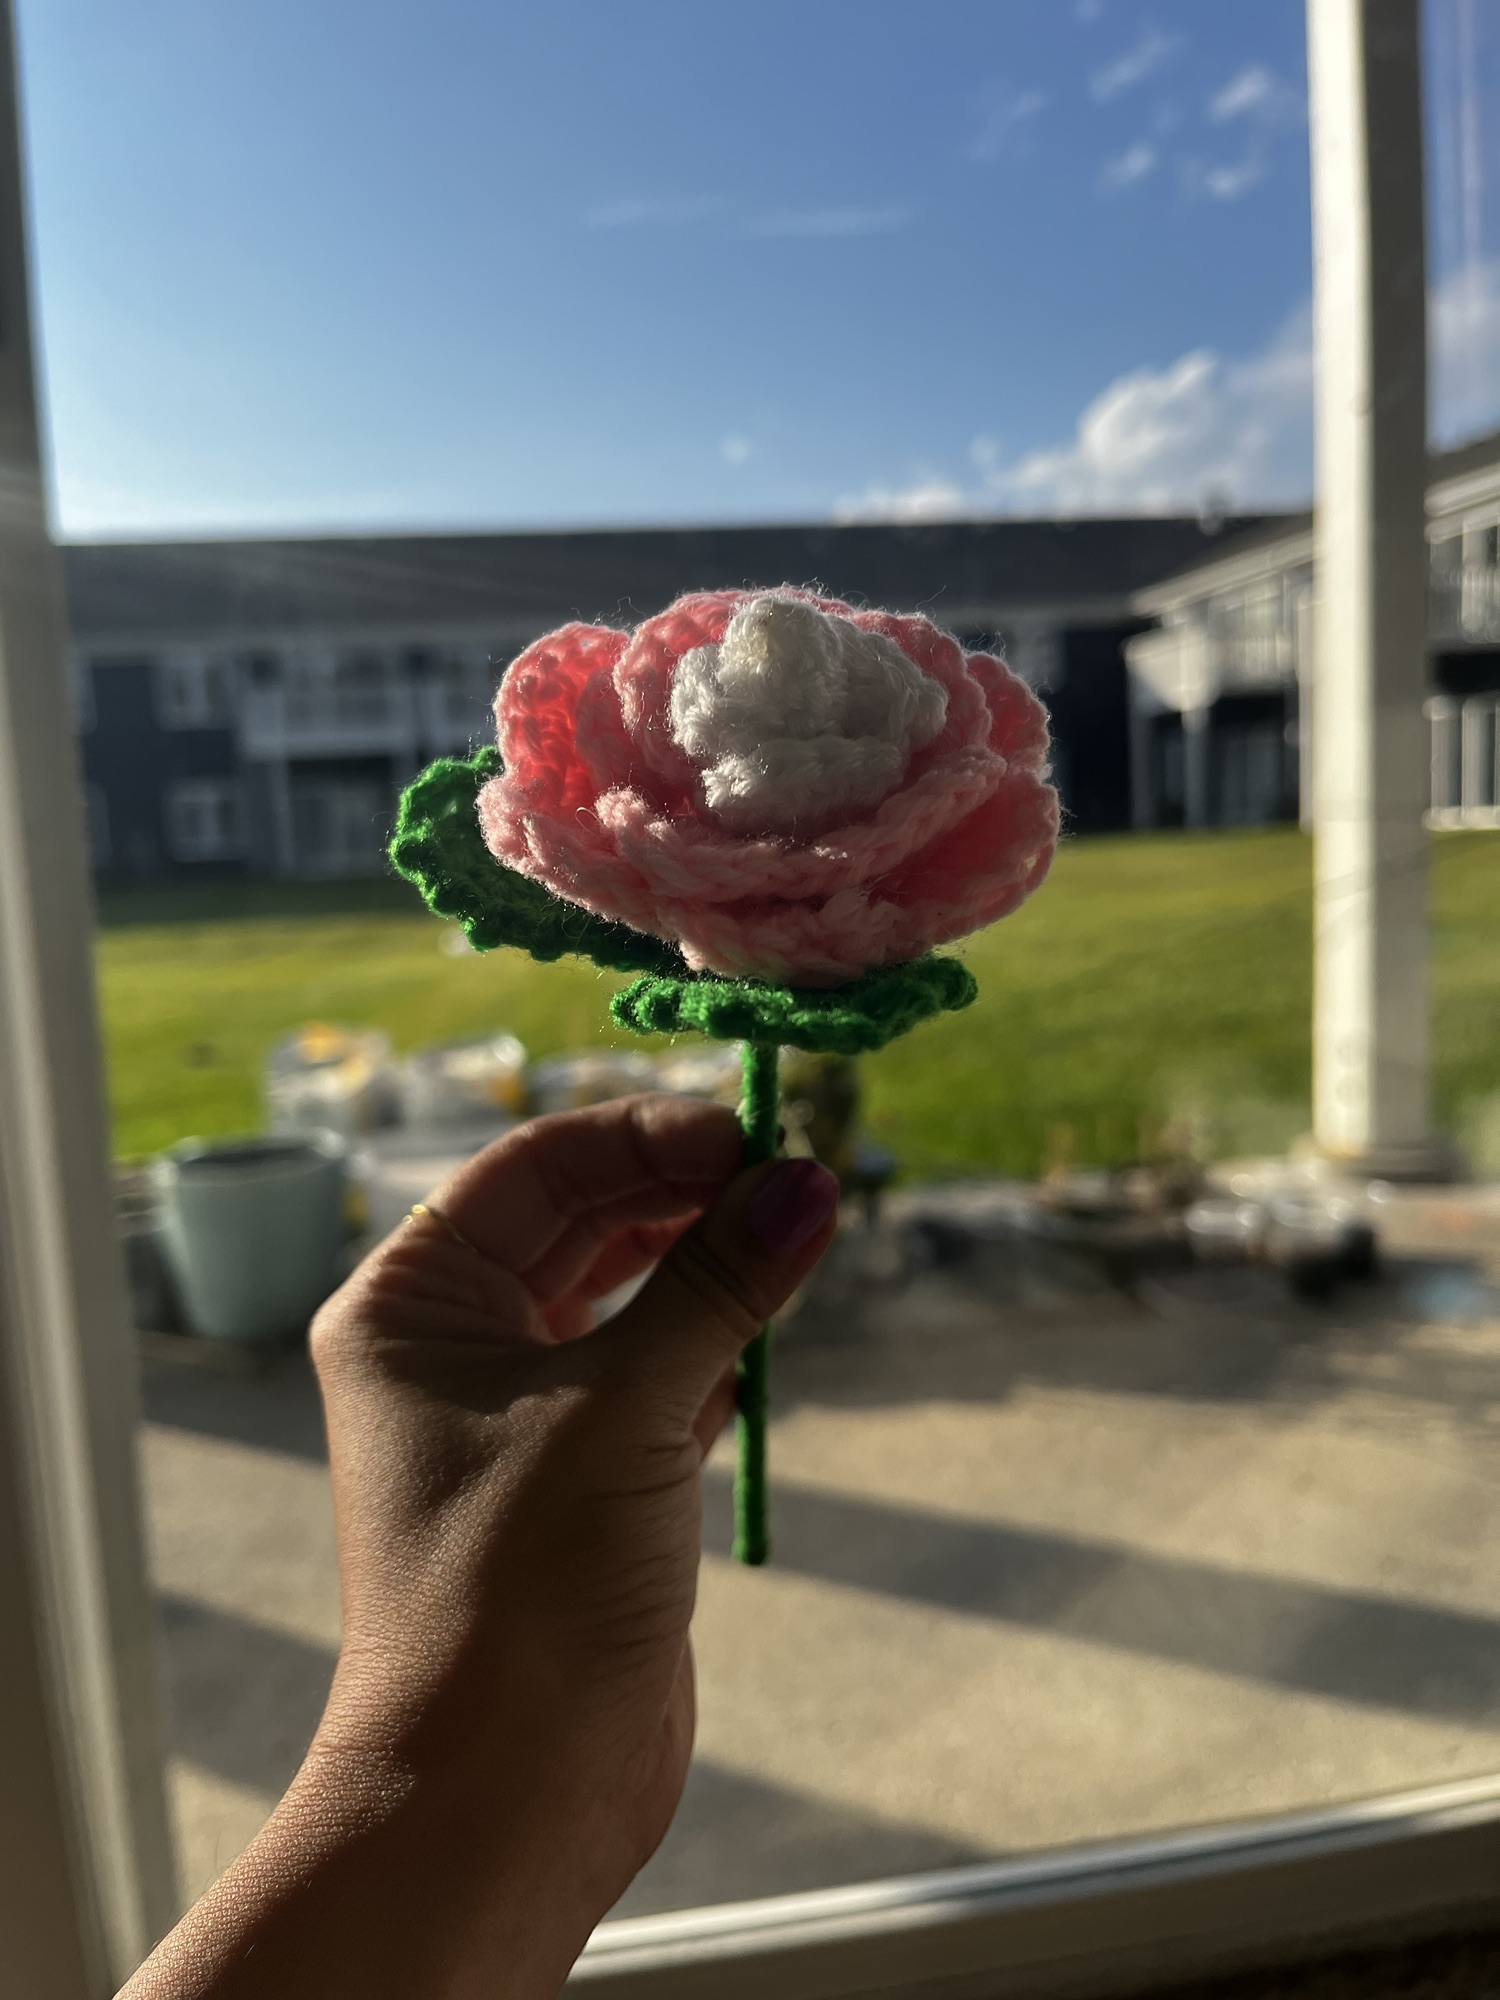
This is awesome my love 😍😍. I am proud of you wifey ❤️😻
Thank you jaanu 😍😍😍 thanks for being proud love