Table Of Content
Introduction
How to crochet a delightful and relaxing project with just a hook and some yarn? A simple coaster is hence an excellent choice for beginners. Coasters are quick and easy to make, and they also make great gifts while adding a personal touch to your home decor. Crocheting is a delightful and relaxing hobby that not only allows you to create beautiful and practical items but also requires just a hook and some yarn. Therefore, in this blog post, I’ll guide you step-by-step through crocheting an easy coaster.

Check out The Free Live Class & Don’t Forget to Subscribe
Materials Needed
Before we get started, let’s gather the materials you’ll need:
- Yarn: Choose a cotton yarn, as it’s absorbent and durable. I have used 4 ply yarn. You can choose any colours of your choice . However, I have used white, light pink and pink coloured yarn.
- Crochet Hook: Always use a hook size that matches your yarn. I always prefer using 3 mm hook with a 4 ply yarn!! However you can choose any hooke size between 2.5 mm to 4 mm.
- Scissors and ofcourse Yarn Needle (for weaving in the ends).

Abbreviations
- mr- magic ring
- dc- double crochet
- sc- single crochet
- sl st- slip stitch
- sl knot- slip knot
- ch- chain
Written Pattern (How to crochet the coaster)
- Begin with mr. Firstly, do ch 2 (does not count as a stitch). Then, work 20 dc stitches into the mr. Finally, sl st into the first stitch. And then, ch 1 and cut the yarn.


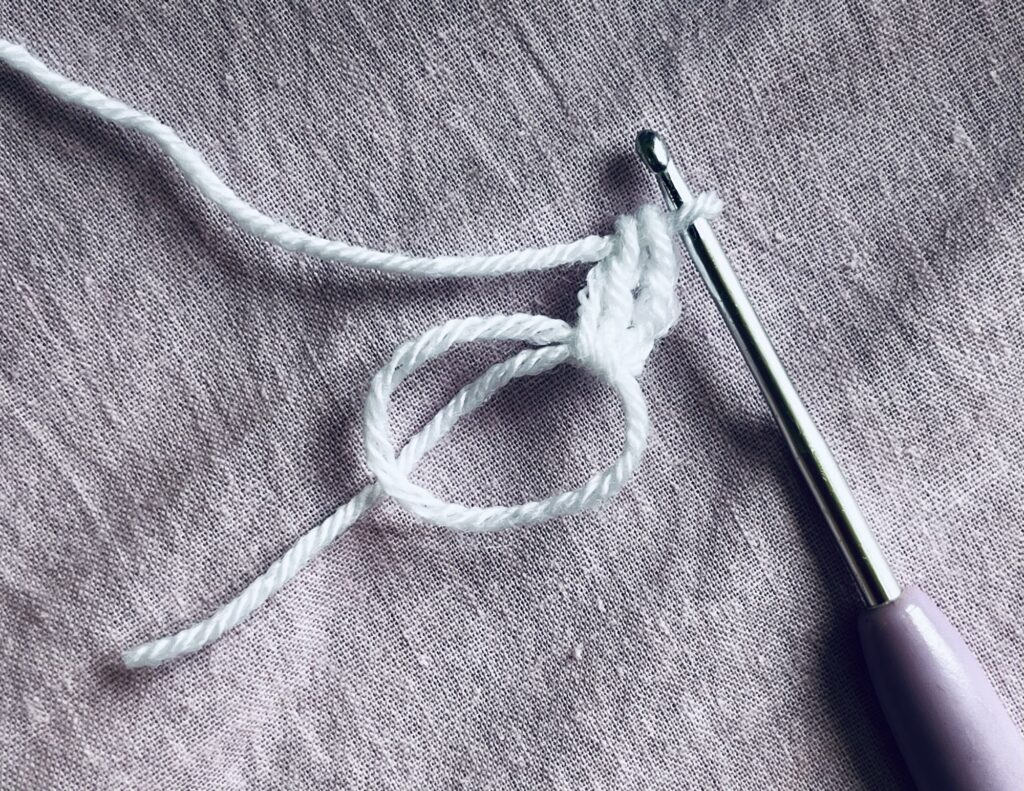
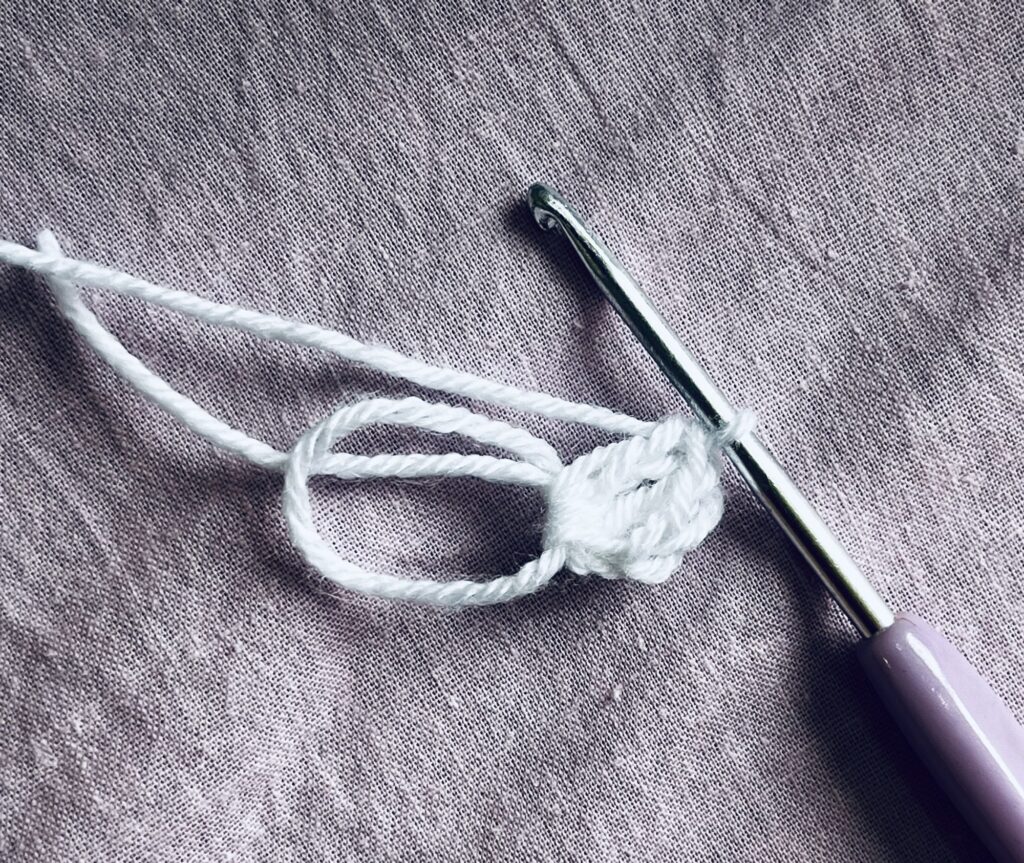


- To change colors, first create a sl knot and then insert the hook into it. Then sl st into any dc stitch from the last round. Firstly do, ch 2 (does not count as a stitch). Do, (1 dc in the first stitch, 1 dc followed by ch 2 in the next stitch), and then repeat this pattern around. Finally, sl st into the first dc, ch 1, and then cut the yarn.


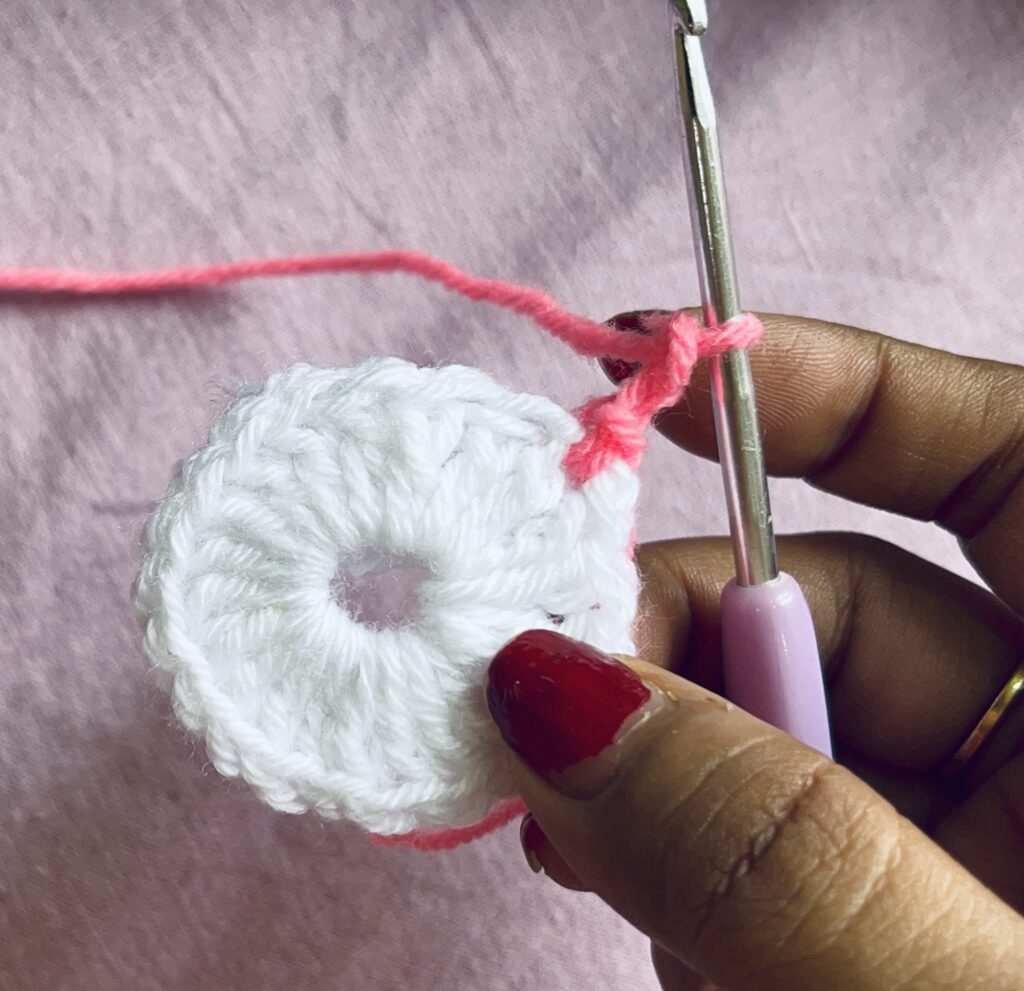


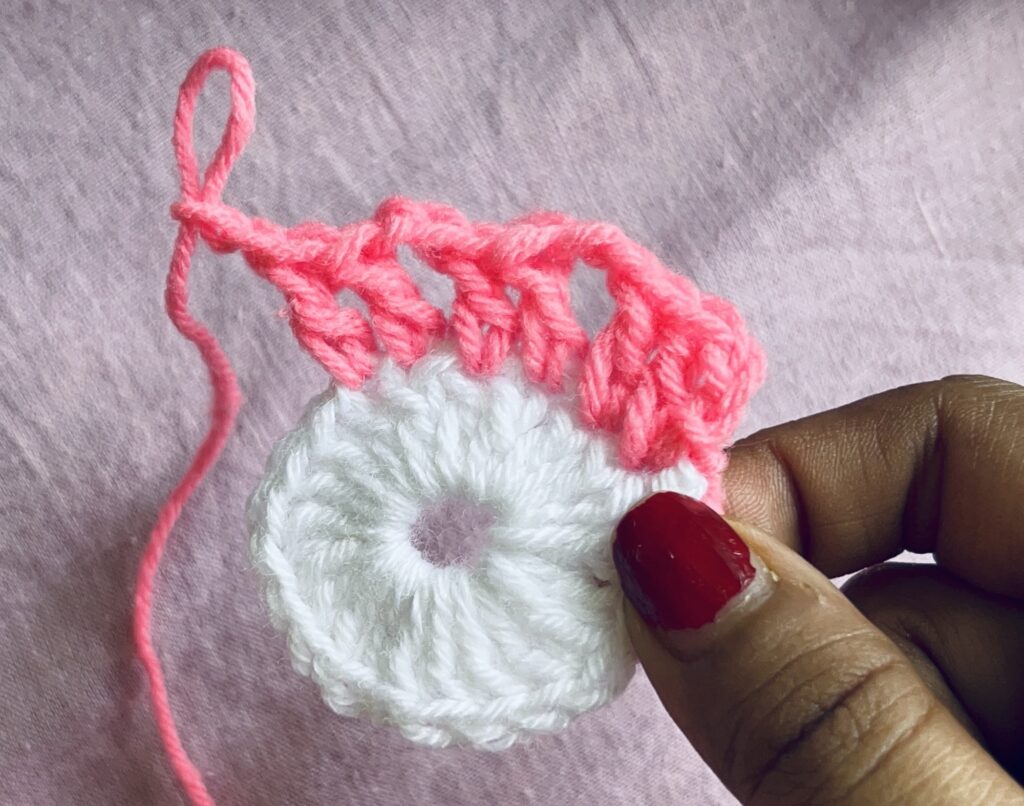


- Change colors for the last time by creating a sl knot and inserting the hook into it, as usual. Firstly, do a sl st into any ch 2 space from the last round. Then do ch 2 (does not count as a stitch). In the same space, do (2 dc, ch 2, 2 dc) then repeat this pattern in each ch 2 space around. Finally, as usual do a sl st into the first dc, slip stitch into the next dc, slip stitch into the next ch 2 space.
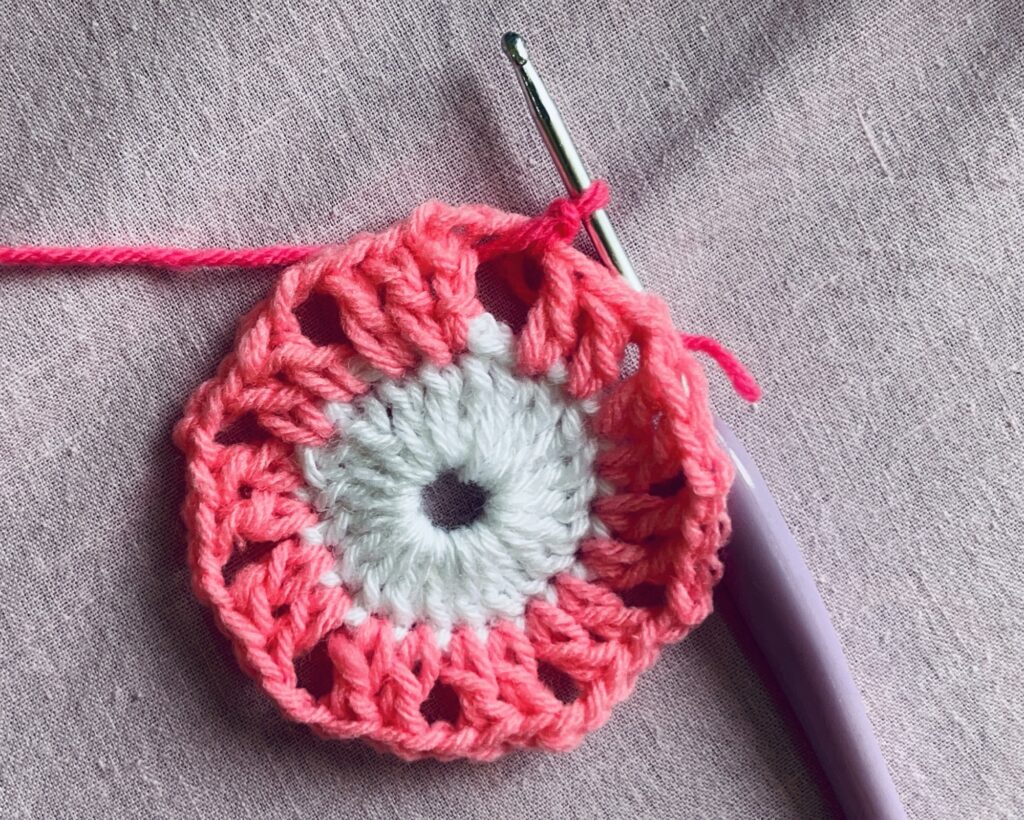
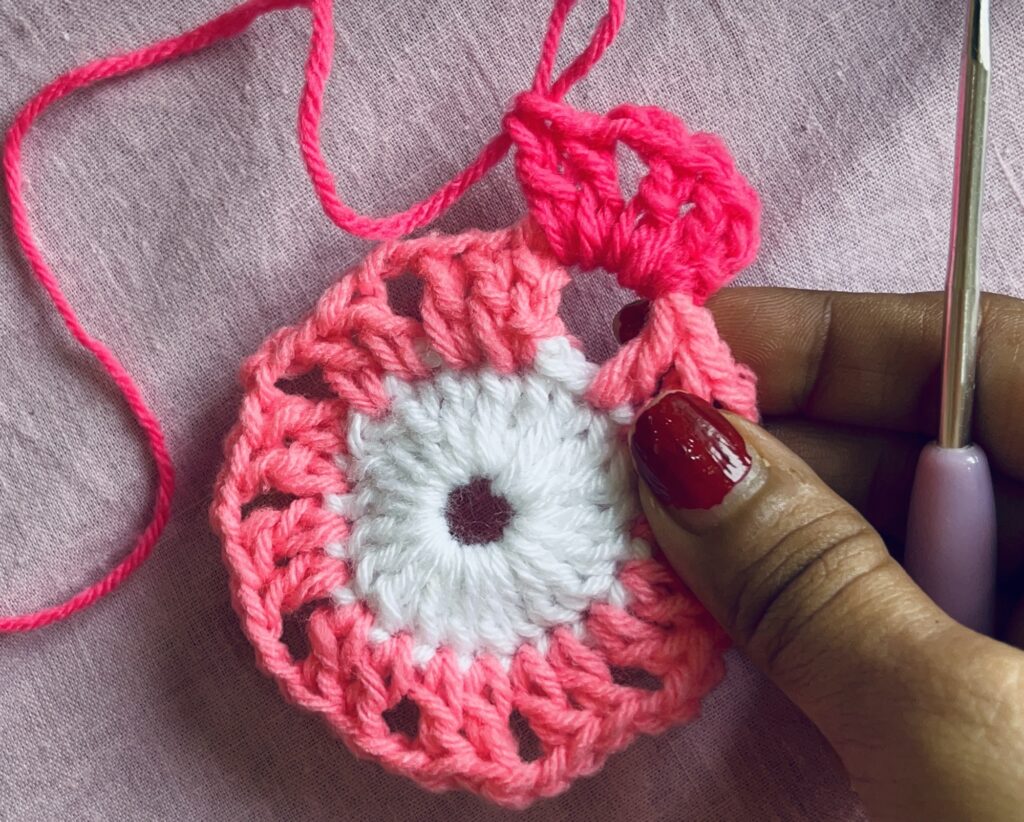

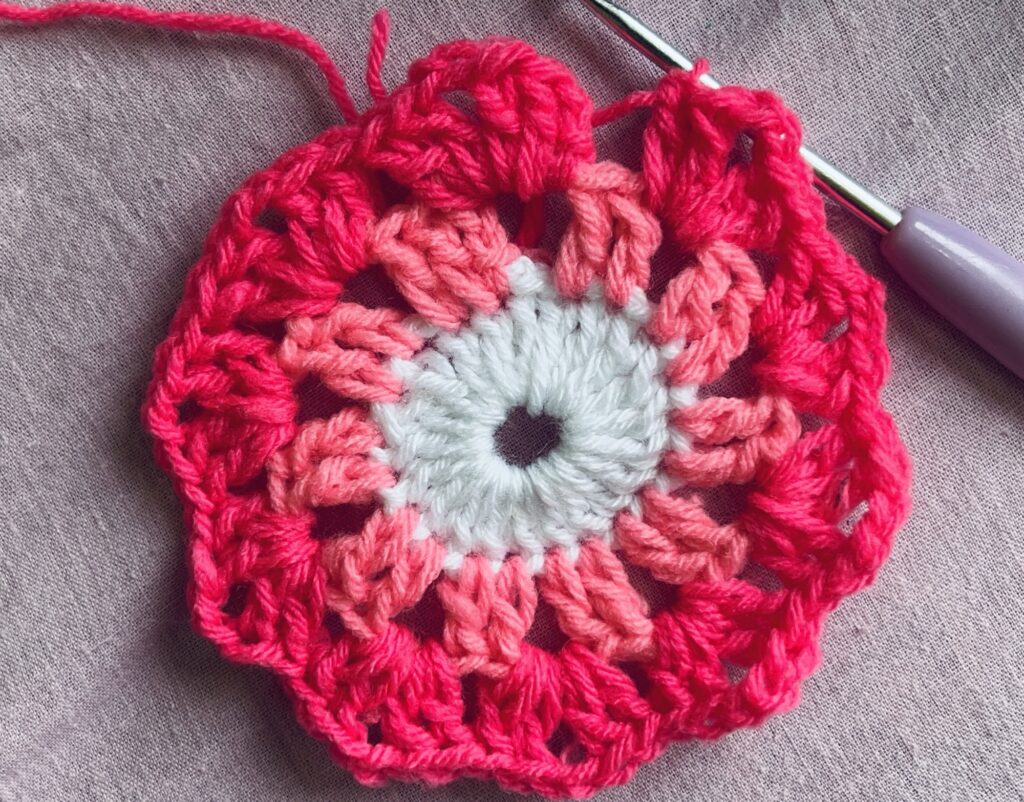
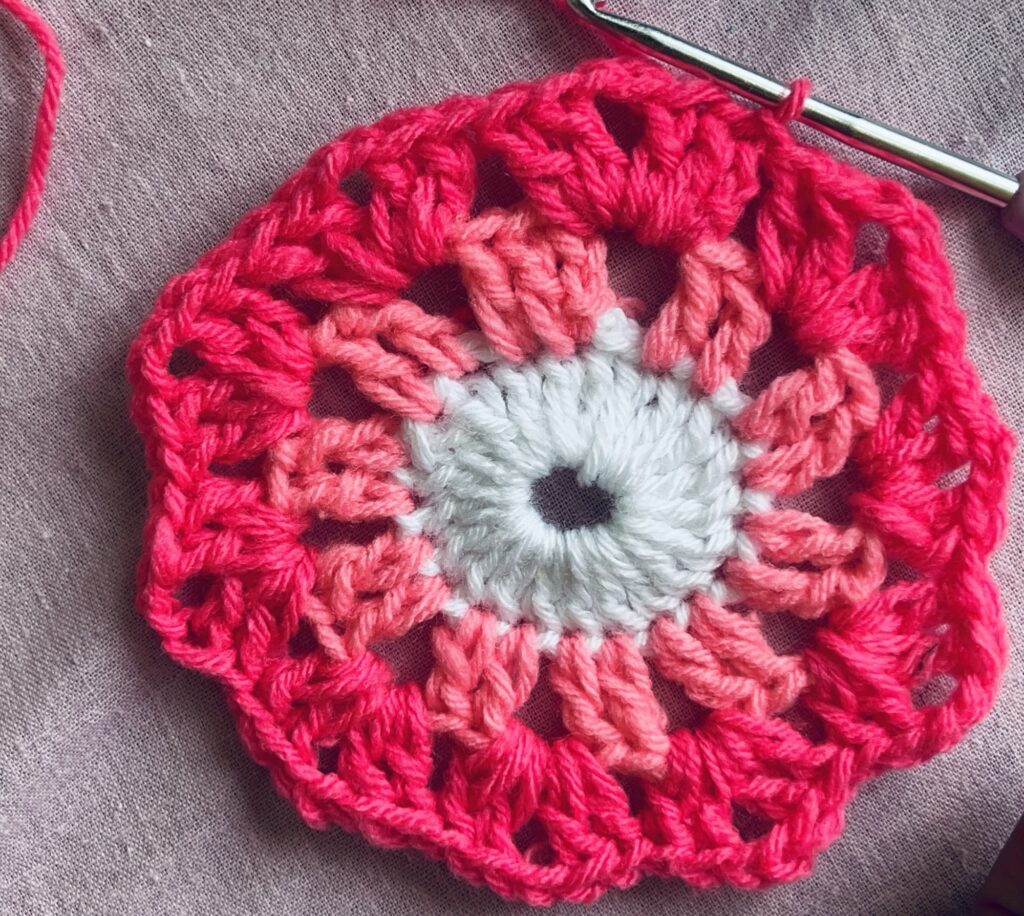

- Start with a ch 2 (does not count as a stitch). Then, (In the same chain 2 space, work 8 dc stitches. In the joint between 2 sets of (2 dc, chain 2, 2 dc) from the last round, work 1 sc. Repeat this pattern around. Finally, sl st into the first dc, ch 1, and cut the yarn.
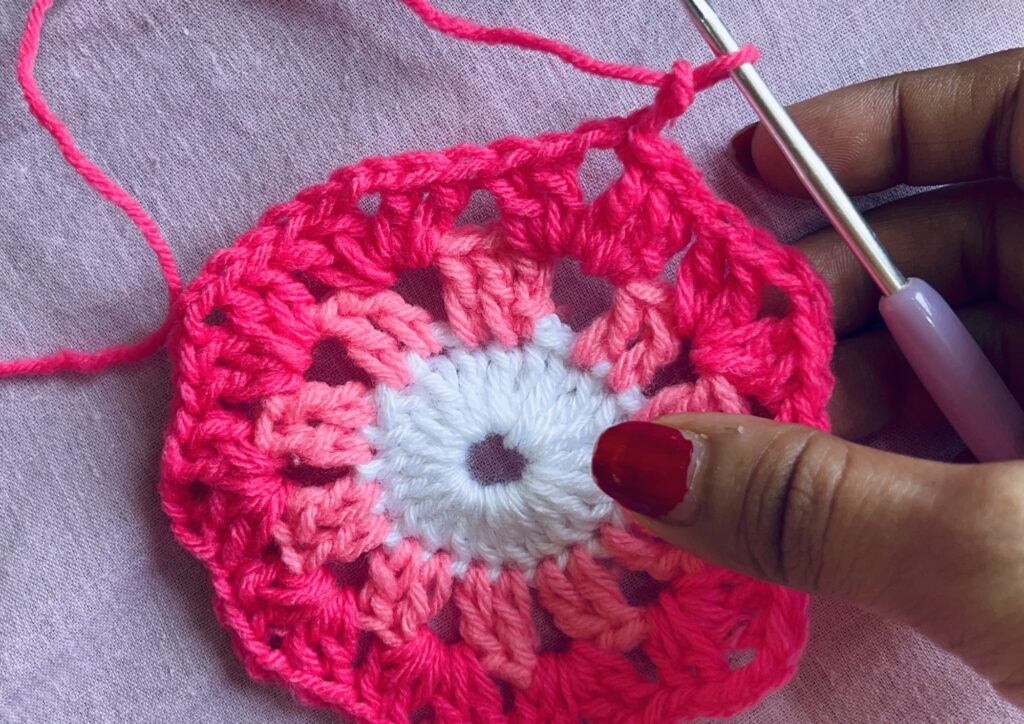
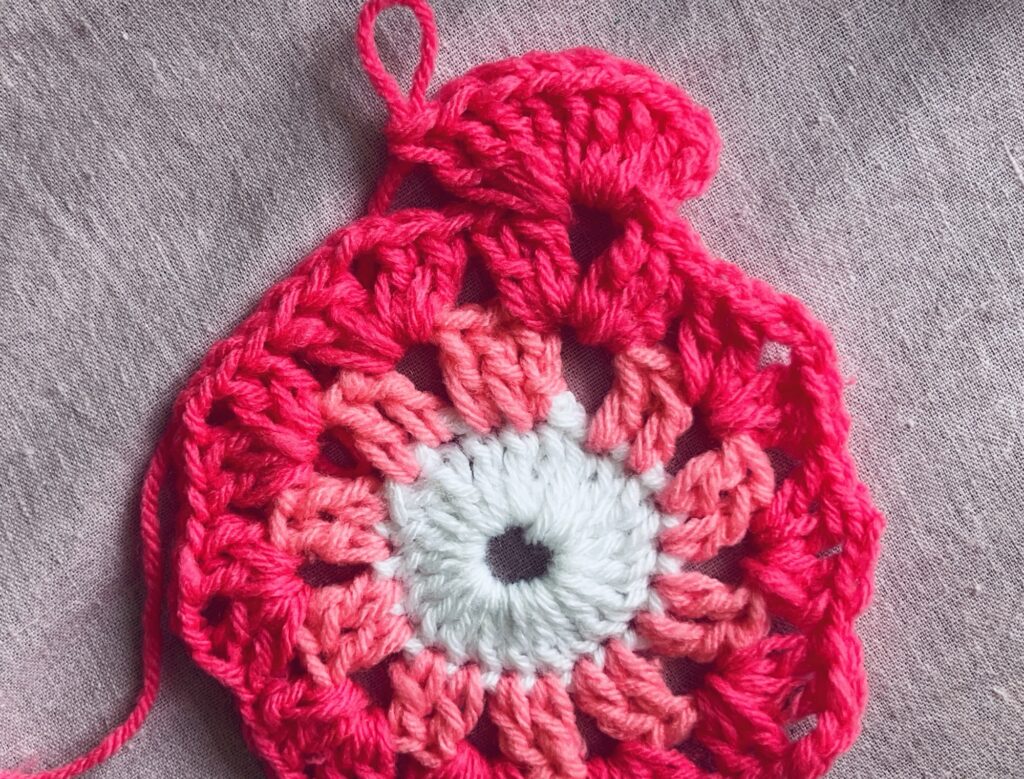
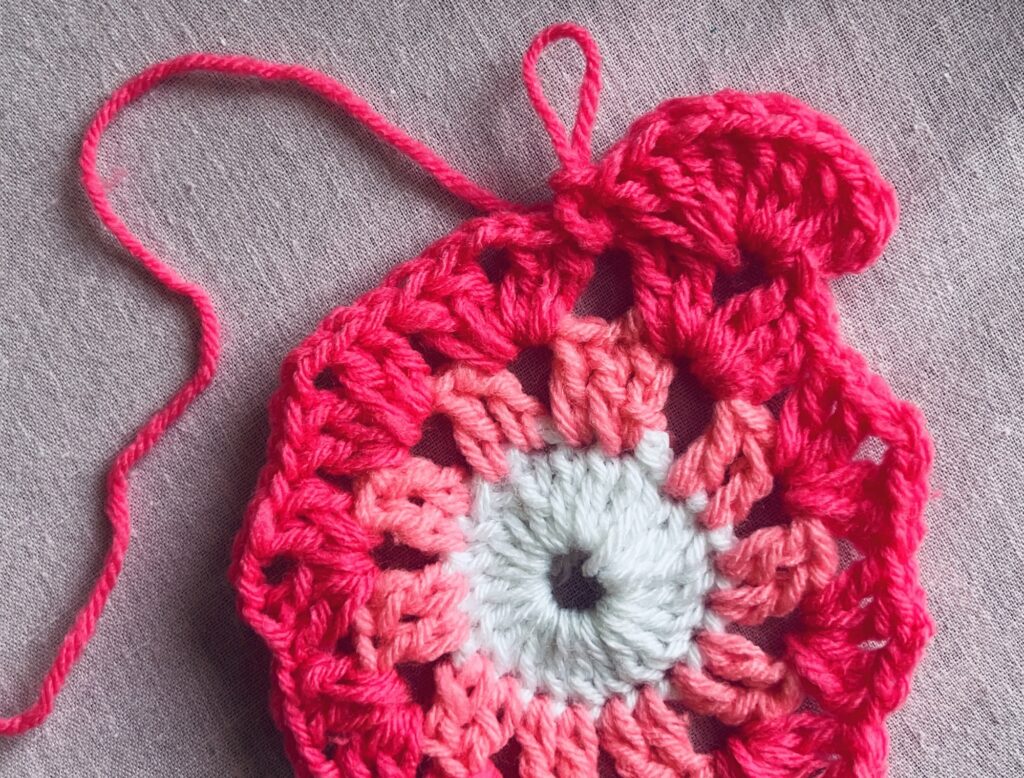
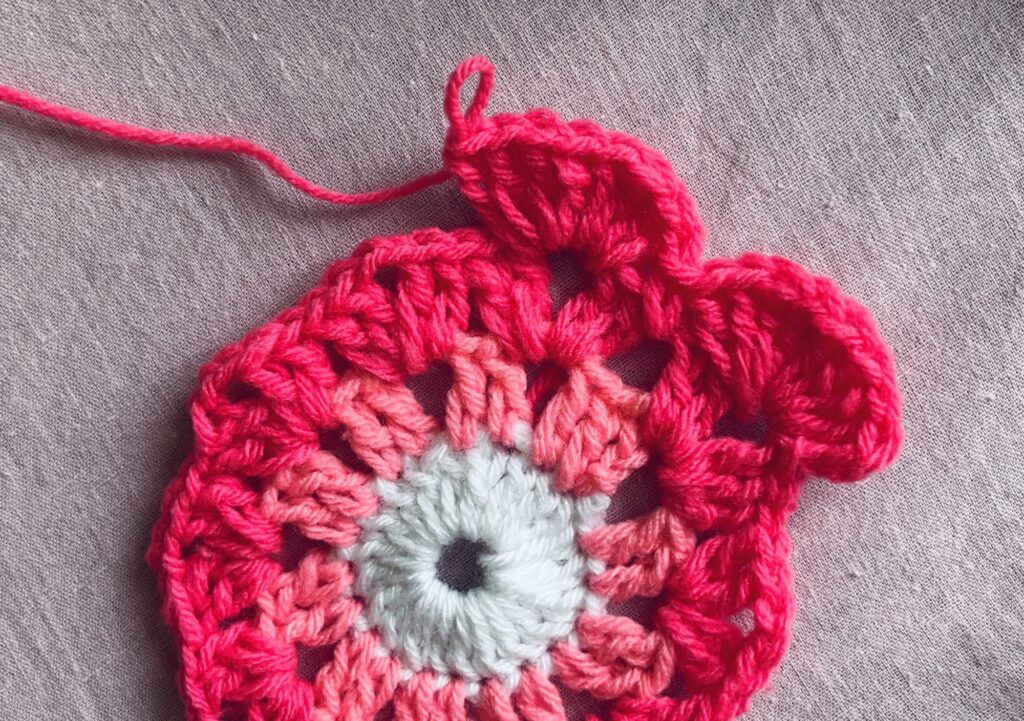
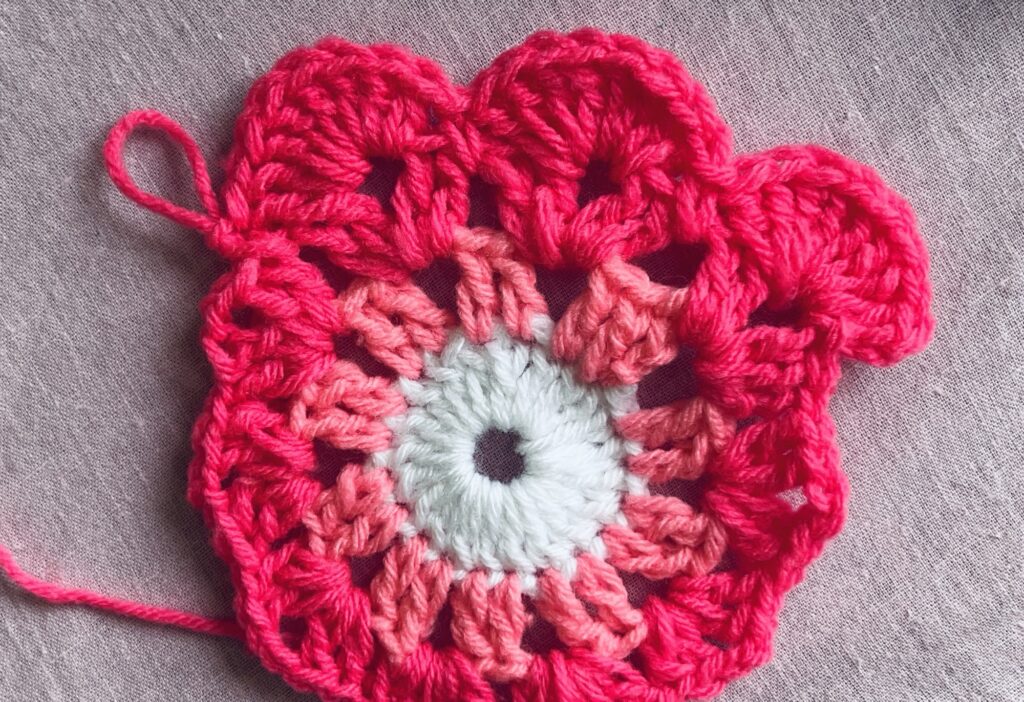

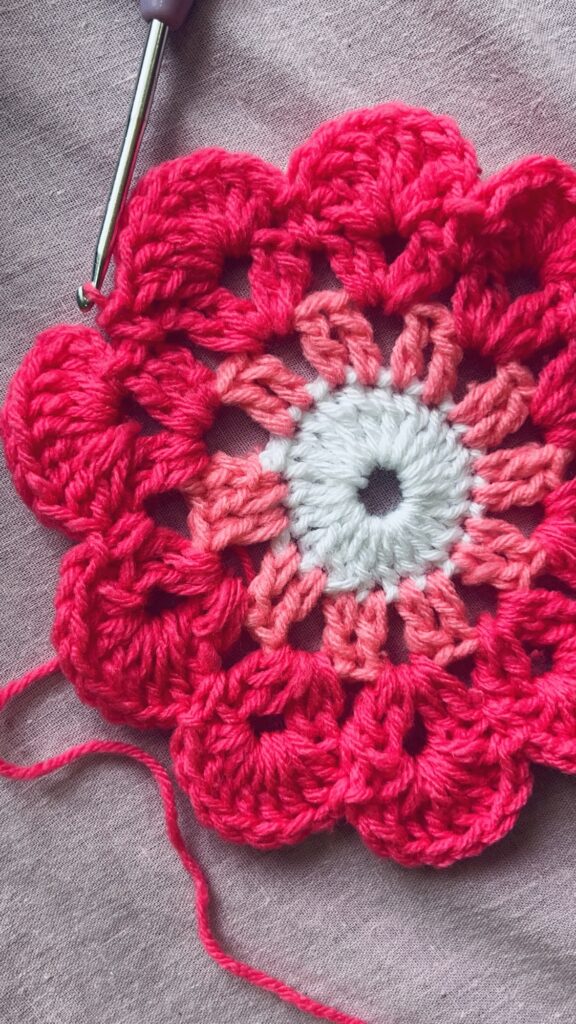

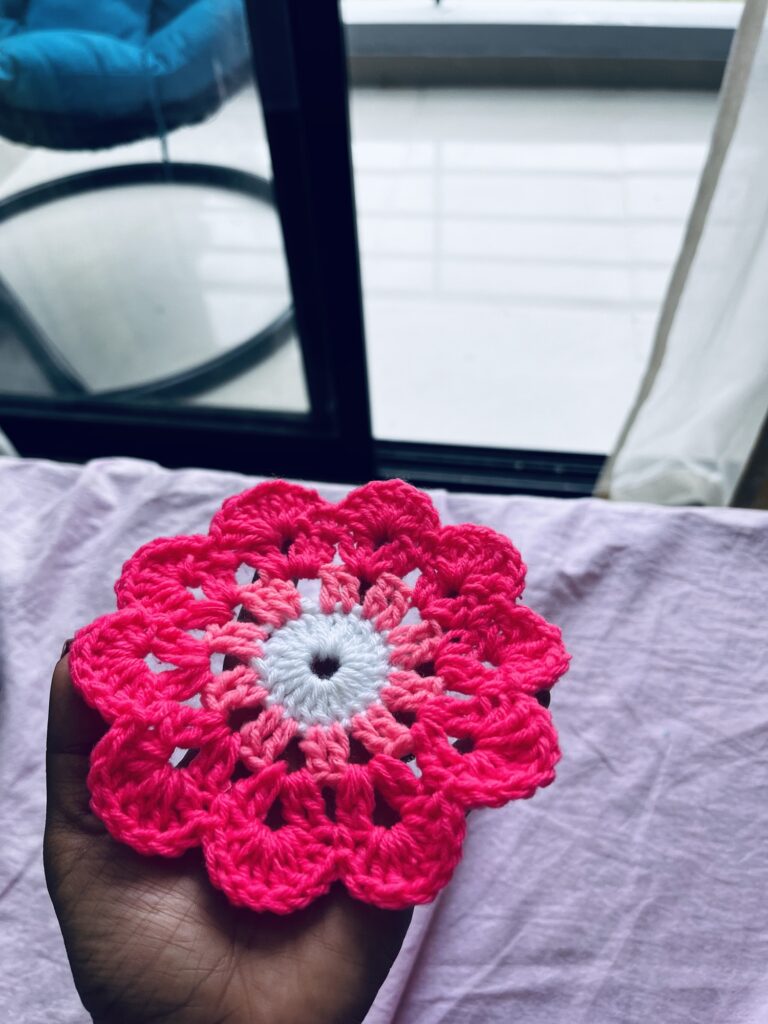
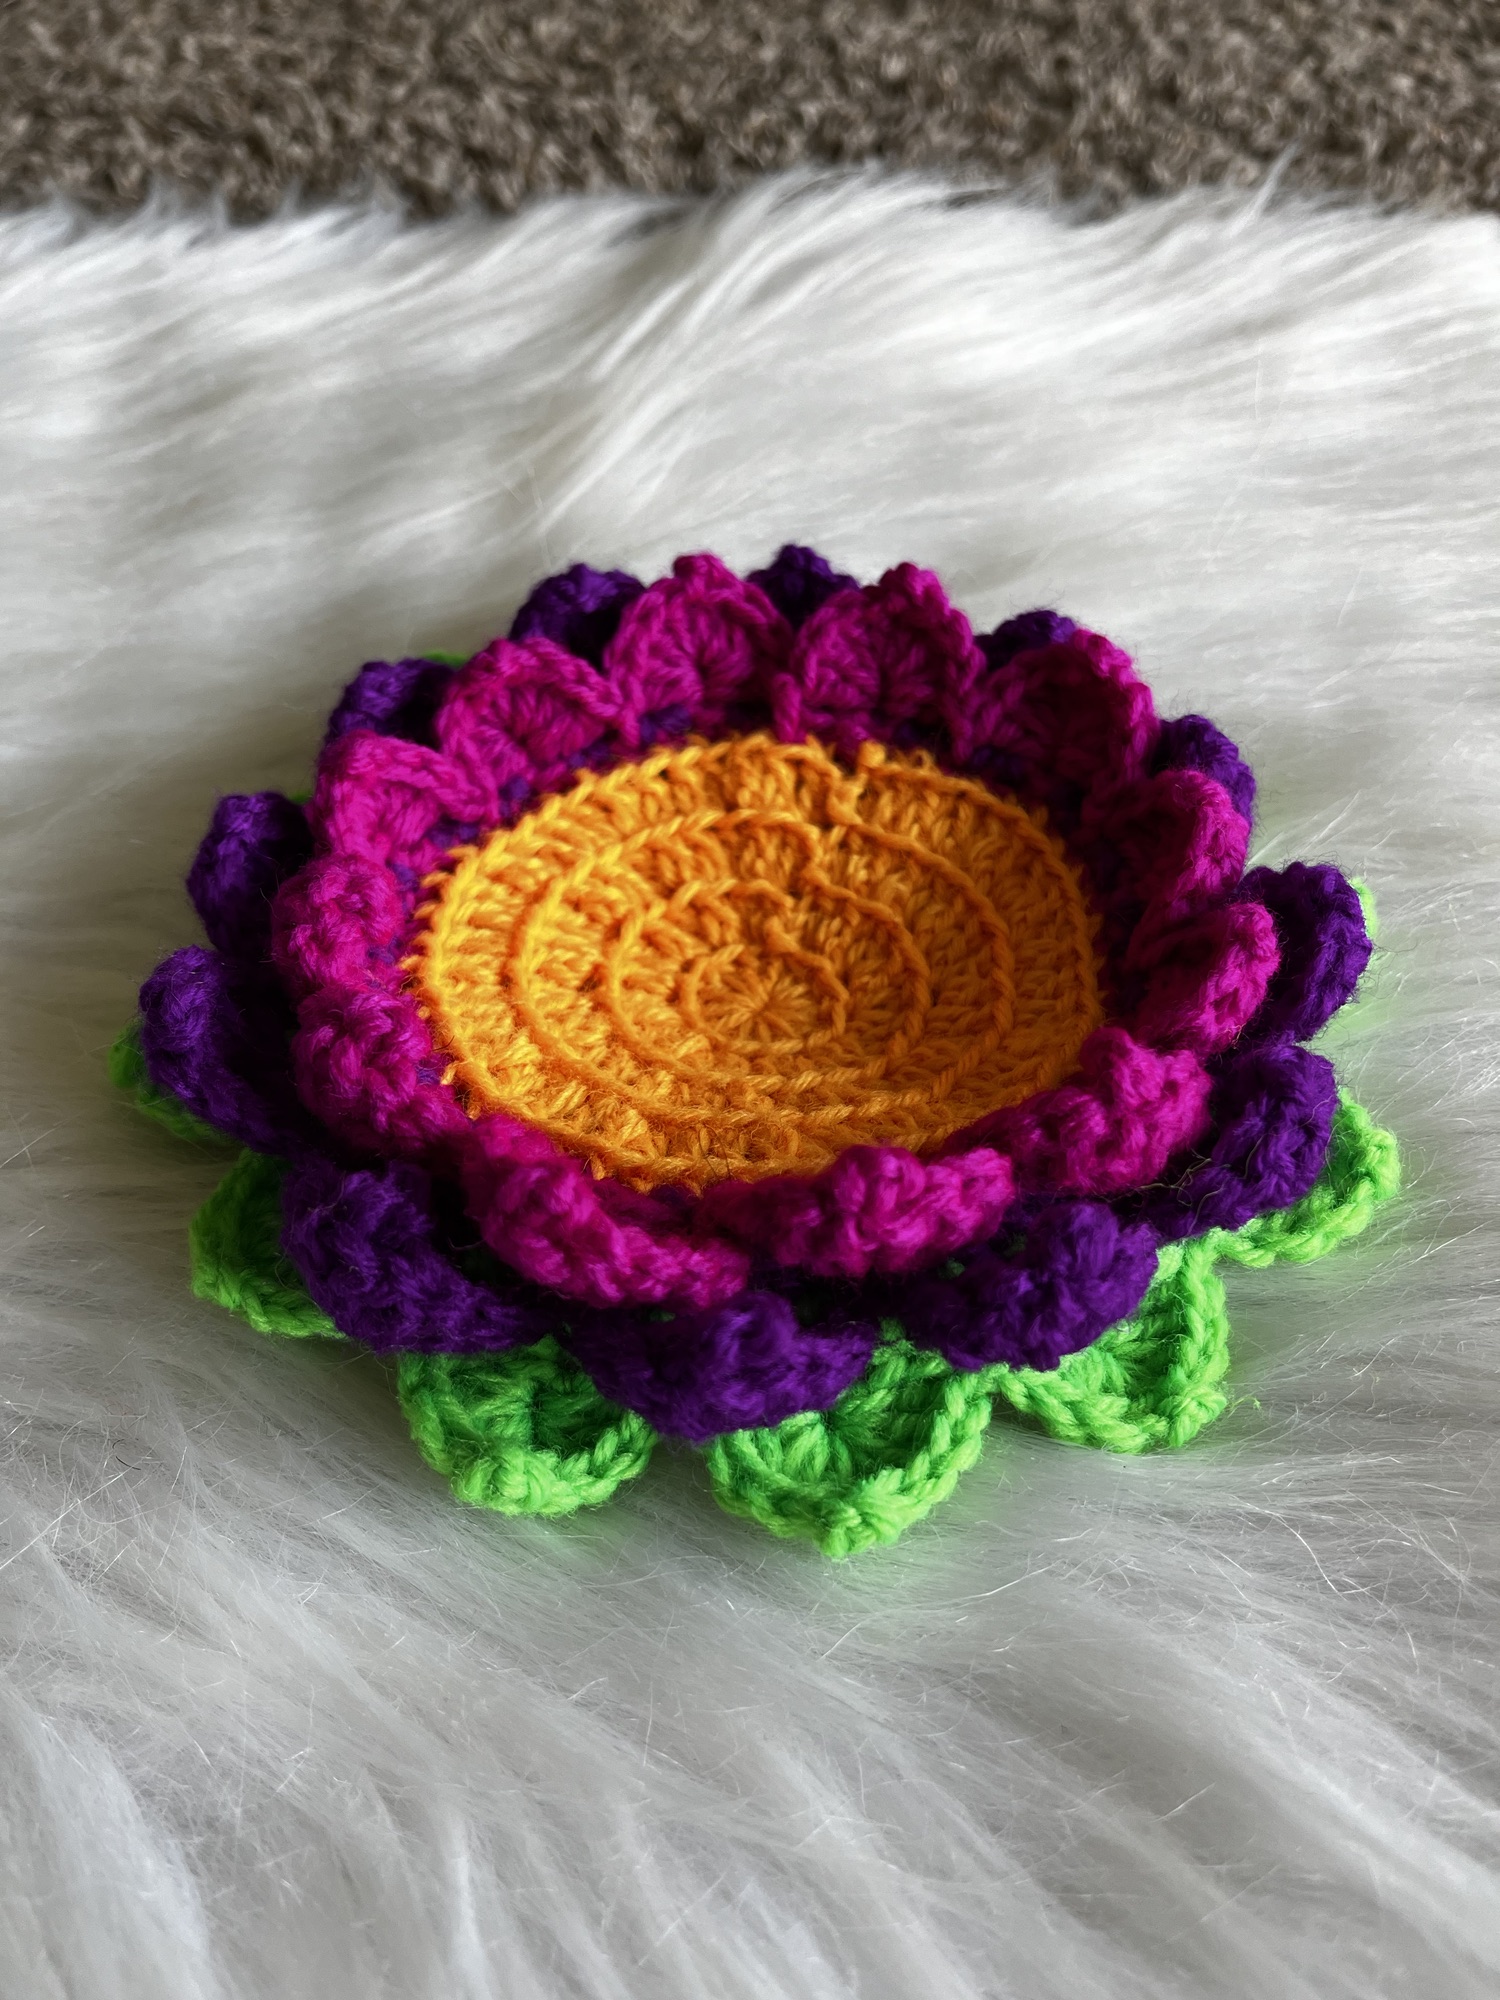
Your mandala coaster is complete!
Conclusion
In conclusion, crocheting an easy coaster is a perfect project for beginners and a delightful way to practice your skills. With just a few basic stitches and some simple steps, you can easily create a functional and beautiful item that not only adds a personal touch to your home but also makes a thoughtful handmade gift. Moreover, don’t be afraid to experiment with colors and patterns to make your coasters unique.
Happy crocheting, and remember, the more you practice, the better you’ll become! Additionally, if you enjoyed this tutorial, feel free to explore my other crochet guides and patterns. Finally, share your creations in the comments below or on social media. Happy crafting!


Check out The Free Live Class & Don’t Forget to Subscribe
| Subscribe … on Youtube | Follow … on Pinterest | Follow … on Instagram | |
Koi meri Mistu jaisi nahi hai itni talented ❤❤❤❤❤
Mithe se jaanu ❤️❤️ love u