Table Of Content
Introduction
Crocheting, an art of warmth, beauty, and creativity, encompasses a myriad of techniques. Among them, the puff stitch stands out for its plush texture and charming appearance. Here, we delve into the world of crochet puff stitch flowers, exploring a written pattern to create these whimsical blooms.
CHECK OUT MY EASY BEGINNERS TUTORIAL ON CROCHET PUFF STITCH FLOWER – YOUTUBE

Materials Needed
For this project, gather yarn in your desired colors for both the petals and center. Additionally, ensure you have a crochet hook appropriate for your yarn weight, scissors, and a yarn needle. However, I have used 4 ply acrylic yarn and 3 mm hook!

Abbreviations
- mr- magic ring
- hdc- half double crochet
- sl st- slip stitch
- ch – chain
Special Stitch
Puff Stitch: *Yarn over, insert hook in indicated stitch, yarn over and pull up a loop * eight times (17 loops on hook). Yarn over and pull through all loops on hook. Chain 1 to secure the puff stitch.
For more information about the difference between puff stitches, and bobbles, check out: Free Crochet- Puff, Bobble & Popcorn
Written Pattern
Note: This pattern is written in the US crochet terminology.
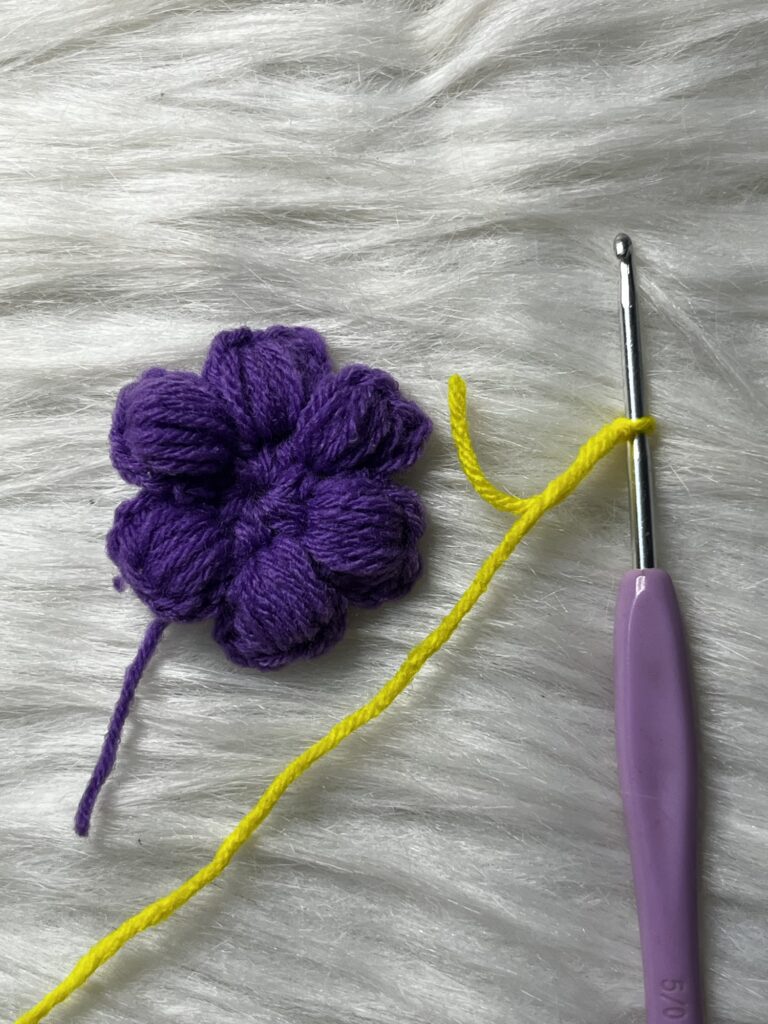
Take the yellow colored yarn, and then do a mr with it.

Round 1– After that, do 6 hdc in the mr. (Since the flower contains 6 petals, therefore we will do 6 hdc). After that, close the mr by pulling the tail of the mr and then sl st to the top of the 1st hdc st in order to complete the round.
CHECK OUT MY EASY BEGINNERS TUTORIAL ON CROCHET PUFF STITCH FLOWER – YOUTUBE
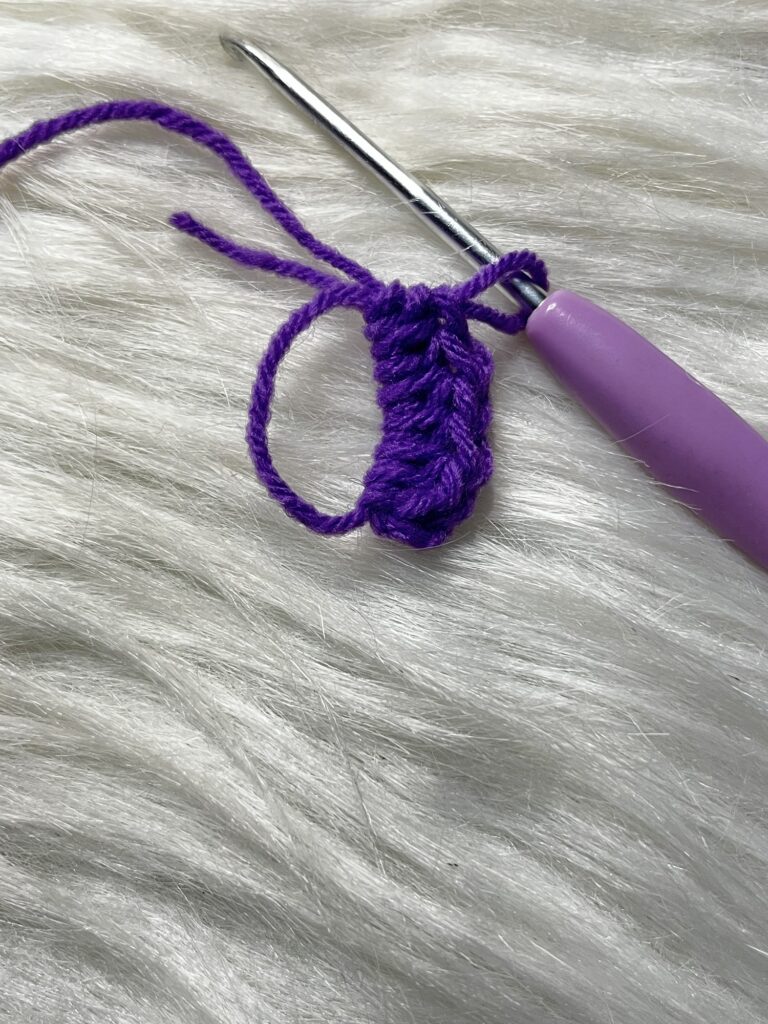
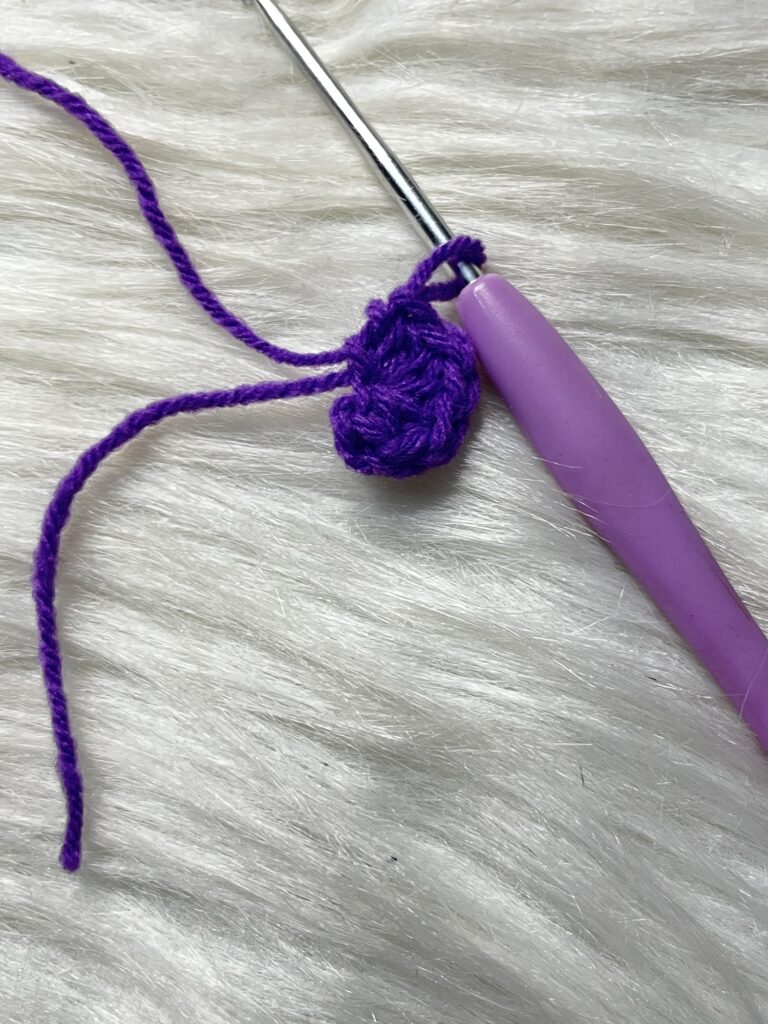
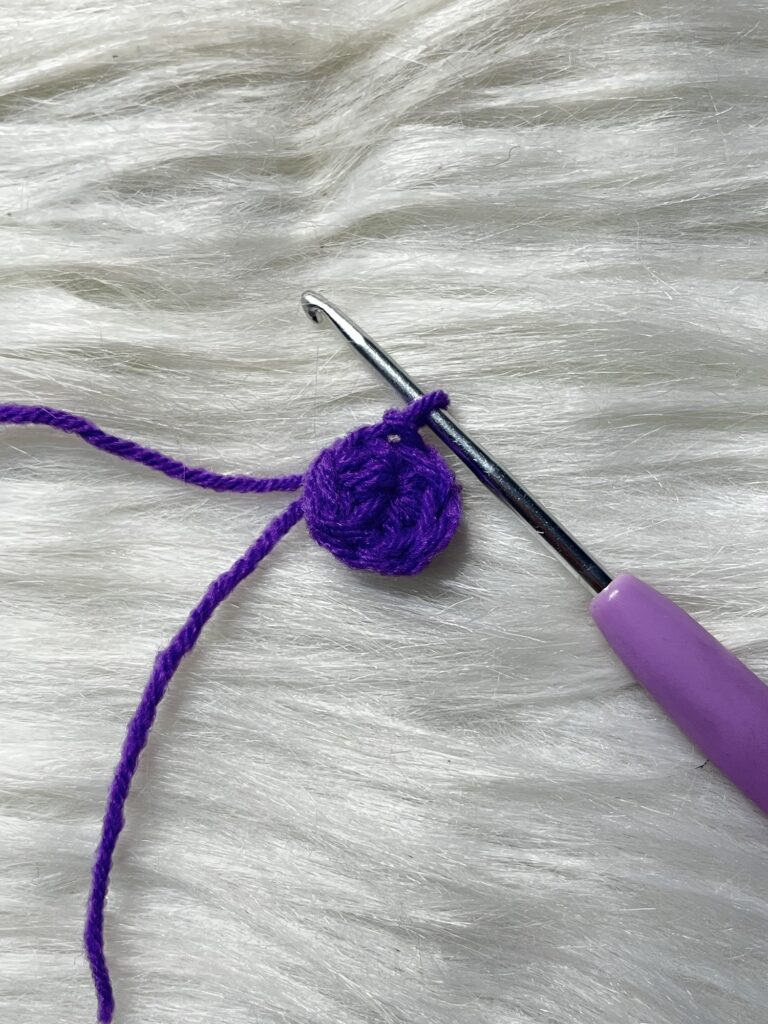
Round 2– Do ch3 and then do 1 puff st in the same st. After that, do ch3 and then sl st in the next st. There you go! First petal is completed. For the next petal, do a ch3, then puff st in the same st, followed by ch3 and then finally a sl st in the next st. In this way, second petal is also completed!. Following this pattern, do the remaining four petals. After the last ch3, simply sl st in the 1st st of the round 1 (where you began round 2 with sl st). ch1, cut the yarn.
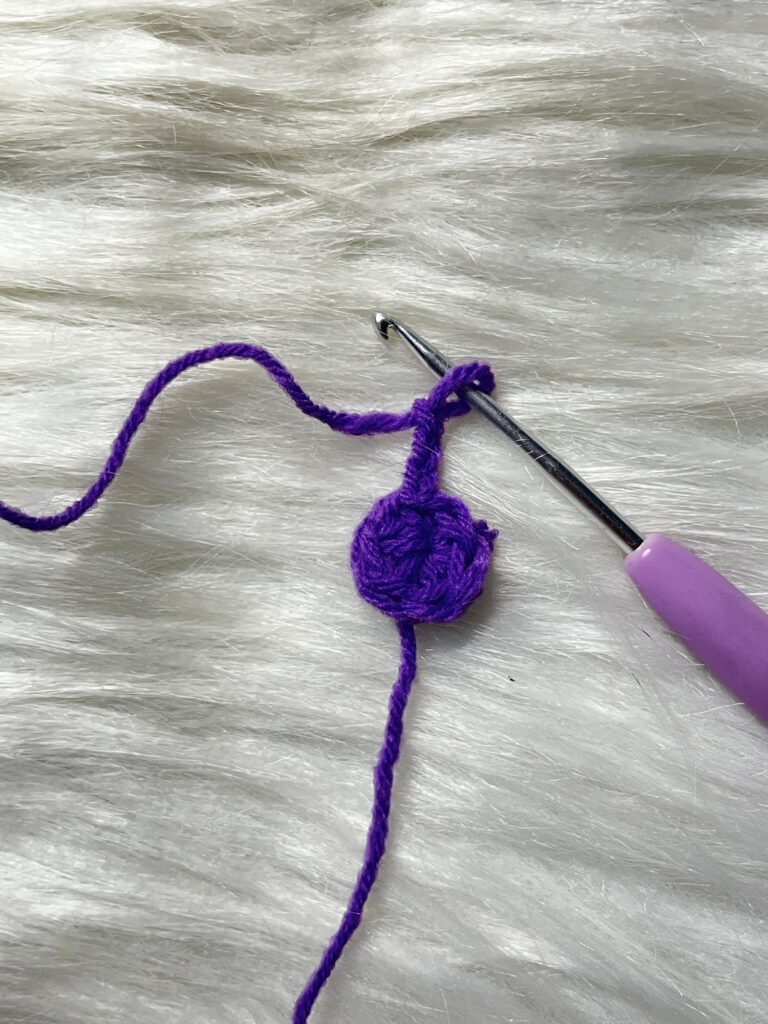

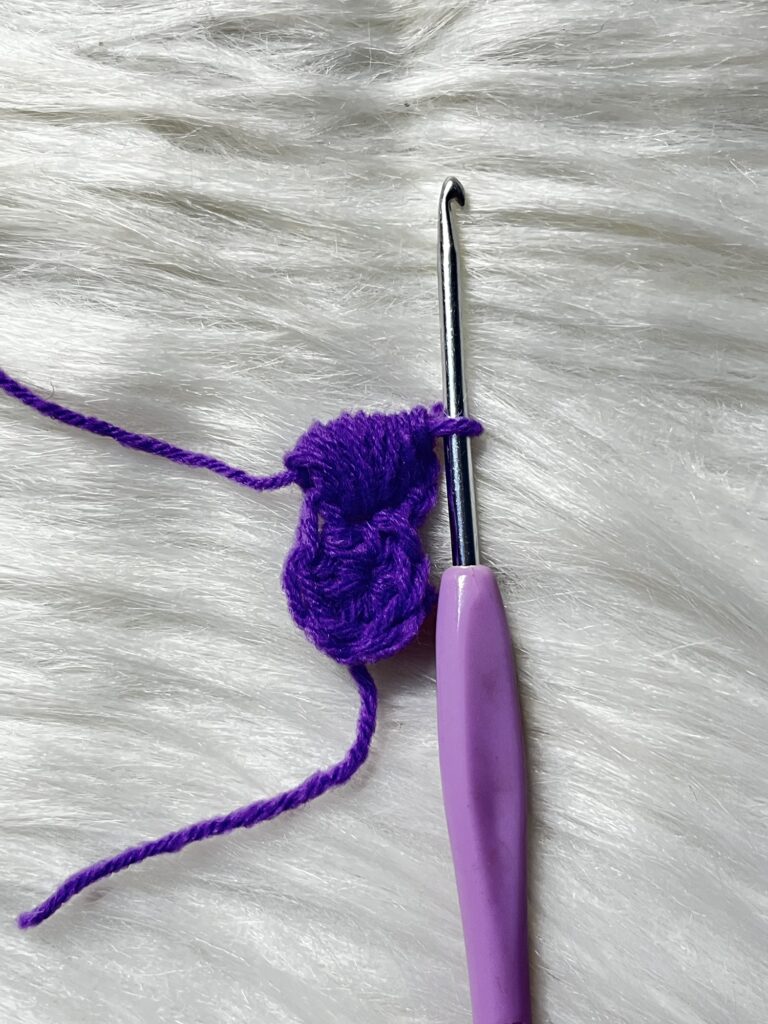

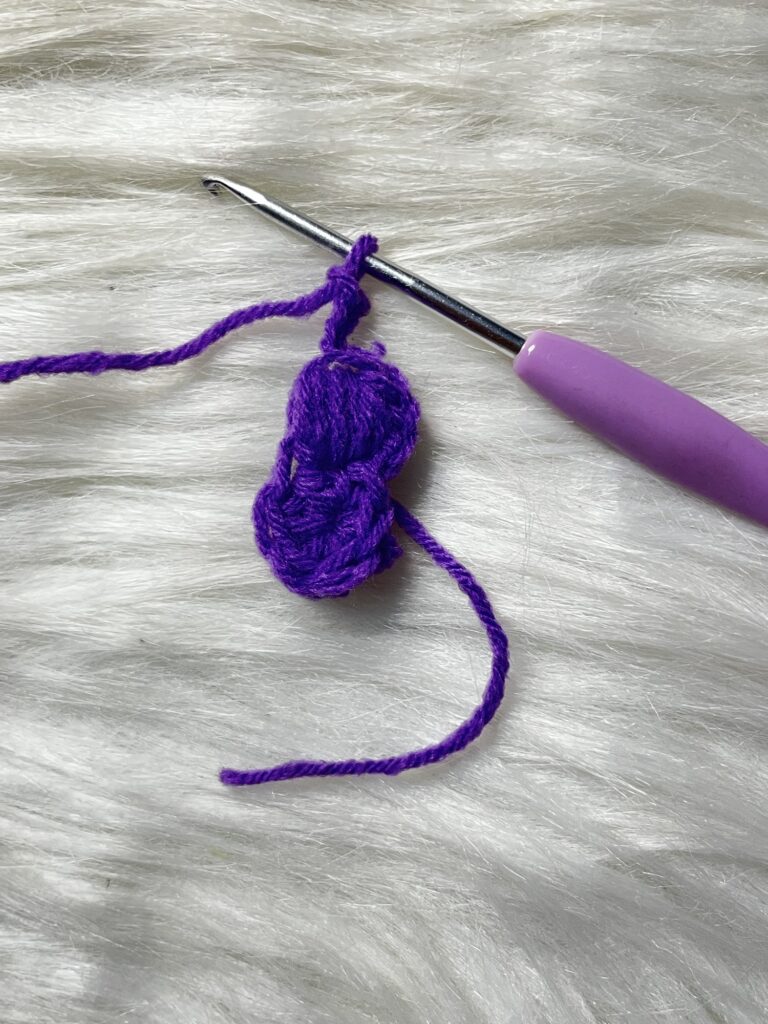


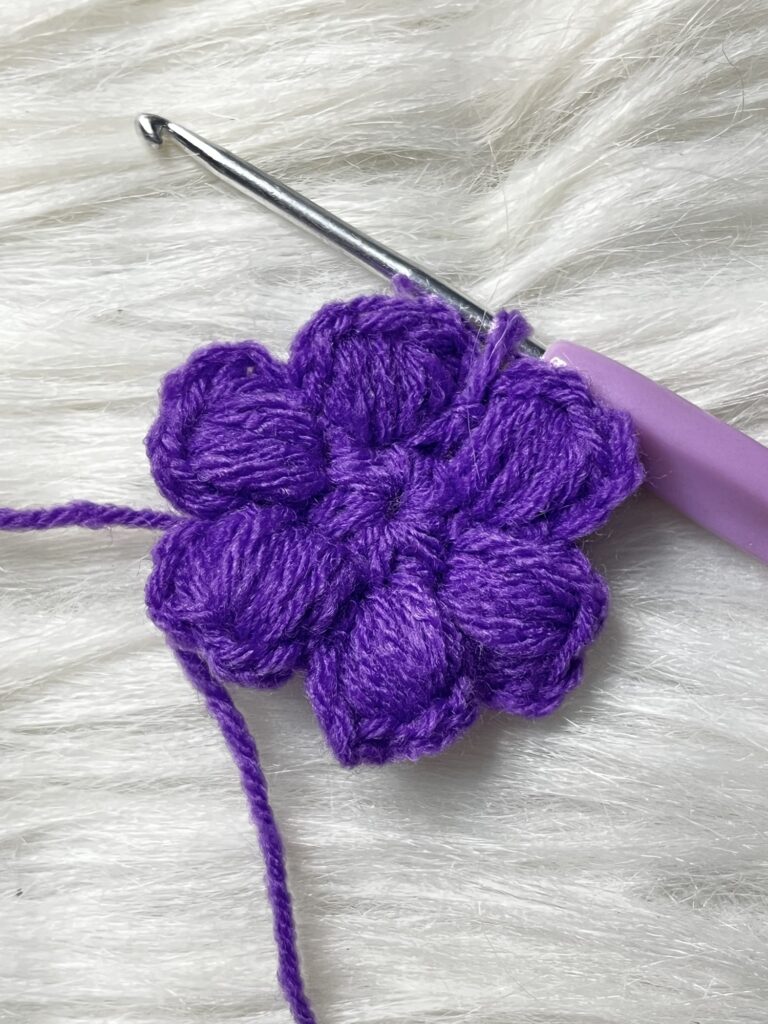
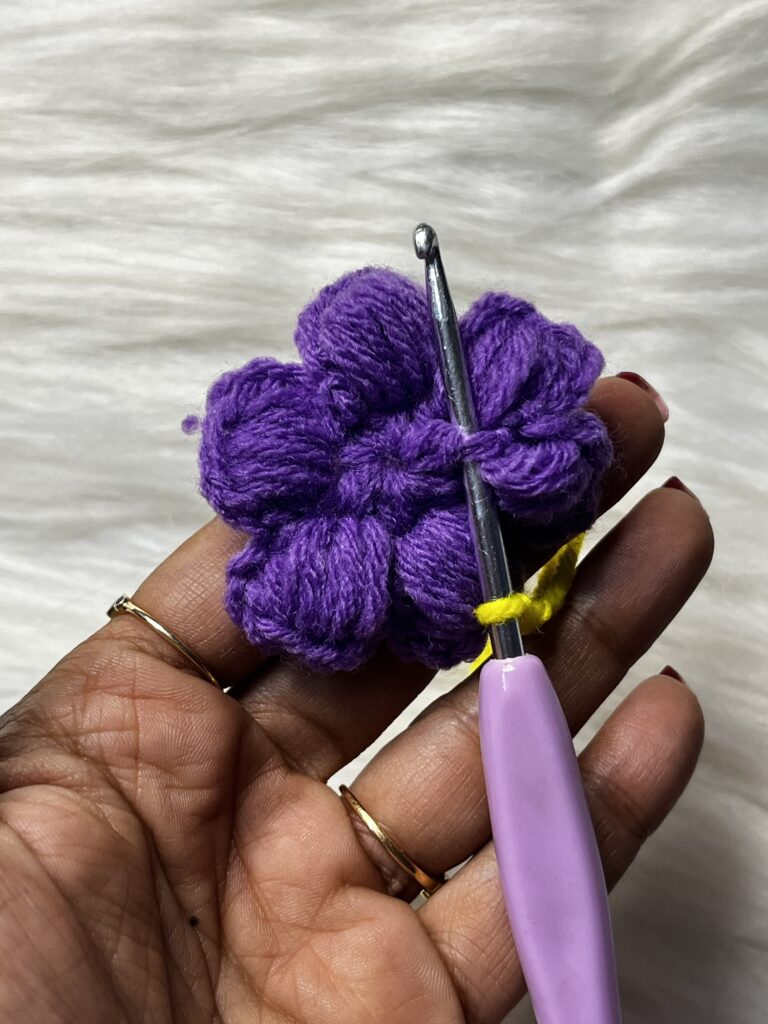
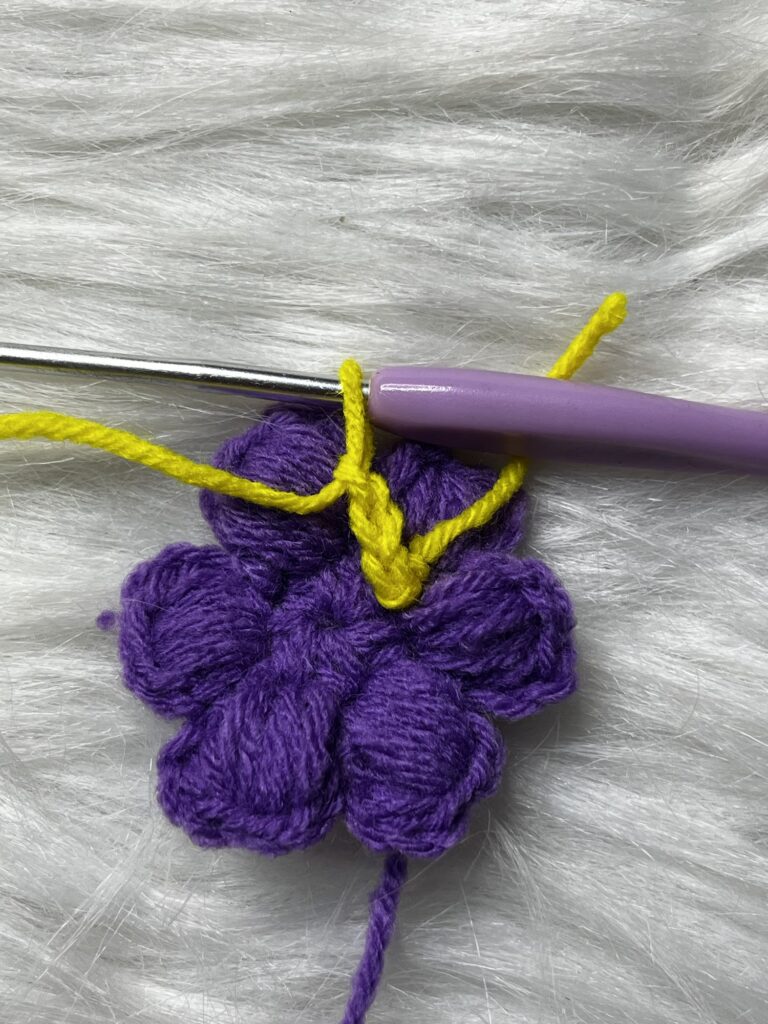
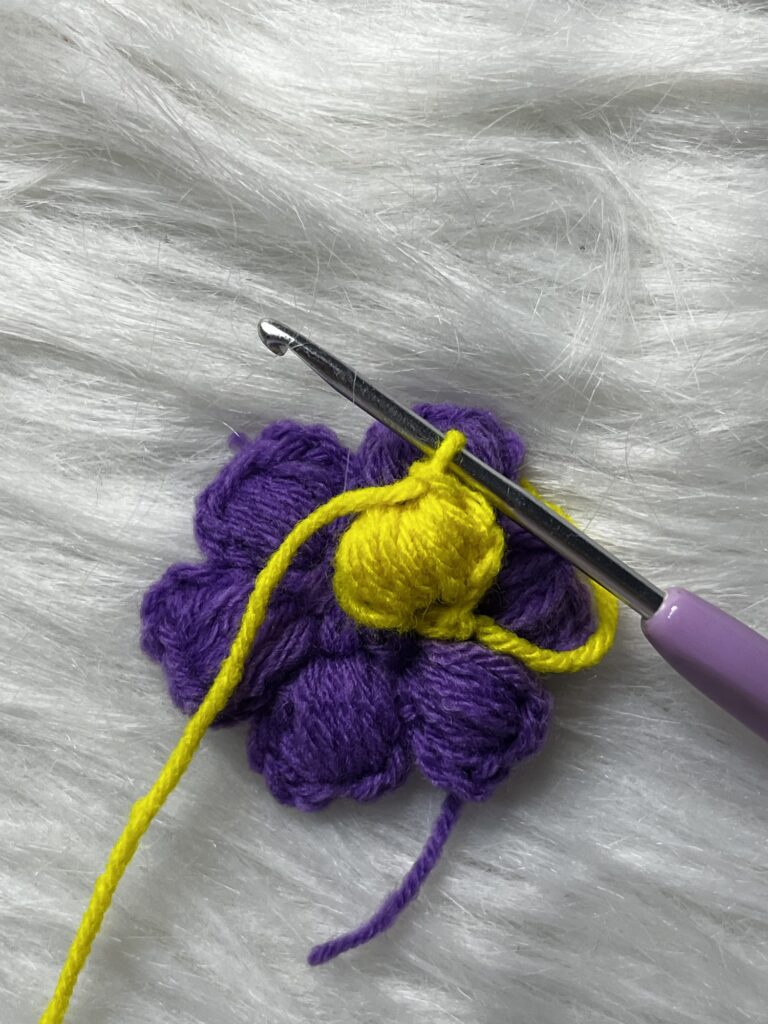
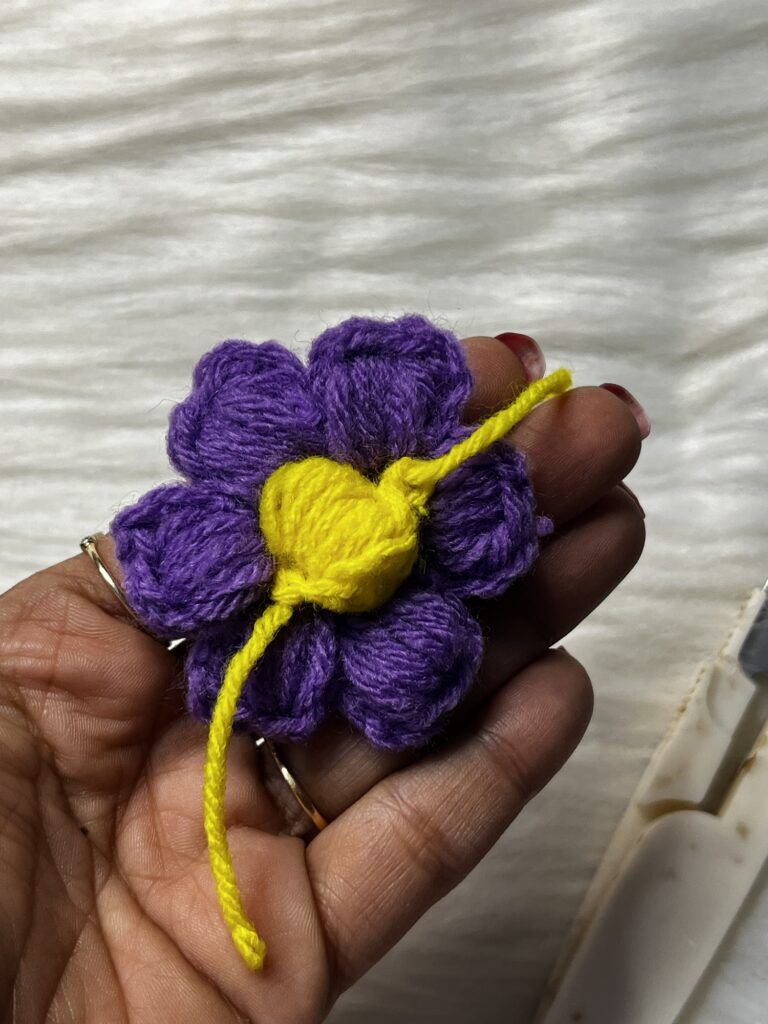
For the central button. Do a sl knot and insert the hook in it. Then insert your hook in any st of round 1 from the top and take it out through the next st. Do a sl st followed by ch3. Do a puff st in the 1st ch of the ch3 you did. Then insert your hook in the opposite st of round 1, take it out through the next st and then do a sl st. do a ch1, cut the yarn. Pull the loose yarn from below the flower.



CHECK OUT MY EASY BEGINNERS TUTORIAL ON CROCHET PUFF STITCH FLOWER – YOUTUBE
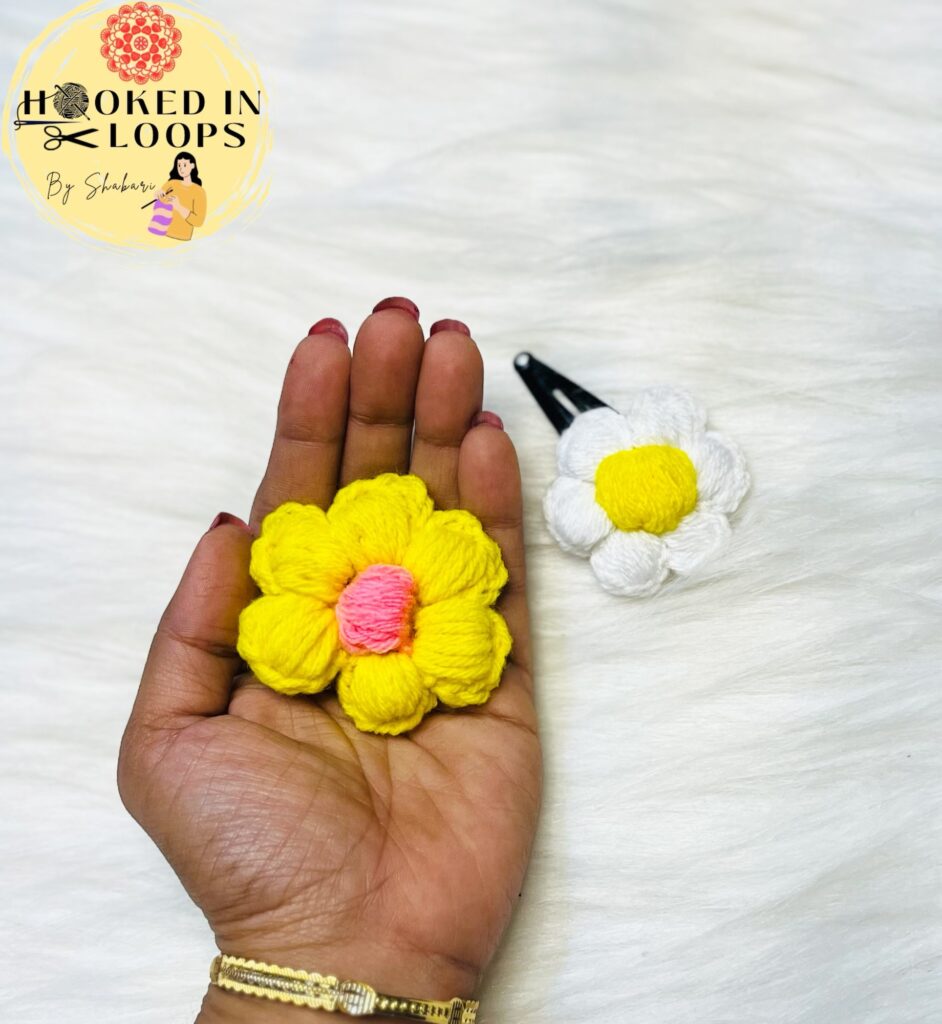

Crochet puff stitch flowers: the charming touch your projects need! Whether you’re a crochet pro or just getting started, this pattern offers simplicity with elegance. So, grab your yarn and hook, and let your creativity bloom with every stitch!
Happy crocheting, blossoming artisans!
For more information about the difference between puff stitches, and bobbles, check out: Free Crochet- Puff, Bobble & Popcorn
CHECK OUT MY EASY BEGINNERS TUTORIAL ON CROCHET PUFF STITCH FLOWER – YOUTUBE
| Subscribe … on Youtube | Follow … on Pinterest | Follow … on Instagram | |
You are just awesome my lovely wifey ❤️
Thank you ❤️