Table Of Contents
Introduction to This Lovely Crochet Blog
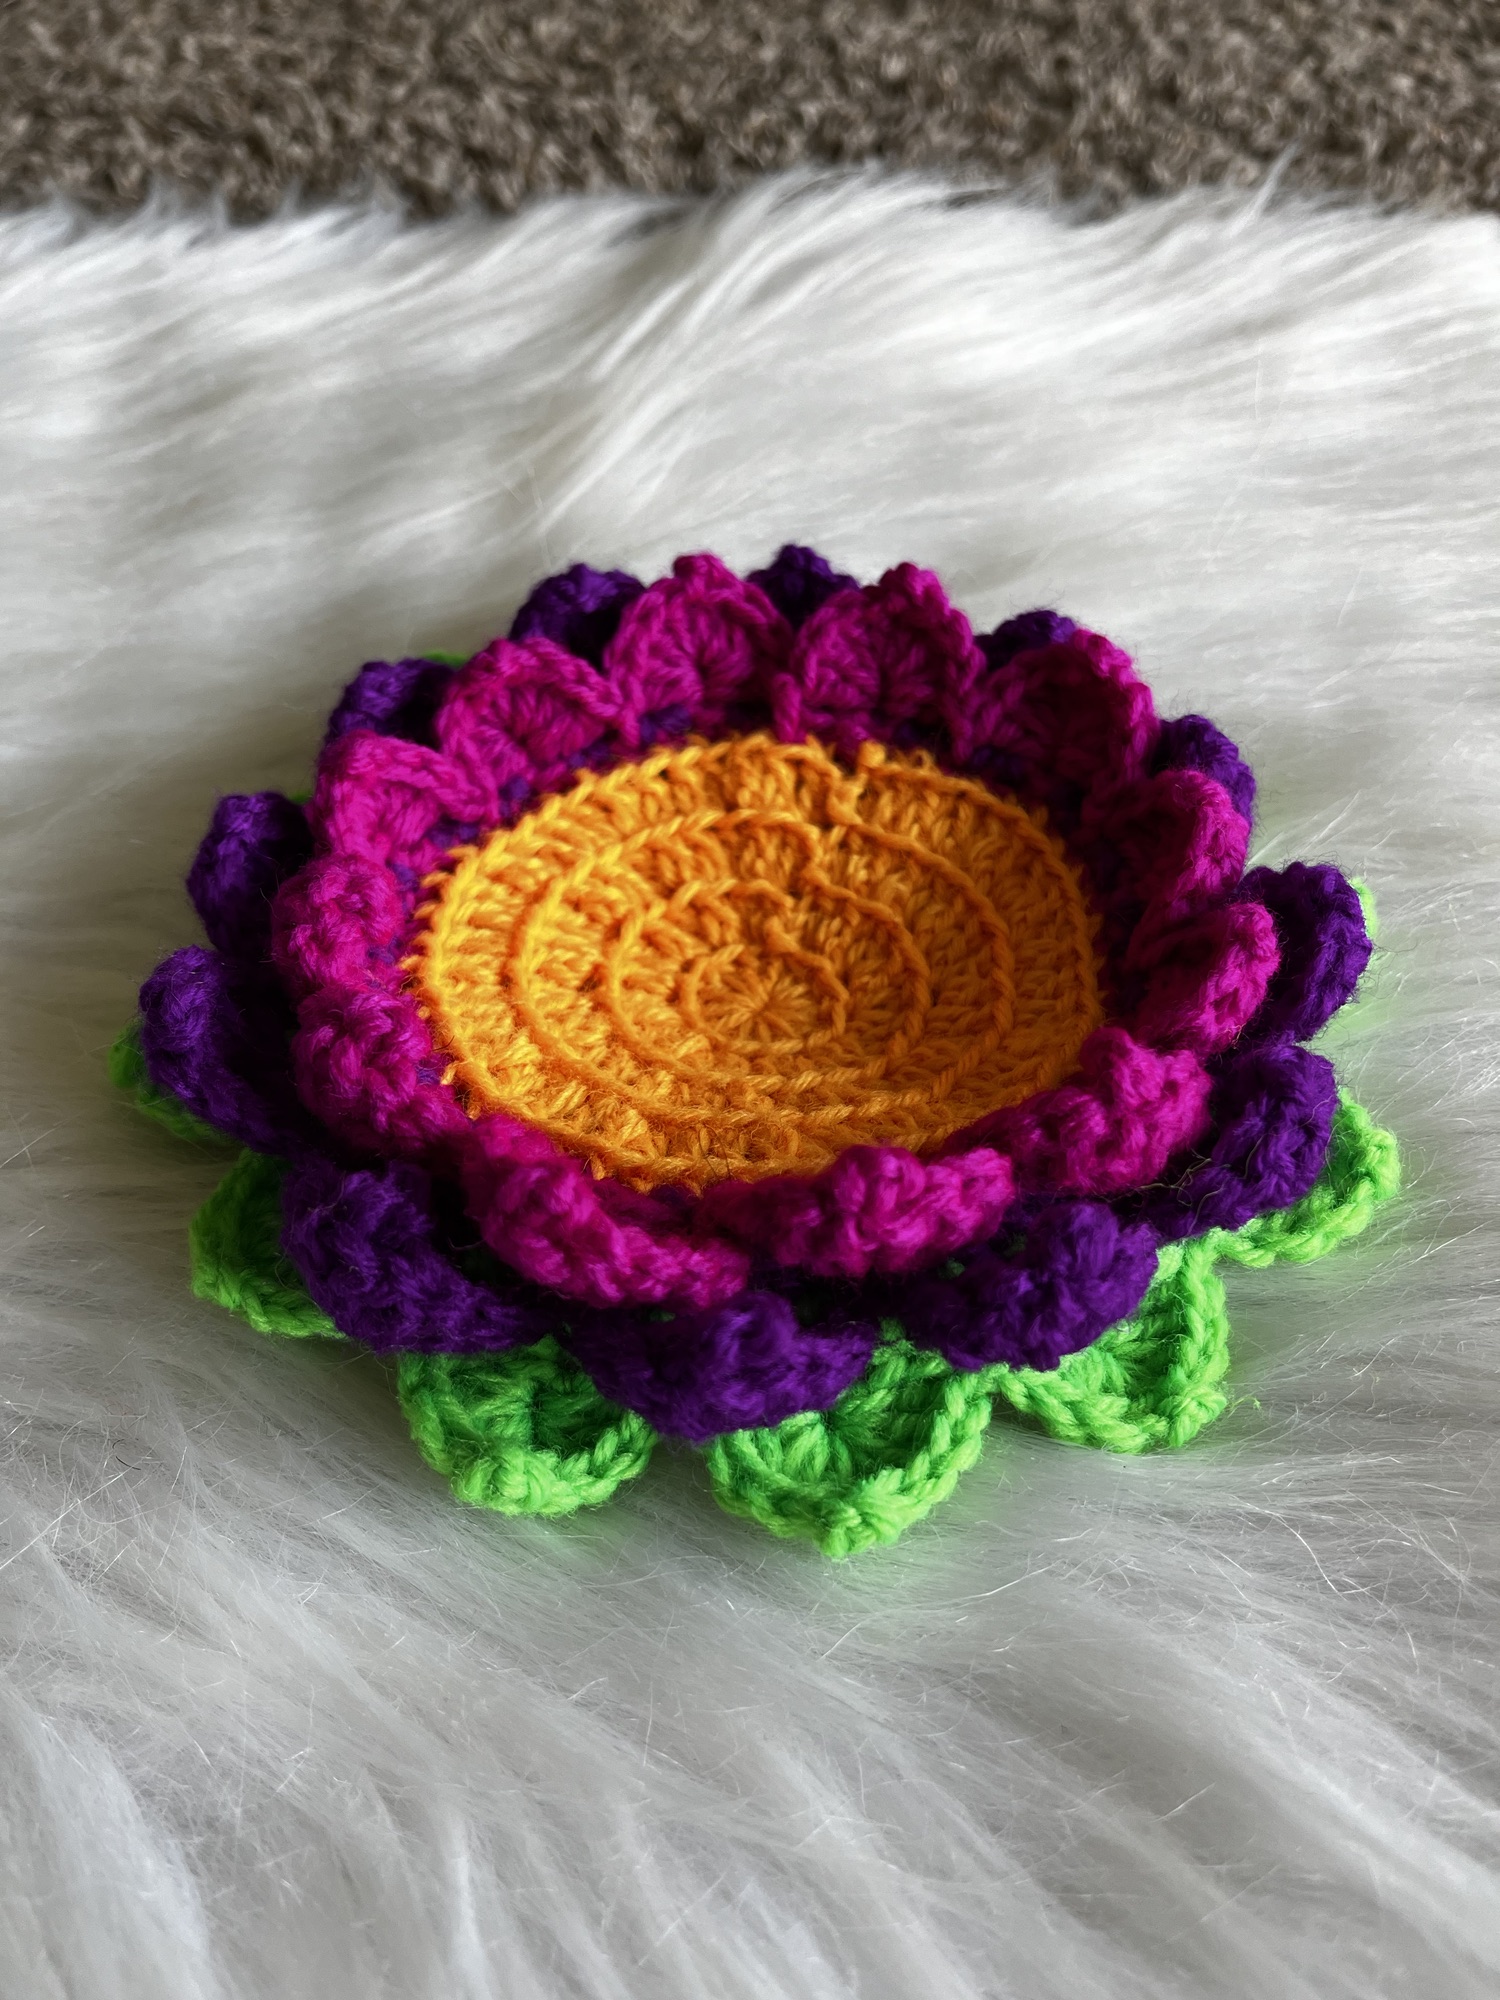
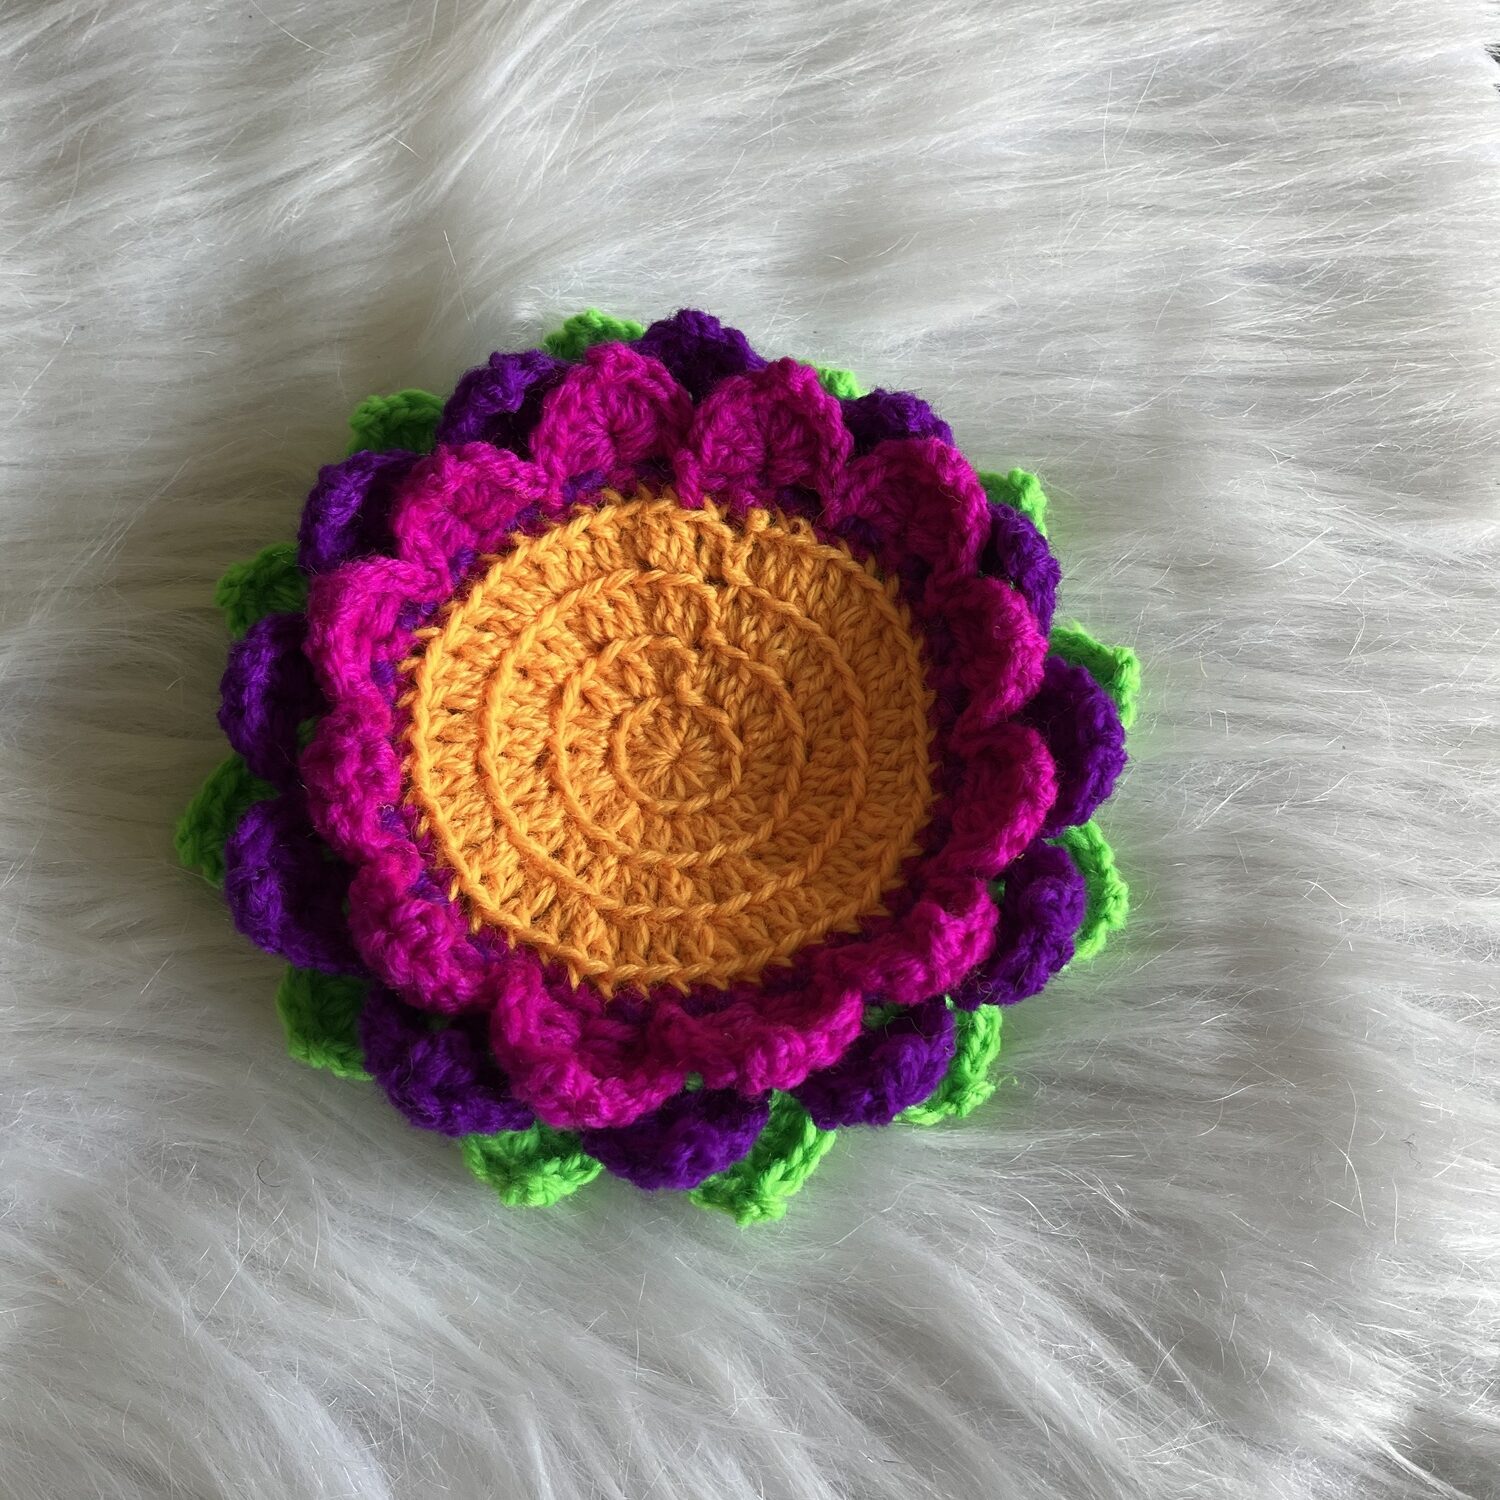
If you’re a crochet enthusiast looking for a quick yet beautiful project, the Crochet Lotus Coaster might just be the perfect pick for you. Inspired by the delicate and symmetrical beauty of a lotus flower, these coasters are a wonderful blend of practicality and artistry. Whether you’re making them as a personal treat or as a thoughtful handmade gift, the Crochet Lotus Coaster adds elegance to any setting.
♥️♥️♥️♥️♥️♥️♥️♥️♥️♥️♥️♥️♥️♥️♥️
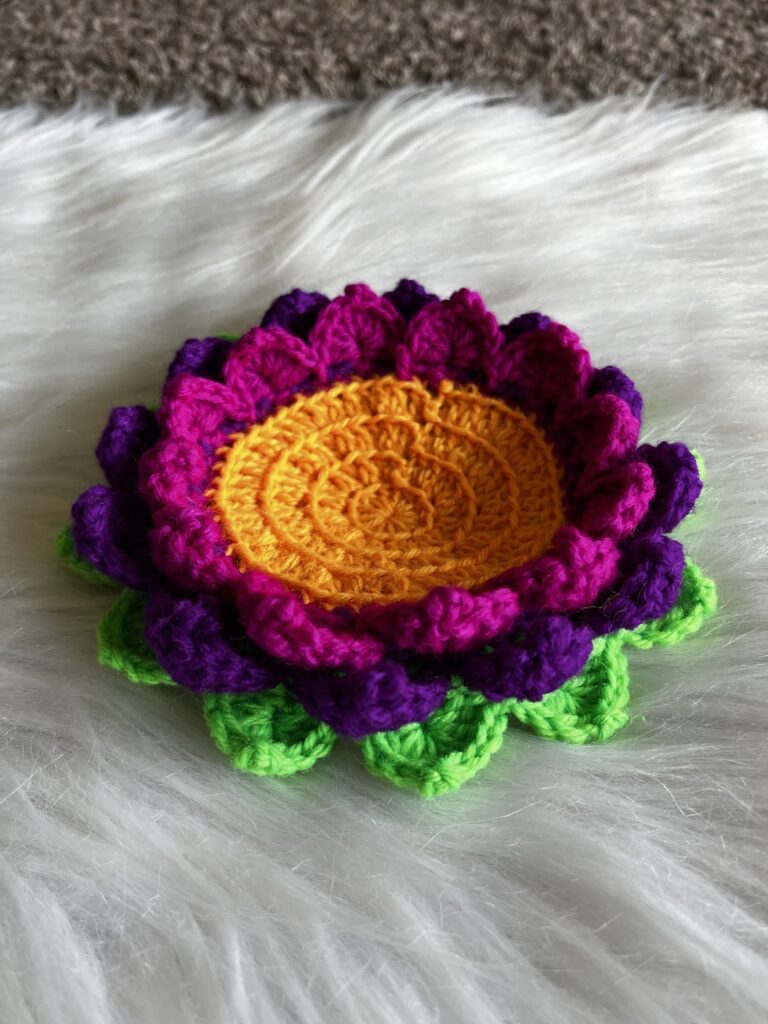
Isn’t this Crochet Lotus Coaster simply adorable? Moreover, it makes a delightful and unique addition to any dining table or gift-giving occasion! By adding a crochet lotus coaster to your collection or gifting it to a friend, you’re personalizing your creations while showcasing the charm of handmade craftsmanship. Not only is it practical, but it also carries that timeless appeal of classic crochet artistry, making it a thoughtful and beautiful token. Furthermore, I’m using mine as a special gift for loved ones—it’s the perfect pop of creativity and functionality!
In this blog, you’ll find the full written instructions for crafting this Crochet Lotus Coaster. Additionally, for a more visual guide to the crochet techniques, be sure to check out the tutorials on my YouTube channel: Class 1 and Class 2.
♥️♥️♥️♥️♥️♥️♥️♥️♥️♥️♥️♥️♥️♥️♥️
This project is simple and beginner-friendly; therefore, it’s perfect for anyone new to crochet! First, you’ll begin by creating the Crochet Lotus Coaster using basic stitch patterns, which are easy to follow and, thus, don’t require intense focus. Consequently, you can relax and enjoy the process without any pressure. Additionally, it’s a fantastic way to experience the joy of crocheting while avoiding complex techniques. As a result, you’ll complete a fun and satisfying project that comes together quickly. Finally, by the end, you’ll have a beautiful, handmade Crochet Lotus Coaster to add a touch of elegance to your home or gift to someone special!
For a step-by-step video tutorial, check out my YouTube channel, where I guide you through each stage of creating this charming Crochet Lotus Coaster.
Please subscribe to my channel for all the latest and the best patterns.
Since, Most of the crochet lovers just loved this pattern….. I think, you will also love it……
Therefore, just leave a comment in the comment section about it.
For getting updates of all my free patterns, please fill in the subscribe form

DECLARATION
Hi, I am Shabari Dutta. I work very hard on each and every pattern provided in this website, So you can always give a credit by mentioning my name & website www.hookedinloopsbyshabari.com in your posts.....♥️♥️♥️♥️♥️♥️♥️♥️♥️♥️♥️♥️♥️♥️♥️, h
You can sell any product made from this patternowever, you may not distribute this pattern as your own in any way!
Why Make Crochet Lotus Coasters?
- Practical and Decorative
Crochet Lotus Coasters are not only functional for protecting your surfaces but also serve as a lovely décor item. Place them under your favorite teacup, vase, or candle to elevate the aesthetic appeal of your space. - Quick and Satisfying Project
Ideal for beginners and seasoned crocheters alike, this project is small enough to complete in just a few hours. It’s perfect for using up leftover yarn while practicing or mastering new stitches. - Perfect for Gifting
Handmade coasters make for a charming gift. Pair them with a set of mugs or tea blends for a thoughtful housewarming or holiday present.
Materials You’ll Need
Here’s a list of supplies to get started:
- Yarn: Cotton yarn works best for coasters as it’s durable, absorbent, and washable. Choose colors that complement your tableware or reflect the beauty of a real lotus.
- Hook Size: Most patterns recommend a 3.5 mm to 4.5 mm hook, but always check your pattern for specific guidance.
- Tapestry Needle: For weaving in ends.
- Scissors
Abbreviations Used:
- mr: Magic Ring
- ch: Chain
- dc: Double Crochet
- sl st: Slip Stitch
- sc st: single crochet
Step-by-Step Overview of The The Crochet Lotus
The pattern for the circular center is as follows. Start with yellow yarn or any yarn of your choice:
Round 1: Create a mr. Ch 2 (does not count as a stitch), then work 12 dc into the mr. Sl st into the first dc to join.
Round 2: Ch 2 (does not count as a stitch). Then work 2 dc in each stitch around. Sl st into the first dc to join.
Round 3: Ch 2 (does not count as a stitch). Follow the pattern (1 dc, 2 dc in the next stitch) repeated 12 times. Sl st into the first dc to join.
Round 4: Ch 2 (does not count as a stitch). Follow the pattern (1 dc, 1 dc, 2 dc in the next stitch) repeated 12 times. Sl st into the first dc to join. Ch 1, then cut the yarn.
Your circular center is finally complete and ready for the next stage!
Let’s move on to creating the framework for the petals. Follow these steps carefully, transitioning from one round to the next
First Round of Framework (Pink Yarn):
- Begin by sl st into any st of the last round. Ch 1 and work 1 sc into the same stitch.
- Next, in each of the following 3 stitches, make 1 sc in each.
- Then, ch 4 to create a picot (alternatively, you can make a ch 5 picot if preferred).
- After that, work 1 sc in each of the next 4 stitches, followed by another ch 4 picot.
- Then repeat this sequence all the way around.
- Finally, sl st into the top of the first sc to close the round, ch 1, and cut the yarn.
Second Round of Framework (Violet Yarn):
- Attach violet yarn by sl st into the second sc of any set of 4 sc from the previous round.
- Ch 2 (does not count as a stitch), and then work 1 dc into the same stitch.
- Then, create a ch 5 picot.
- In the following 4 stitches, work 1 dc in each stitch (1 dc in each).
- Then, create another ch 5 picot.
- Continue by working 1 dc in each of the next 4 stitches, followed by another ch 5 picot.
- Repeat this pattern until the end of the round.
- After the last dc, sl st into the first dc to join, ch 1, and cut the yarn.
Final Round of Framework (Green Yarn):
- Attach green yarn by sl st into the first stitch of any set of 4 dc from the previous round.
- Ch 2 (does not count as a stitch), and then work 1 dc into the same stitch.
- In the next stitch, work 2 dc, followed by a ch 5 picot.
- Then, in the next stitch, work another 2 dc, and in the fourth stitch, work 1 dc.
- Repeat this sequence all the way around.
- To finish, sl st into the first dc of the round, ch 1, and cut the yarn.
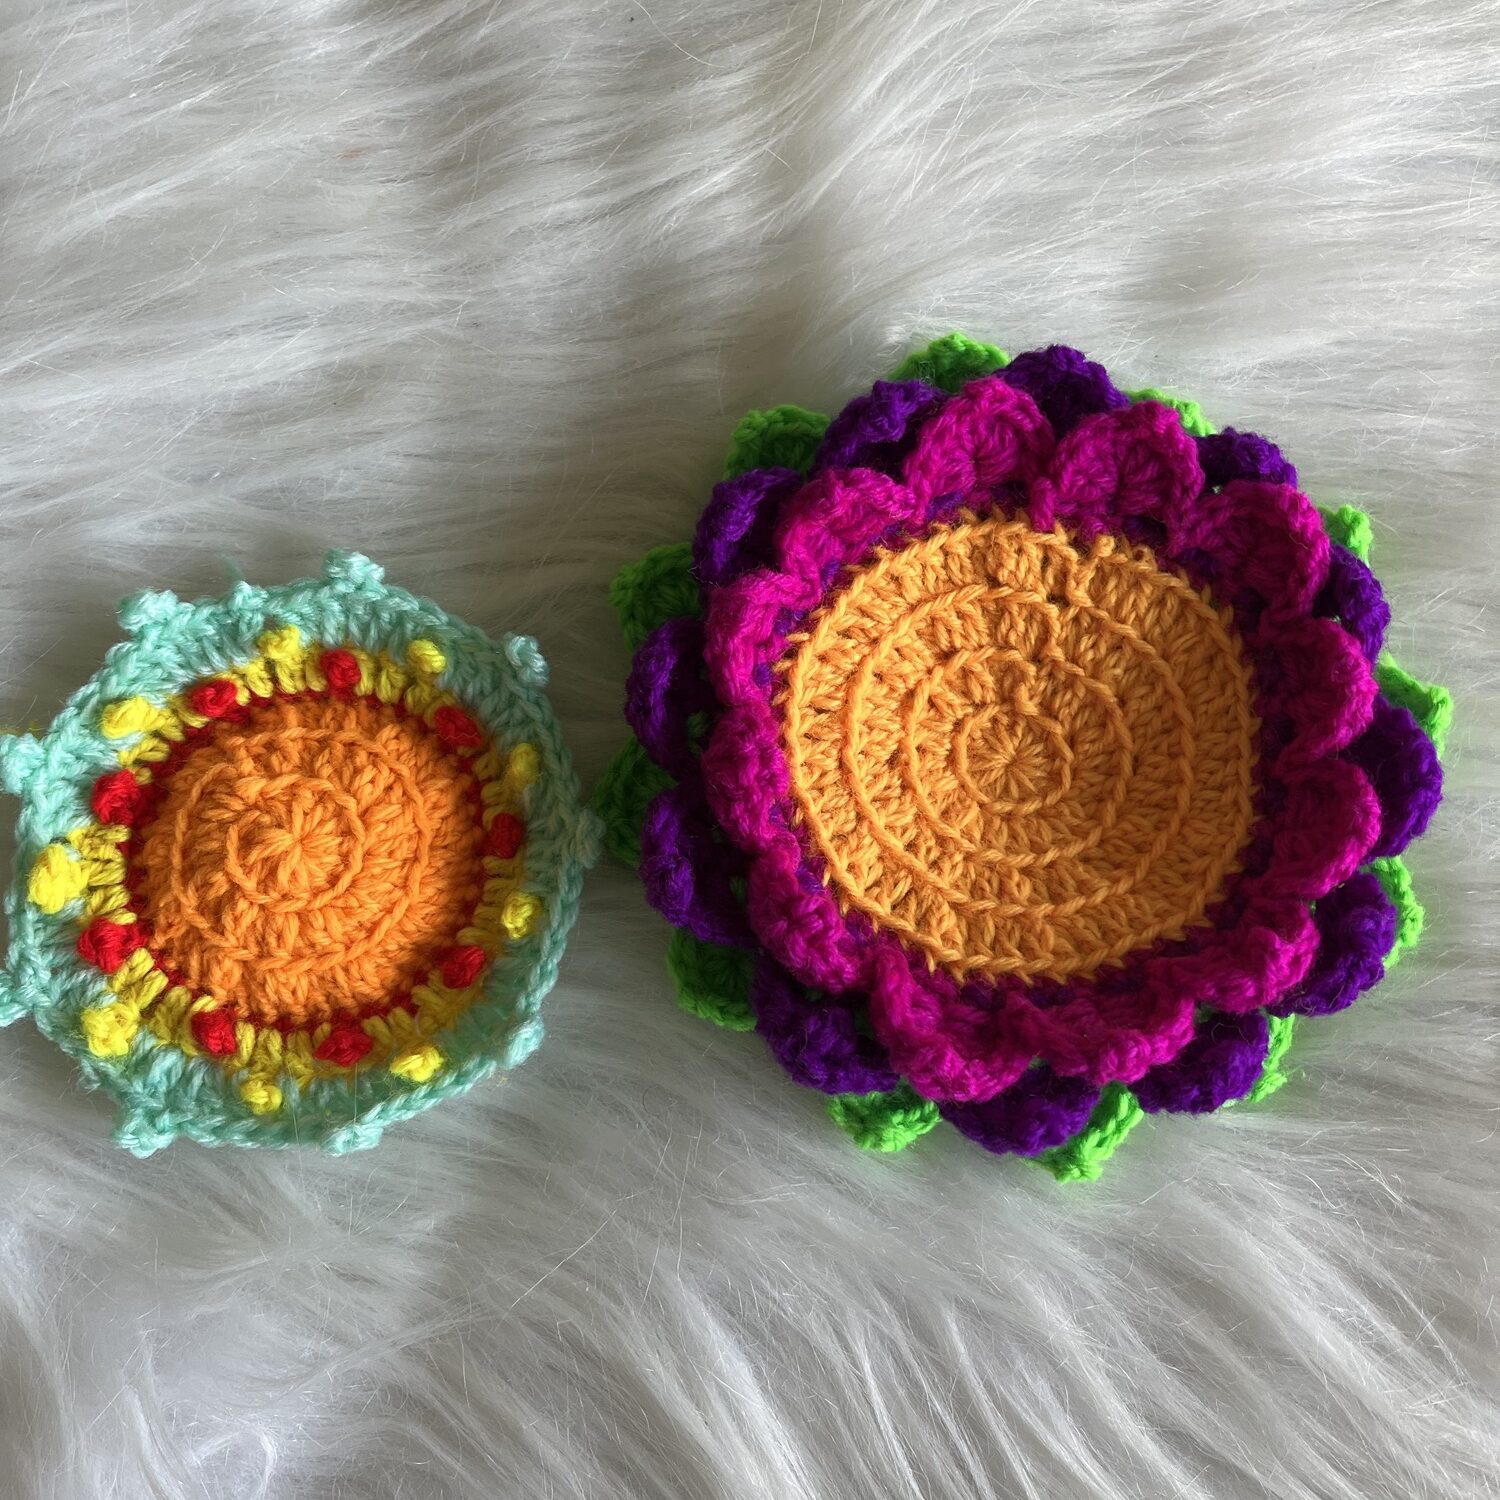
By carefully transitioning through each of these rounds, you’ll build the framework of your beautiful lotus design!
Now lets do the petals!!
8. First Round of Petals (Pink Yarn):
- Attach pink yarn by sl st into the second sc of any set of 4 sc from the First Round of Framework (Pink Yarn).
- Ch 1, then work 4 dc into the chain 4 picot (ch4 picot).
- Create a ch 2 picot, and then work 4 more dc into the same chain 4 picot.
- Sl st into the second sc of the next set of 4 sc.
- Start the next petal by repeating the pattern:
- Work 4 dc into the chain 4 picot, followed by a ch 2 picot, and another 4 dc into the same chain 4 picot.
- Sl st into the second sc of the next set of 4 sc.
- Continue this pattern for all petals around.
- At the end, sl st into the same stitch where you began, ch 1, and cut the yarn.
- First round of petals completed!
9. Second Round of Petals (Violet Yarn):
- Attach violet yarn by sl st into the third dc of any set of 4 dc from the Second Round of Framework (Violet Yarn).
- Ch 1, then work 4 dc into the chain 5 picot (ch5 picot).
- Do a ch 2 picot, and then work 4 more dc into the same chain 5 picot.
- Sl st into the second dc of the next set of 4 dc, and then sl st into the third dc.
- Start the next petal by repeating the pattern:
- Work 4 dc into the chain 5 picot, followed by a ch 2 picot, and another 4 dc into the same chain 5 picot.
- Sl st into the second dc of the next set, and then sl st into the third dc.
- Repeat this pattern for all petals around.
- Finally, sl st into the same stitch where you began, ch 1, and cut the yarn.
- Second round of petals completed!
10. Third Round of Petals (Green Yarn):
- Attach green yarn by sl st into the first dc of any set of 6 dc from the Final Round of Framework (Green Yarn).
- Ch 1, then work 4 dc into the chain 5 picot (ch5 picot).
- Create a ch 2 picot, and then work 4 more dc into the same chain 5 picot.
- Sl st into the sixth dc of the same set.
- Move to the next set by sl st into the first dc of the following set.
- Work the petal pattern in the chain 5 picot (4 dc, ch 2 picot, 4 dc), and then sl st into the sixth dc of the same set.
- Repeat this pattern for all petals around.
- At the end, sl st into the stitch where you began, ch 1, and cut the yarn.
Your Crochet Lotus Coaster is Complete!
With the petals in place, your elegant lotus design is now finished. Admire your handiwork and enjoy the charm it brings to your home or gift it to someone special! 🌸
Tips for Success
- Choose Contrasting Colors: A two-tone lotus, such as white petals with a golden yellow center, creates a striking and vibrant look.
- Experiment with Yarn Weights: Using a finer yarn can create delicate, doily-like coasters, while thicker yarn makes them sturdier.
- Crochet in Sets: These coasters are most charming when created in coordinating sets. Experiment with different color combinations to suit various moods or seasons.
Creative Uses for Your Lotus Coaster
Beyond their obvious use as coasters, these little beauties can serve many purposes:
- Mini Doilies: Use them as decorative elements on side tables or dressers.
- Jar Toppers: Place them atop mason jars for a boho-chic look.
- Wall Art: Frame a set of lotus coasters for unique, handmade wall décor.
Final Thoughts
The Crochet Lotus Coaster is more than just a project—it’s a gateway to creating something beautiful, meaningful, and functional. Whether you make one or a dozen, these intricate little designs are sure to bring joy and beauty to your home or the homes of those you gift them to.
So grab your yarn, pick up your hook, and let your creativity bloom into a stunning lotus!
Do you have a favorite Lotus Coaster pattern or a color combination that you swear by? Share your ideas and experiences in the comments below. We’d love to hear from you! 🌸


| Subscribe … on Youtube | Follow … on Pinterest | Follow … on Instagram | |
