Table Of Contents
Introduction to this lovely crochet blog
Crochet roses are a delightful way to bring charm and elegance to any bouquet, offering a handmade touch that makes every creation feel extra special. Not only are they perfect for gifting or enhancing event décor, but they are also a timeless and versatile craft that can be customized to suit any occasion. If you’ve ever admired the beauty of a crochet rose and, at the same time, wondered how to make one yourself, then you’re in luck! With just a little practice and by following this easy-to-understand guide, you’ll soon be on your way to crafting stunning crochet roses in no time at all. Furthermore, this step-by-step approach ensures that even beginners can achieve beautiful results effortlessly.
To get started, we’ll walk through every step, from creating the petals to assembling a bouquet. Moreover, this project is ideal for both beginners and experienced crafters, as you can adjust the complexity to your liking. So, let’s dive into this fun and rewarding crochet project that will leave you with beautiful, everlasting blooms.
SHARING IS CARING 🙂
PIN IT TO YOUR FAVORITE BOARD ON PINTEREST
♥️♥️♥️♥️♥️♥️♥️♥️♥️♥️♥️♥️♥️♥️♥️
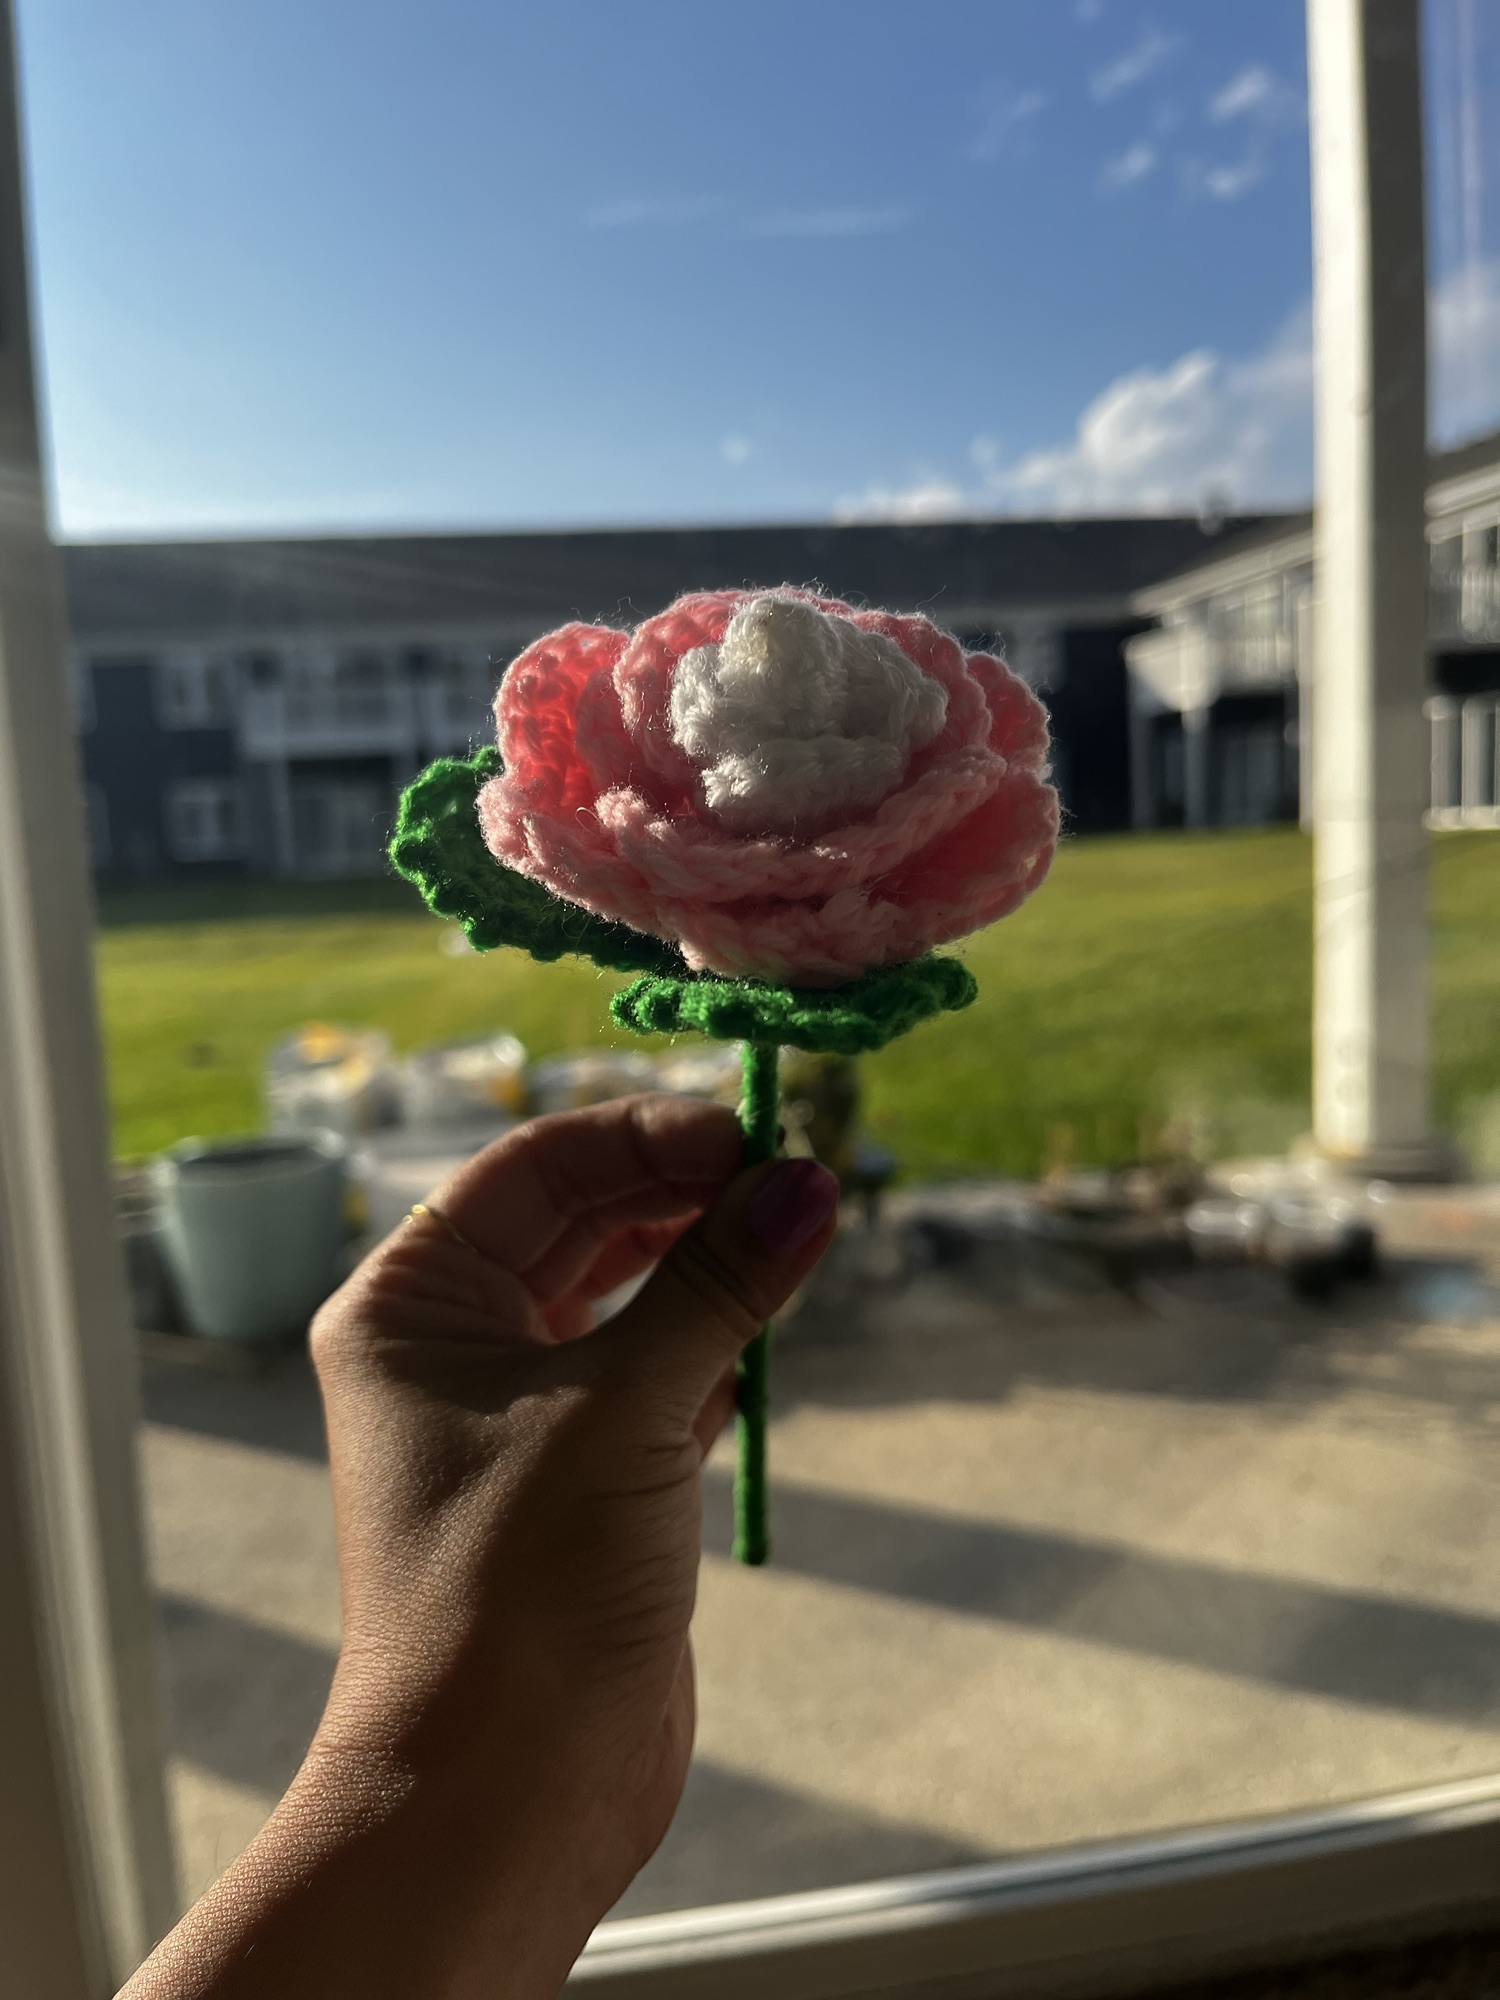
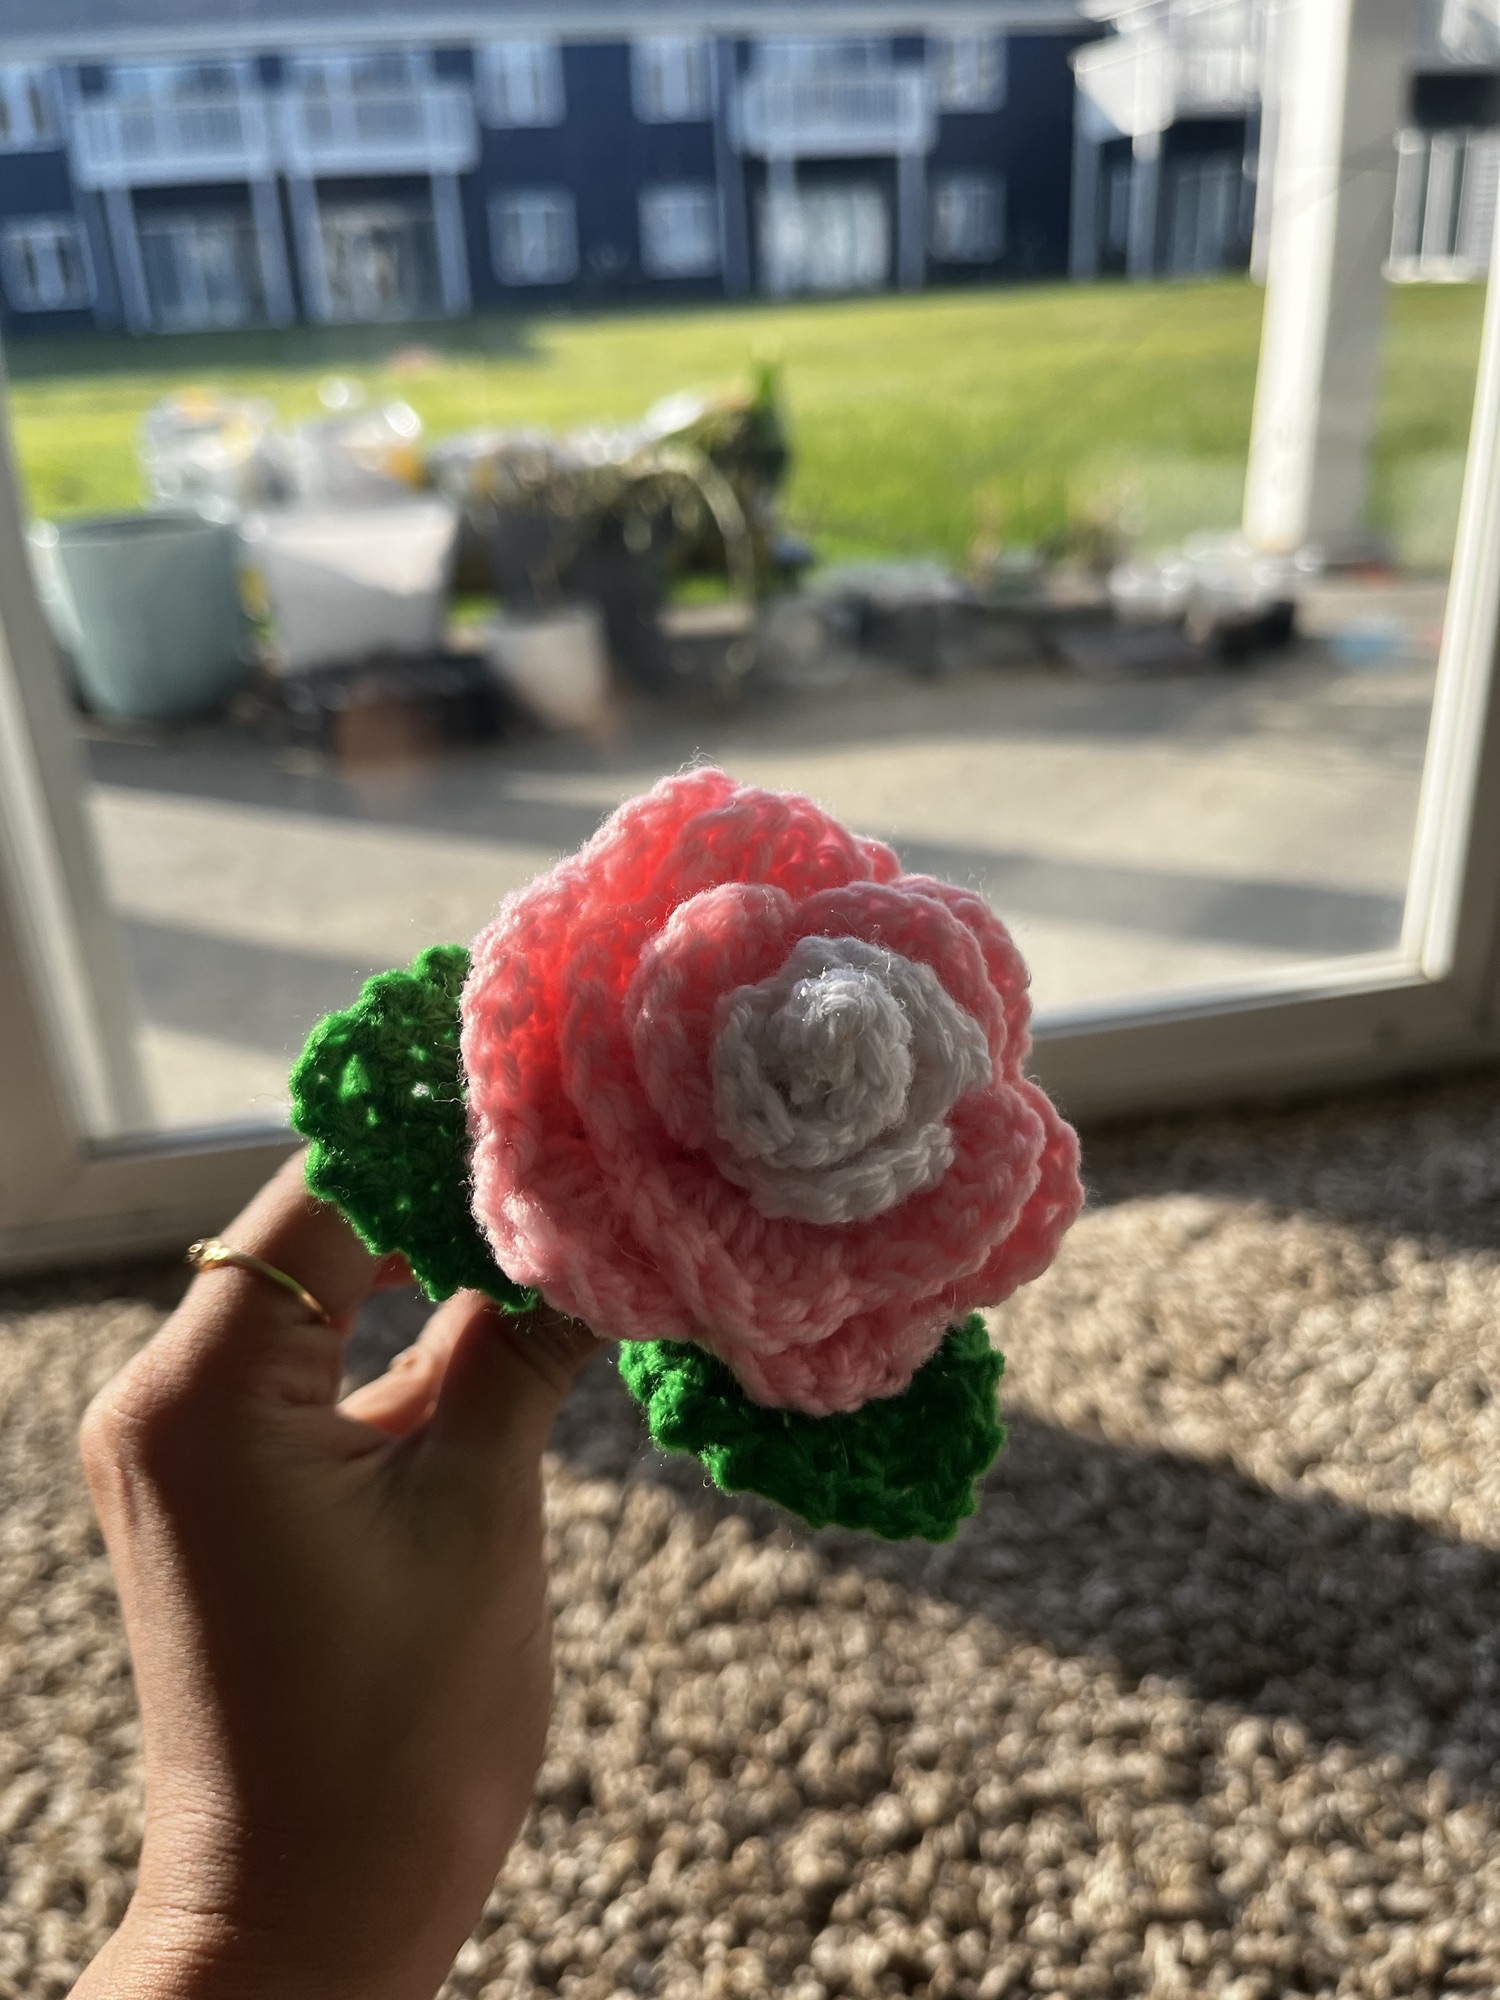
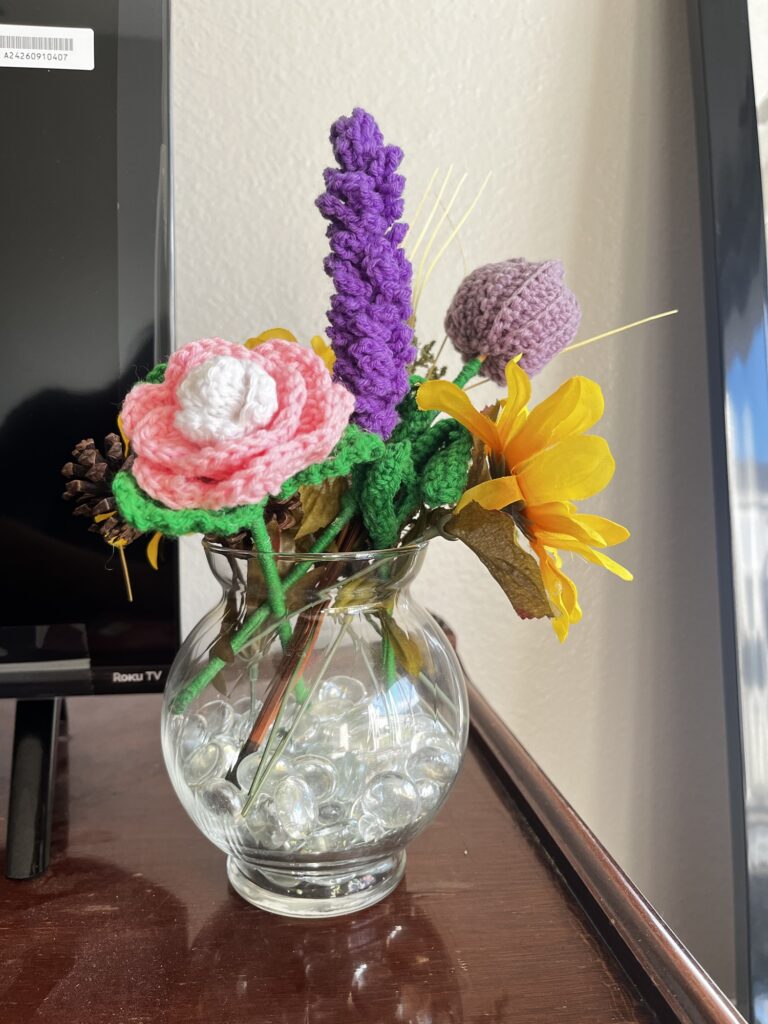
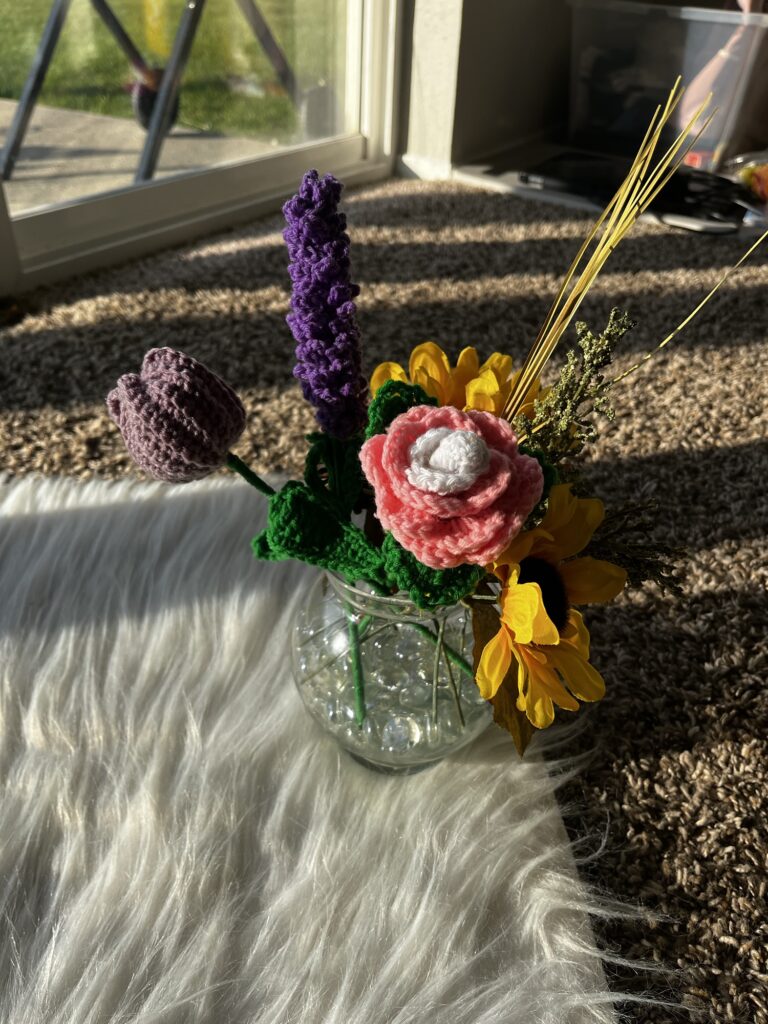
Isn’t this beautiful? This Crochet Rose Pattern makes an adorable and surely unique addition to any bouquet or craft project! Adding a crochet rose to your décor or as part of a handmade gift is a perfect way to personalize your creations while showcasing the charm of handmade work. It’s versatile, elegant, and also carries that timeless appeal of classic crochet artistry. I’m using mine to create a bouquet—it’s the perfect pop of beauty and personality!
n this blog, you’ll find the full written instructions for crafting this Crochet Rose. Also, for a visual guide to the stitching techniques, be sure to check out the tutorial on my YouTube channel- Link 1 and Link 2.

This project is simple and beginner-friendly; therefore, it’s perfect for anyone new to crochet! First, you’ll start with basic stitch patterns, which are easy to follow and, thus, don’t require intense focus. Consequently, you can relax and enjoy the process without any stress. Also, it’s a fantastic way to experience the joy of crocheting while avoiding complex techniques. As a result, you’ll have a fun and satisfying project that comes together quickly. Finally, by the end, you’ll have a beautiful, handmade Crochet Rose to add to a bouquet, decorate your home, or gift to someone special!
For a step-by-step video tutorial, check out my YouTube channel, where I guide you through each stage of creating this charming Crochet Rose.
Please subscribe to my channel for all the latest and the best patterns.
Since, Most of the crochet lovers just loved this pattern….. I think, you will also love it……
Therefore, just leave a comment in the comment section about it.
For getting updates of all my free patterns, please fill in the subscribe form
DECLARATION
Hi, I am Shabari Dutta. I work very hard on each and every pattern provided in this website, So you can always give a credit by mentioning my name & website www.hookedinloopsbyshabari.com in your posts.....♥️♥️♥️♥️♥️♥️♥️♥️♥️♥️♥️♥️♥️♥️♥️, h
You can sell any product made from this patternowever, you may not distribute this pattern as your own in any way!
Materials Needed to crochet the rose
Before you begin, gather the following materials:
- Yarn:
- Petals (Rose Lace): Any soft yarn in the color of your choice (e.g., red, pink, white).
- Sepal and Stem: Green yarn (preferably the same thickness as the petal yarn).
2. Hook:
- Crochet hook suitable for the thickness of your yarn (commonly 3mm–4mm for light or medium yarn).
3. Tools:
- Stitch markers (to help keep track of rounds and key points).
- Scissors (for cutting yarn).
- Yarn needle (for weaving in ends).
4. Glue:
- Hot glue gun or Fevicol (for attaching parts securely).
5. Stem Base:
- A grill stick or wooden skewer (to form the stem).
Complete Crochet Rose Pattern (Lace + Sepal)
1. Rose Lace (Petals of the Rose)
Round 1:
- Chain (ch) 49 (foundation chain). Then chain 3 more (this counts as the first double crochet (dc)). Then chain 2 (ch2),which is the 1st sp.
- After that do a double crochet (dc) into the 6th chain from the hook.
- skip 2 chains (sk 2).
Work V-stitches:
- In the following chain: (1 dc, ch2, 1 dc) — this creates a V-stitch.
- Then skip 2 chains (sk 2).
Repeat:
- Continue making (1 dc, ch2, 1 dc) in every 3rd chain until the end of the row.
Finish the round:
- Chain 1 (ch1), and then turn your work.
Round 2:
- Create petals:
- In the first ch2 space of the V-stitch:
- (1 hdc, 5 dc, 1 hdc) — this forms one petal.
- In the first ch2 space of the V-stitch:
- Then move to the next space:
- In each subsequent ch2 space, repeat:
- (1 hdc, 5 dc, 1 hdc) — forming a petal in each space.
- In each subsequent ch2 space, repeat:
- Finish the round:
- After the last petal, slip stitch (sl st) into the final ch2 space.
- Then chain 1 (ch1) and cut the yarn.
Lace Complete:
You now have a completed lace strip that will form the rose petals.
TIP: Check out the video of class 1 in order to understand the colour-changing method in the lace.
2. Sepal (Green Base)
Foundation Round:
- Create the framework for the leaves:
- Begin with a slip knot.
- Then chain 9 (ch9).
- Work the first leaf’s base:
- Starting from the 2nd chain from the hook: (1 sc in each of the next 7 chains).
- Then slip stitch (sl st) into the 1st chain.
- Then create the second and third leaves:
- Chain 8 (ch8). Starting from the 2nd chain from the hook: (1 sc in each of the next 7 chains).
- Then slip stitch (sl st) into the 1st chain.
- Similarly, repeat for the third leaf.
Shaping the Leaves:
- Work on the first leaf (7 stitches):
- In the 7 sc stitches of the first leaf: (1 sc, 1 hdc, 1 dc, 1 dc, 1 dc, 1 hdc, 1 sc).
- Then chain 1 (ch1).
- Then work on the other side of the chain frame:
- In the 7 chains on the opposite side of the foundation chain: (1 sc, 1 hdc, 1 dc, 1 dc, 1 dc, 1 hdc, 1 sc).
- Then move to the second and third leaves:
- Repeat the same pattern for the second and third leaves also.
- Finish the shaping round:
- Then slip stitch (sl st) into the starting single crochet (sc) of the first leaf.
- Finally, chain 1 (ch1).
Border Round:
- Add detail to the edges:
- In the same stitch, work: (1 sc, chain 2).
- Then move to the next stitch (hdc), and repeat: (1 sc, chain 2).
- Continue for each side of the leaf:
- Work (1 sc, chain 2) in the next five stitches on the first side of the leaf.
- Then at the tip of the leaf, chain 1 (ch1).
- After that work on the opposite side:
- For the next 7 stitches, repeat: (1 sc, chain 2).
- Then repeat for all leaves:
- Work the same border pattern for the second and third leaves also.
- Finish the round:
- Finally slip stitch (sl st) into the first sc. Chain 1 (ch1) and then cut the yarn.
3. Assembly
- Attach the Sepal:
- Slide a grill stick through the center of the sepal.
- Form the Rose:
- Wrap the lace strip around itself to form the rose shape.
- Secure the layers with a hot glue gun.
- Create the Stem:
- Wrap green yarn around the grill stick, securing it with hot glue or Fevicol.
Tip:
Use stitch markers to mark important points, such as the beginning of a round, where petals start and end, or the midpoint of a leaf. This will make it easier to keep track of your stitches, especially when working on the leaves and the lace.
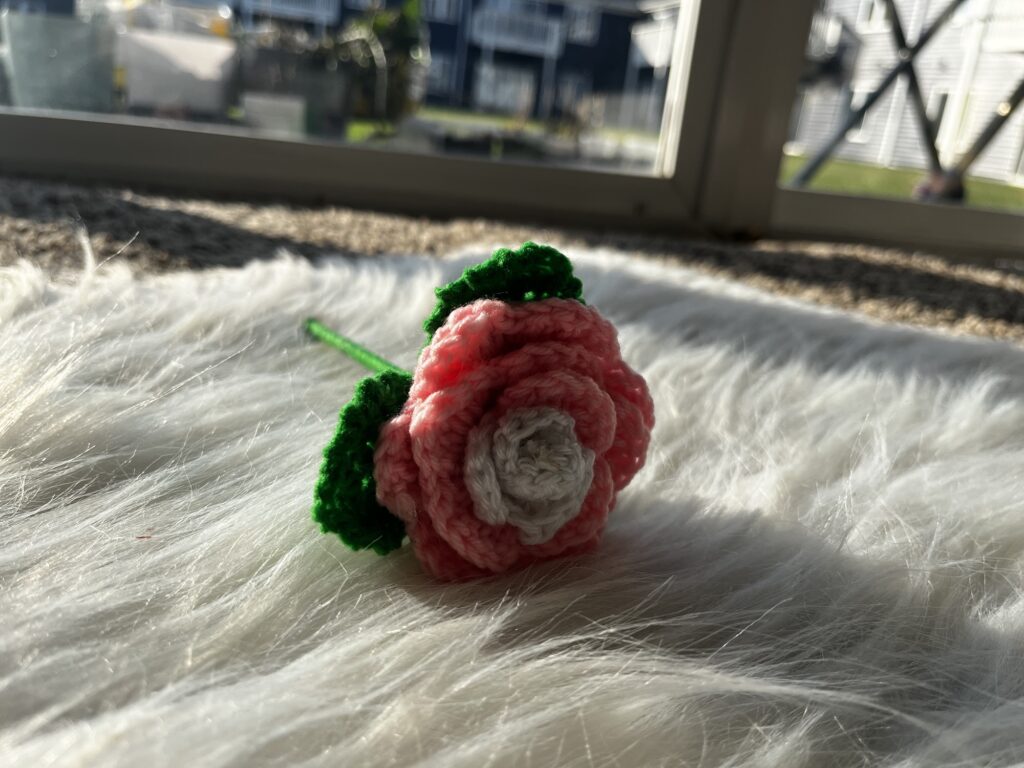
Your crochet rose with a sepal is now complete! 🌹
Tips for Success
- Experiment with Yarn Colors and Textures– To begin with, try using different yarn colors and textures to make your roses stand out and look unique.
- Adjust Crochet Hook Size– Additionally, modify the size of your crochet hook to create roses of varying sizes, whether larger or smaller, to suit your project needs.
- Add Embellishments– Furthermore, enhance your roses by incorporating embellishments like glitter yarn or beads for an extra touch of charm and sophistication.
Conclusion
Creating a crochet rose is not only a delightful craft but also a great way to express your creativity. These roses can be used in various projects, from bouquets to hair accessories and home décor. With this guide, you’re well on your way to crafting stunning, handmade roses that will last a lifetime. Happy crocheting!


| Subscribe … on Youtube | Follow … on Pinterest | Follow … on Instagram | |
