Table Of Contents
Introduction
If you’re looking to add a personalized touch to your crochet projects, creating crochet letters is a great way to go! Whether it’s for a name banner, a pillow, or an applique, learning how to crochet letters opens up endless possibilities. Today, we’re diving into a step-by-step guide on how to crochet the letter “M” which is perfect for monograms, gifts, or also unique decorations. This pattern is beginner-friendly and thus requires just a few basic stitches.
Let’s get started!
SHARING IS CARING 🙂
PIN IT TO YOUR FAVORITE BOARD ON PINTEREST
♥️♥️♥️♥️♥️♥️♥️♥️♥️♥️♥️♥️♥️♥️♥️
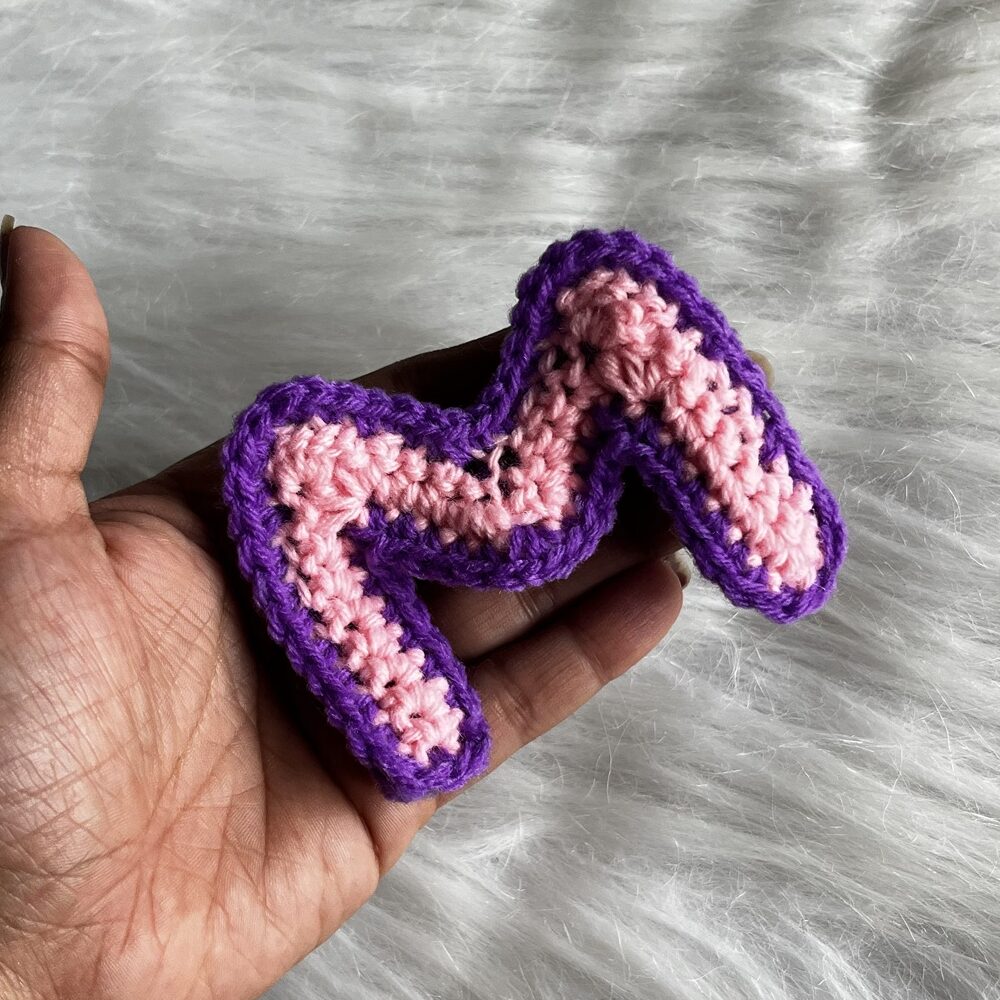
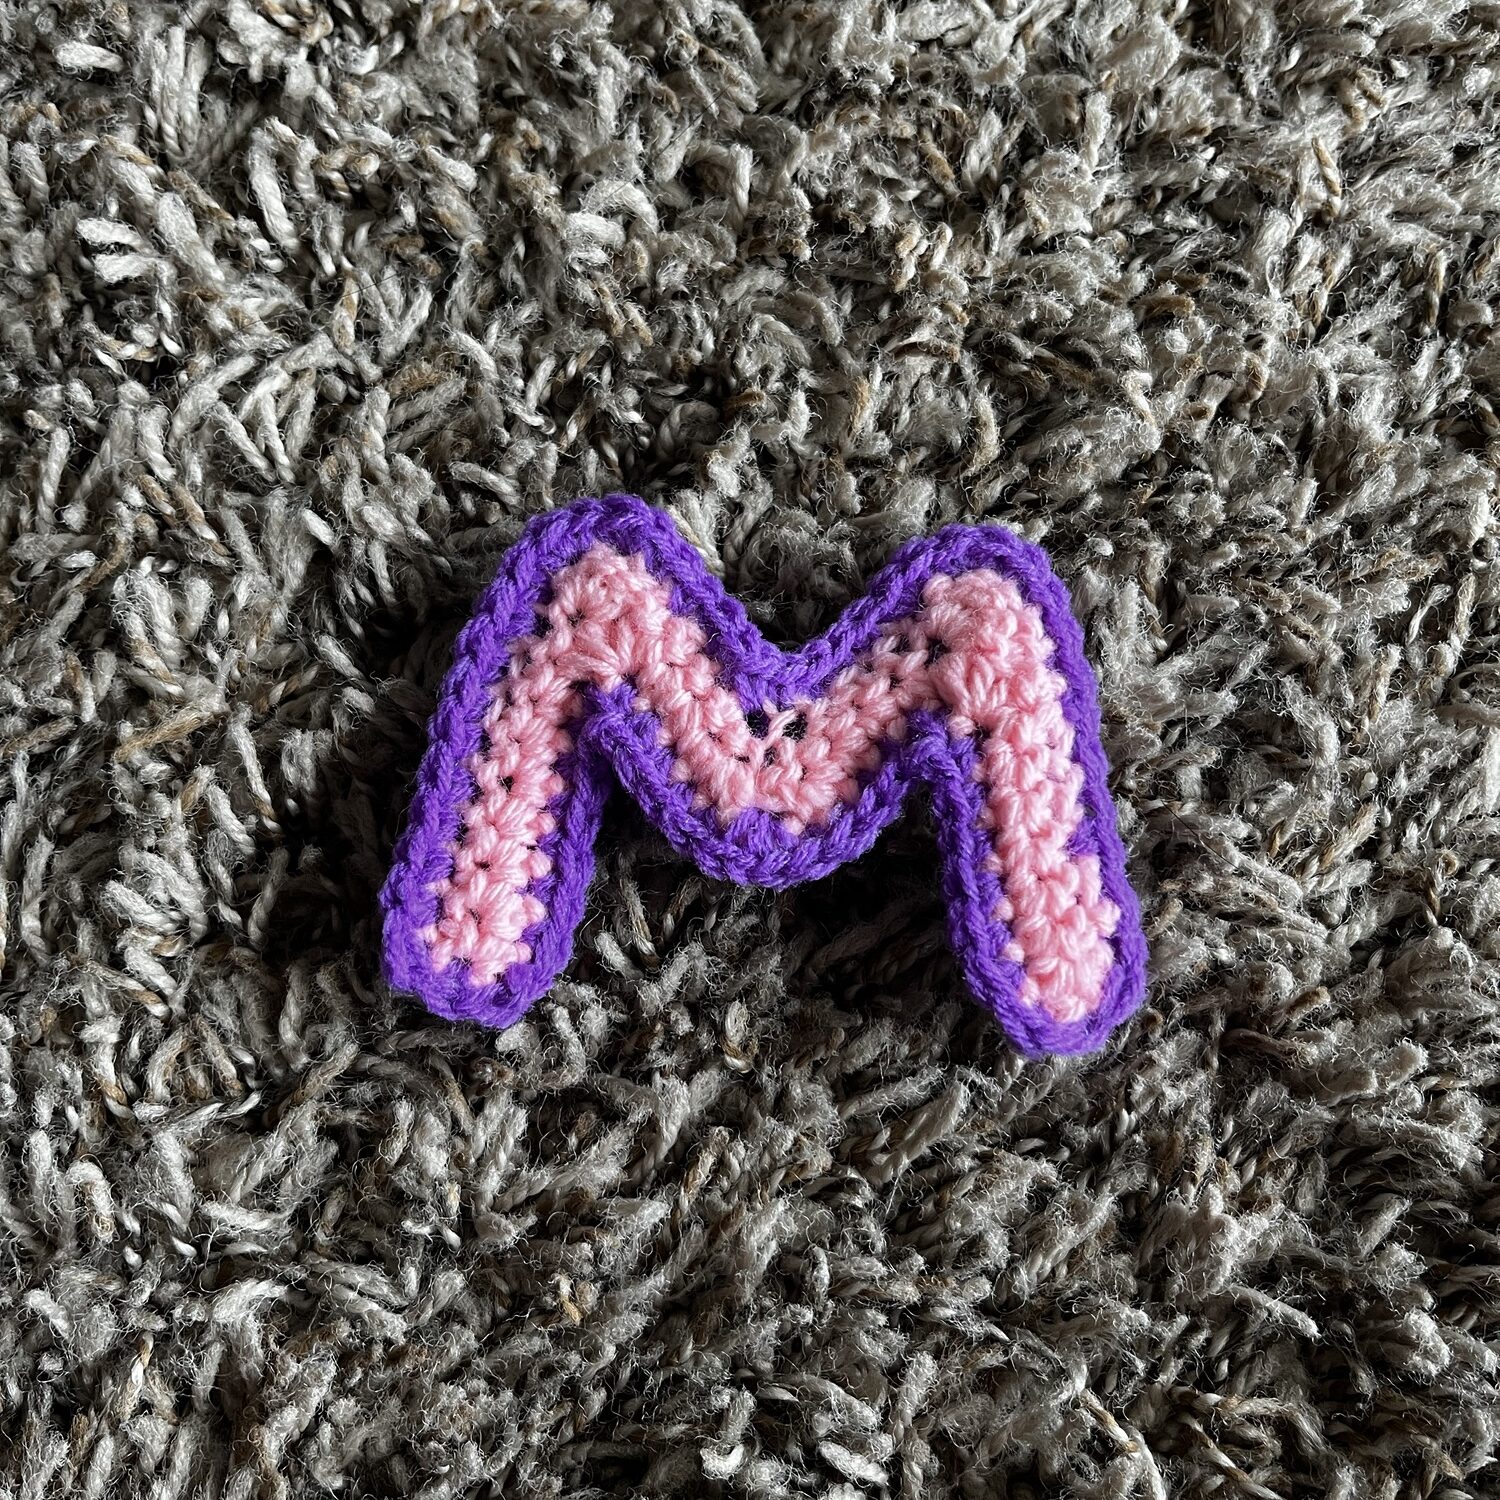
Isn’t this beautiful? This Crochet Letter “M” Pattern makes an adorable and surely a unique keychain! Adding a crochet letter as a keychain is a perfect way to personalize your accessories or make a thoughtful, handmade gift. It’s small, lightweight, and also carries that special charm of handmade work. I’m using mine as a keychain—it’s the perfect pop of personality for my keys!
In this blog, you’ll find the full written instructions for crafting this Crochet Letter “M.” Also for a visual guide to the stitching technique, be sure to check out the tutorial on my YouTube channel.
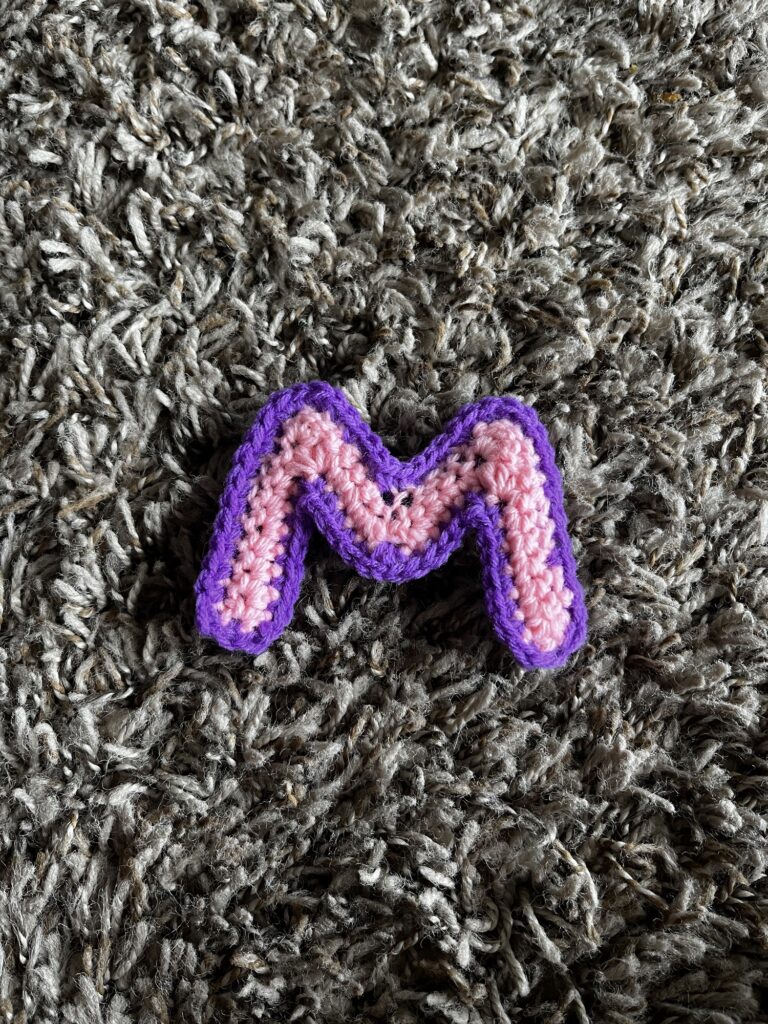
This project is simple and beginner-friendly; therefore, it’s perfect for anyone new to crochet! First, you’ll start with basic stitch patterns, which are easy to follow and, thus, don’t require intense focus. Consequently, you can relax and enjoy the process without any stress. Also, it’s a fantastic way to experience the joy of crocheting while avoiding complex techniques. As a result, you’ll have a fun and satisfying project that comes together quickly. Finally, by the end, you’ll have a beautiful, handmade Crochet Letter “M” Keychain to show off or gift!
For a step-by-step video tutorial, check out my YouTube channel, where I guide you through each stage of creating this charming Crochet Letter “M” Keychain!
Please subscribe to my channel for all the latest and the best patterns.
Since, Most of the crochet lovers just loved this pattern….. I think, you will also love it……
Therefore, just leave a comment in the comment section about it.
For getting updates of all my free patterns, please fill in the subscribe form

DECLARATION
Hi, I am Shabari Dutta. I work very hard on each and every pattern provided in this website, So you can always give a credit by mentioning my name & website www.hookedinloopsbyshabari.com in your posts.....♥️♥️♥️♥️♥️♥️♥️♥️♥️♥️♥️♥️♥️♥️♥️, h
You can sell any product made from this patternowever, you may not distribute this pattern as your own in any way!
Materials Needed
- Yarn: Any yarn of your choice. For a sturdy “M” that keeps its shape, use medium-weight yarn or thicker. I have used a 4 ply acrylic yarn.
- Crochet Hook: Use the hook size recommended on your yarn’s label. For tighter stitches and a firmer shape, go a hook size smaller. I have used a 3 mm hook.
- Scissors
- Tapestry Needle: For weaving in the ends.
Stitches & Abbreviations
- ch: Chain
- sc: Single Crochet
- sc2tog: Single Crochet 2 Together
- sc4tog: Single Crochet 4 Together
- sc5tog: Single Crochet 5 Together
- sl st: Slip Stitch
- inc: Increase (work 2 single crochets in the same stitch)
Instructions for Crochet Pattern:
Pattern for the Letter “M”
We’ll be making two identical pieces of the letter “M” and then joining them together to create a thicker, more defined shape. Follow each step carefully to achieve the correct shape.
Step 1: Create the First Row
- Foundation Row: Start by chaining 37.
- Row 1:
- Begin with the second chain from the hook.
- Then work 1 single crochet (sc) in each of the first 9 chains.
- Single Crochet 5 Together (sc5tog): This stitch will help shape the “V” of the “M.”
- Then work 1 sc in each of the next 3 chains.
- In the next chain, increase by working 2 sc in the same chain.
- Then chain 2.
- In the next chain, increase again by working 2 sc.
- Then work 1 sc in each of the next 3 chains.
- Single Crochet 5 Together (sc5tog).
- Work 1 sc in each of the last 9 chains.
- Finally chain 1 and turn.
Step 2: Shape the Letter
- Row 2:
- Work 1 sc in each of the first 7 stitches.
- Then single Crochet 4 Together (sc4tog).
- Then work 1 sc in each of the next 3 stitches.
- In the next stitch, work 2 sc to increase.
- Then chain 2.
- In the next stitch, work 2 sc.
- Then work 1 sc in each of the next 3 stitches.
- Single Crochet 4 Together (sc4tog).
- Work 1 sc in each of the last 7 stitches.
- Finally, chain 1 and turn.
- Make Two Pieces:
- Repeat these steps to create a second identical piece of the letter “M.”
- For the first piece, after completing the last ch1, cut the yarn and weave in the ends.
- For the second piece, do not cut the yarn – you’ll continue to crochet the border.
Step 3: Joining the Pieces and Adding the Border
Now that you have two pieces, we’ll place them on top of each other and join them using a border. This border will add structure to the letter, making it sturdier and more defined.
Inner Border
- Place both pieces together, lining up the edges.
- Begin with single crochet stitches, working through both layers.
- Follow this sequence:
- Work 1 sc in each of the first 7 stitches.
- Then single Crochet 2 Together (sc2tog).
- Then work 1 sc in each of the next 4 stitches.
- In the ch2 space from the previous row, work (1 sc, ch1, 1 sc).
- Then work 1 sc in each of the next 4 stitches.
- Single Crochet 2 Together (sc2tog).
- Then work 1 sc in each of the first 7 stitches.
- After that work 1 sc in the lower stem of the “M” (refer to a video if needed for guidance on the shape).
Outer Border
- Now, move on to the outer edge of the letter “M”:
- Work 1 sc in each of the next 11 stitches.
- Then in each of the next 2 stitches, work an increase by crocheting 2 sc in each.
- Work 1 sc in each of the next 4 stitches.
- Then single Crochet 2 Together (sc2tog).
- Work 1 sc in each of the next 4 stitches.
- Then in each of the next 2 stitches, make an increase by working 2 sc in each.
- Work 1 sc in each of the next 11 stitches.
- Then work 1 sc in the other lower stem of the “M.”
- Slip stitch into the first single crochet to join.
- Finally chain 1, cut the yarn, and weave in any loose ends.
Tips for Customizing Your Crochet “M”
- Experiment with Color: Use two colors for each layer or add a contrasting border to make the letter pop!
- Add Embellishments: After completing the letter, you could sew on beads, or embroider initials or symbols.
- Turn It into a Keychain or Applique: For smaller letters, use thinner yarn and a smaller hook. These can be great additions to hats, scarves, or backpacks.
Final Thoughts
Crocheting letters can seem challenging at first, but with a little practice, you’ll have a beautiful “M” ready to add to your project. This pattern works well for creating monograms, personalizing items, and so much more. Try making other letters to spell out names or words!
Happy crocheting!

| Subscribe … on Youtube | Follow … on Pinterest | Follow … on Instagram | |
