Table Of Contents
- Introduction To This Wonderful Crochet Blog
- DECLARATION
- Materials Needed
- Abbreviations to Know
- Step 1: Start with a Magic Circle
- Step 2: Crochet the Flower Center
- Step 3: Create the Flower Petals
- Step 4: Attach the Flowers with Green crochet Stem with Leaves
- Optional Customizations
- Styling Ideas
- Care Tips
- Final Thoughts
Introduction To This Wonderful Crochet Blog
Are you looking to add a little extra charm to your everyday hairstyle? A crochet flower hair tie is the perfect accessory! It’s cute, customizable, and adds a handmade touch to any outfit. Plus, it’s a wonderful way to use up leftover yarn and practice new crochet skills. In this tutorial, you’ll learn how to create a beautiful, easy-to-make crochet flower that you can attach to any hair tie or rather a leafy stem. Let’s dive in!
SHARING IS CARING 🙂
PIN IT TO YOUR FAVORITE BOARD ON PINTEREST
♥️♥️♥️♥️♥️♥️♥️♥️♥️♥️♥️♥️♥️♥️♥️
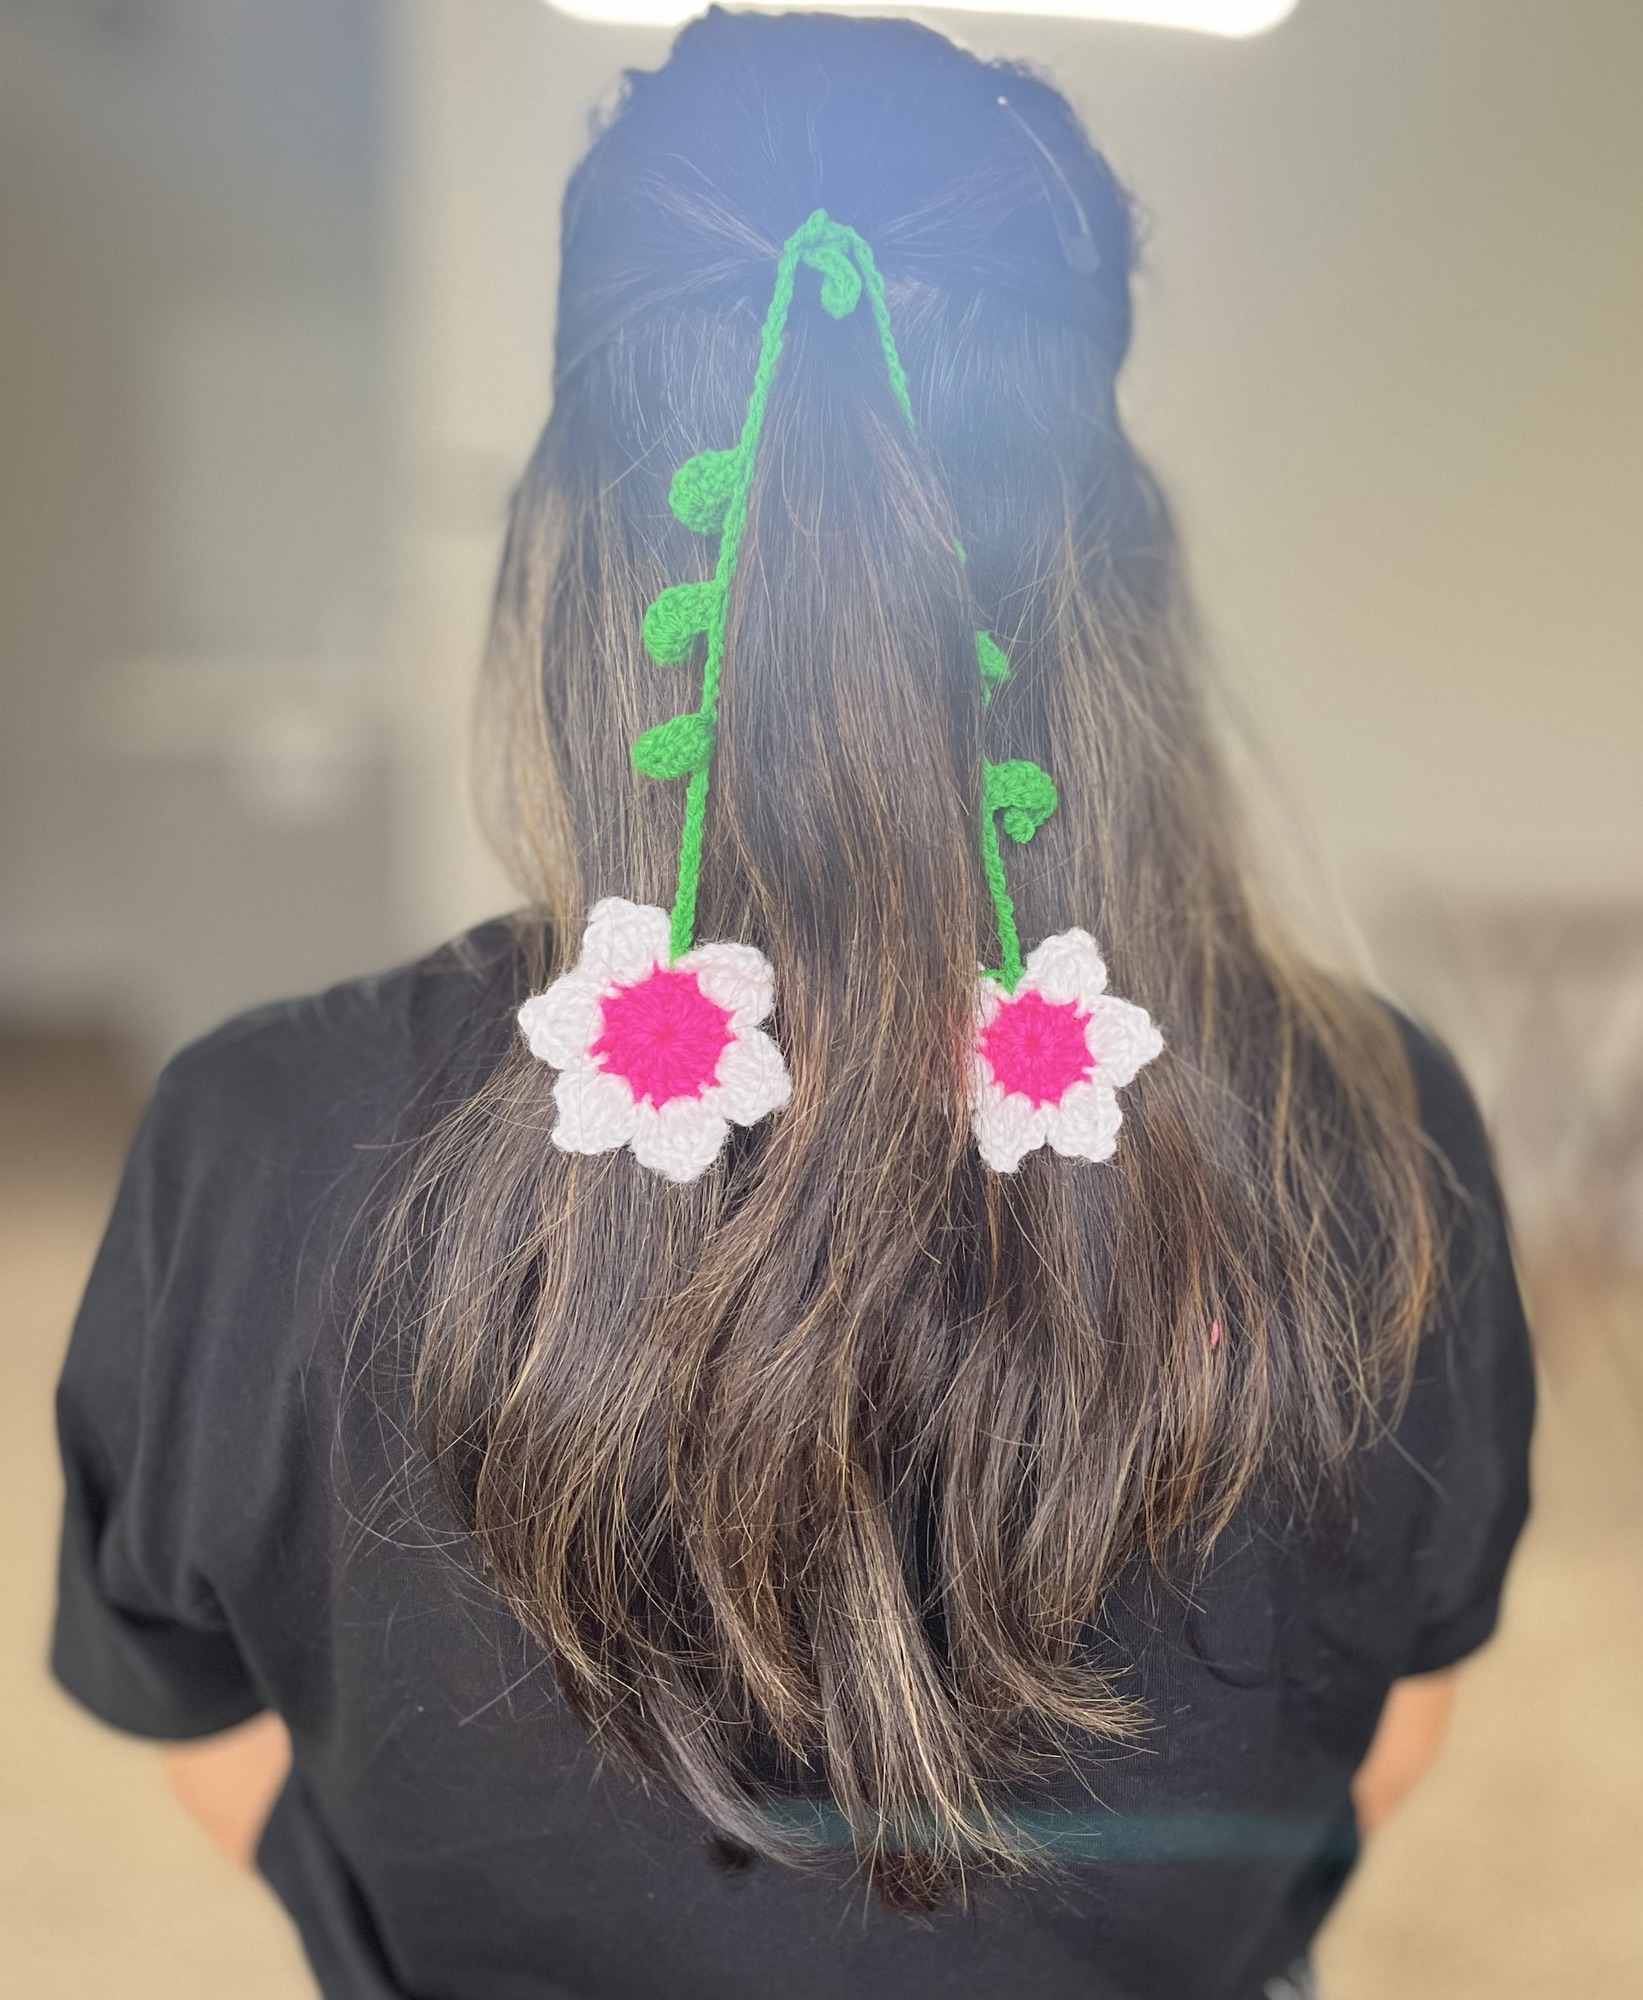
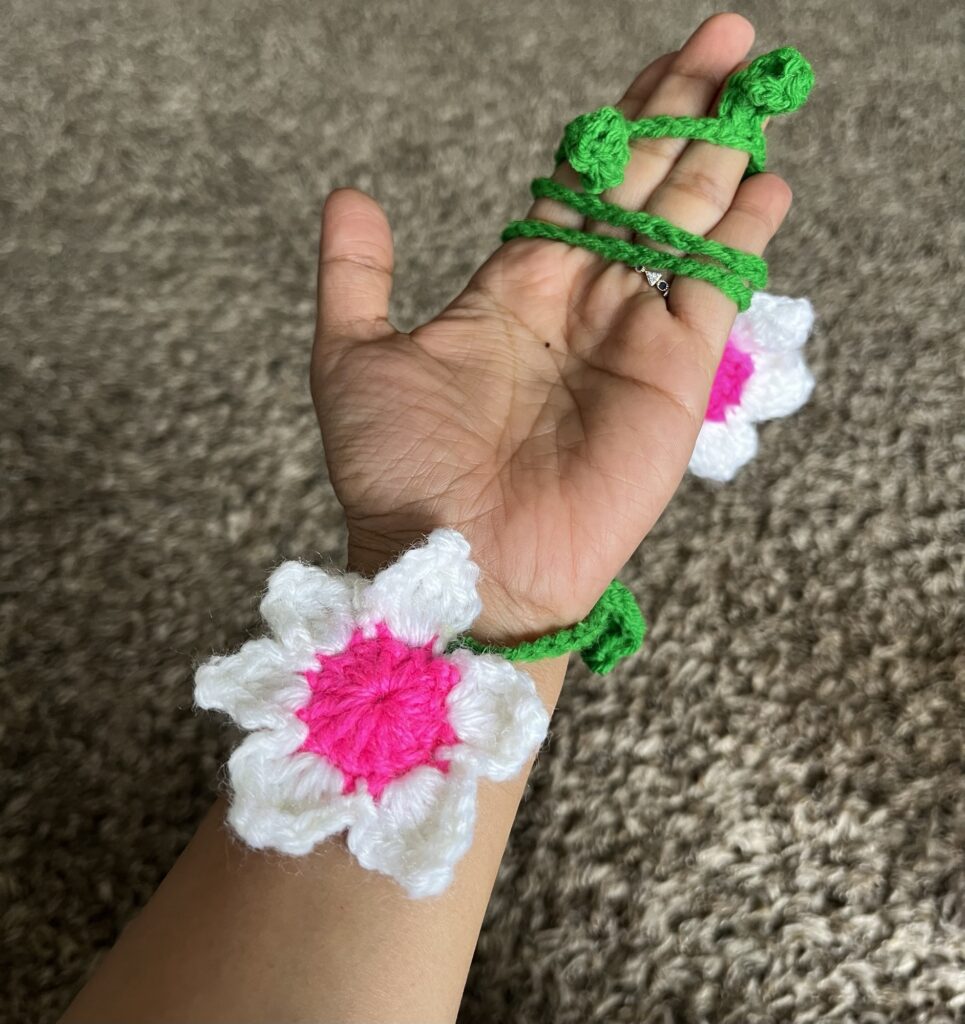
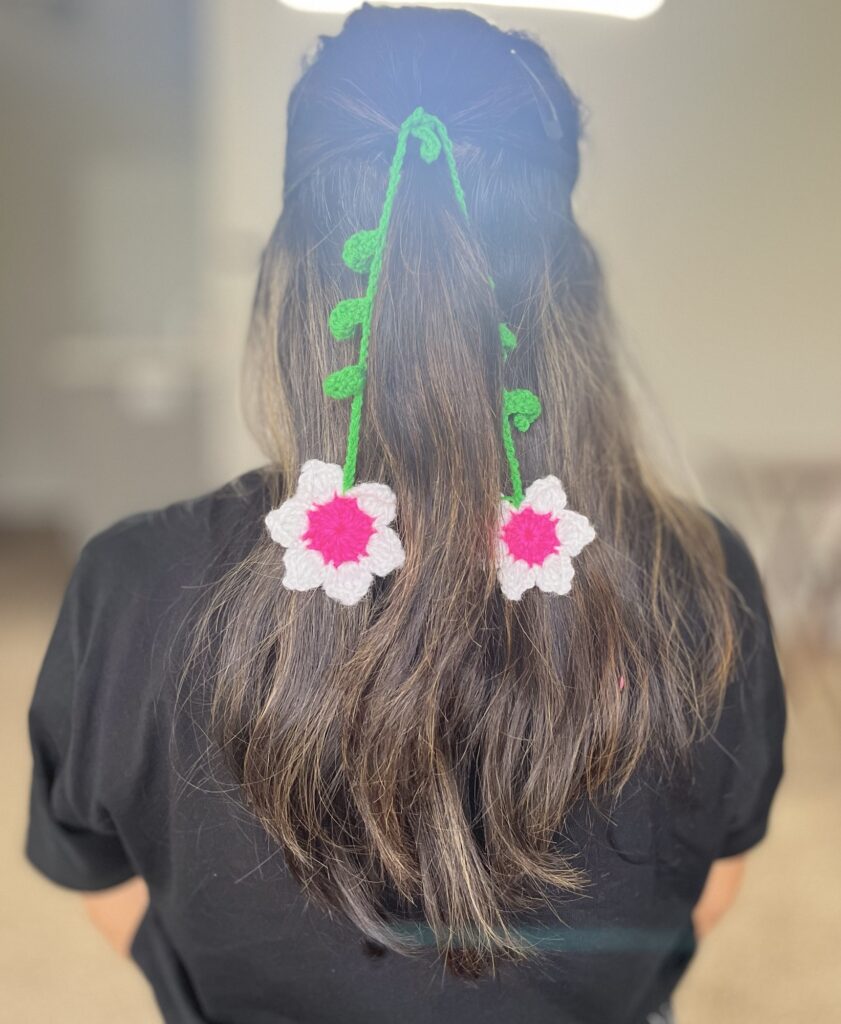
Isn’t this beautiful? This Crochet Flower Hair Tie pattern is perfect for adding a pop of charm to your everyday look! You can incorporate these lovely flower accents into larger projects like headbands, scrunchies, or even attach them to bags and hats. I’m personally using mine as a vibrant hair accessory—they’re absolutely delightful and add a cheerful touch to any hairstyle!
You’ll find the written instructions for this lovely and simple Crochet Flower Hair Tie in this blog. However, if you’d like to see the stitching technique in action, check out the tutorial on my YouTube channel for a visual guide!
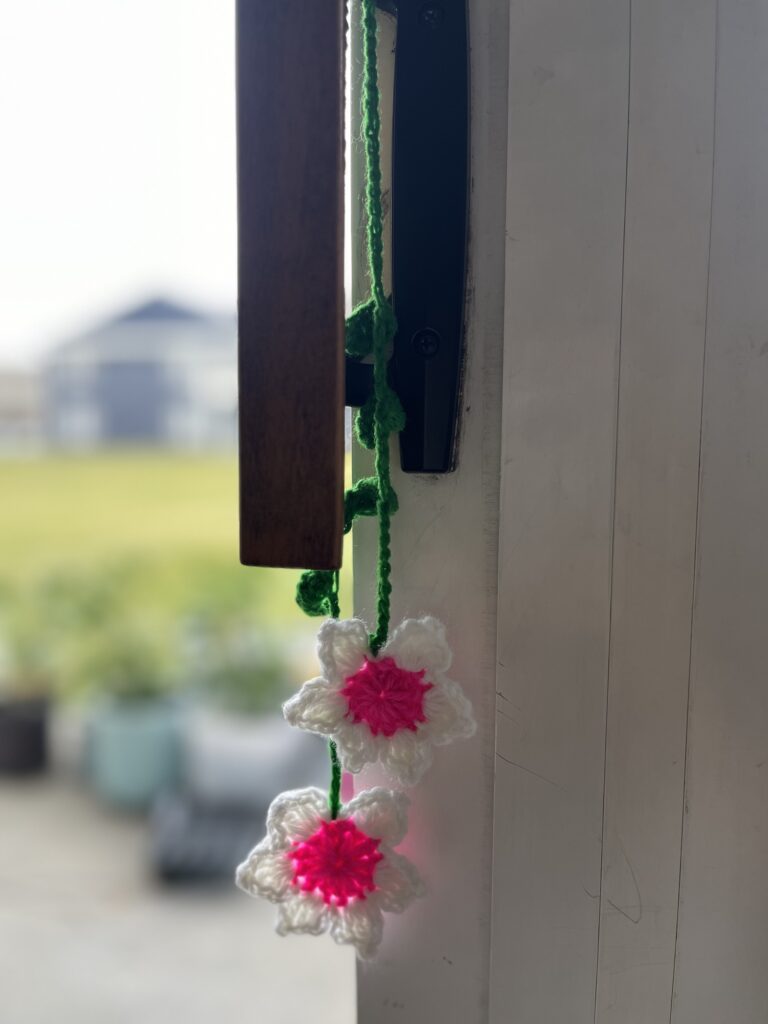
This project is simple and beginner-friendly, making it perfect for anyone new to crochet! With its basic stitch patterns, it’s easy to follow and doesn’t require intense focus, allowing you to relax and enjoy the process. It’s a wonderful way to experience the joy of crocheting without needing complex techniques, resulting in a fun and satisfying project in no time!
For a step-by-step video tutorial, check out my YouTube channel, where I guide you through each stage of creating this beautiful Crochet Flower Hair Tie!
Please subscribe to my channel for all the latest and the best patterns.
Since, Most of the crochet lovers just loved this pattern….. I think, you will also love it……
Therefore, just leave a comment in the comment section about it.
For getting updates of all my free patterns, please fill in the subscribe form
DECLARATION
Hi, I am Shabari Dutta. I work very hard on each and every pattern provided in this website, So you can always give a credit by mentioning my name & website www.hookedinloopsbyshabari.com in your posts.....♥️♥️♥️♥️♥️♥️♥️♥️♥️♥️♥️♥️♥️♥️♥️, h
You can sell any product made from this patternowever, you may not distribute this pattern as your own in any way!
Materials Needed
- Yarn: 4 ply Cotton or acrylic yarn in three colors – one for the flower petals, one for the center and one for the stem and leaves.
- Crochet Hook: Size 2.5-4 mm or , depending on your yarn thickness.
- Yarn Needle: For weaving in the ends and securing the flower.
- Scissors: To trim yarn ends.
Abbreviations to Know
If you’re new to crochet, here’s a quick guide to the abbreviations used in this tutorial:
- CH: Chain
- SC: Single Crochet
- HDC: Half Double Crochet
- DC: Double Crochet
- TC: Triple Crochet
- SL ST: Slip Stitch
- Special stitch – CH 2 PICOT–
- Firstly, work a Stitch (like a SC, HDC, or DC and this pattern we did a TC) where you want the picot to go.
- Then do CH 2
- Then ST into the Base of the Previous Stitch:
- Insert your hook into the top of the stitch you made right before the chain (this will be the last stitch you worked before chaining). Then yarn over, pull through the stitch and the loop on the hook to create a slip stitch.
- This forms a small loop or bump at the top of your previous stitch, creating the picot!
Step 1: Start with a Magic Circle
To make a beautiful flower, you’ll need to begin with a magic circle. The magic circle (or magic ring) creates a tight starting point, perfect for flower petals.
Step 2: Crochet the Flower Center
- Round 1: Firstly, CH 2 (does not count as a stitch). Then make 12 DC into the magic circle. Pull the end of the yarn to close the circle tightly.
- Finally join with SL ST to the first DC. You should now have a small circle with 12 stitches.
Tip: Change the color here if you’d like a contrasting center for your flower.
Step 3: Create the Flower Petals
Now it’s time to add those beautiful petals that will bring your flower to life! Join Color 2 with a SL ST to any st of last round.
- Round 2: CH 3. Then in the next stitch, make 1DC, 1 TC, CH 3 picot, 1 TC, 1 DC, Ch 3.
- SL ST in the next stitch and in the following stitch, and then do a CH 3.
- In the following st, make 1DC, 1 TC, CH 3 picot, 1 TC, 1 DC, Ch 3.
- SL ST in the next stitch and in the following stitch, and then do a CH 3.
- Repeat point 3 and 4 till you get total 6 petals. Lastly SL ST in the 1st st where you began the step 3.
- Finally, fasten off and weave in the loose ends.
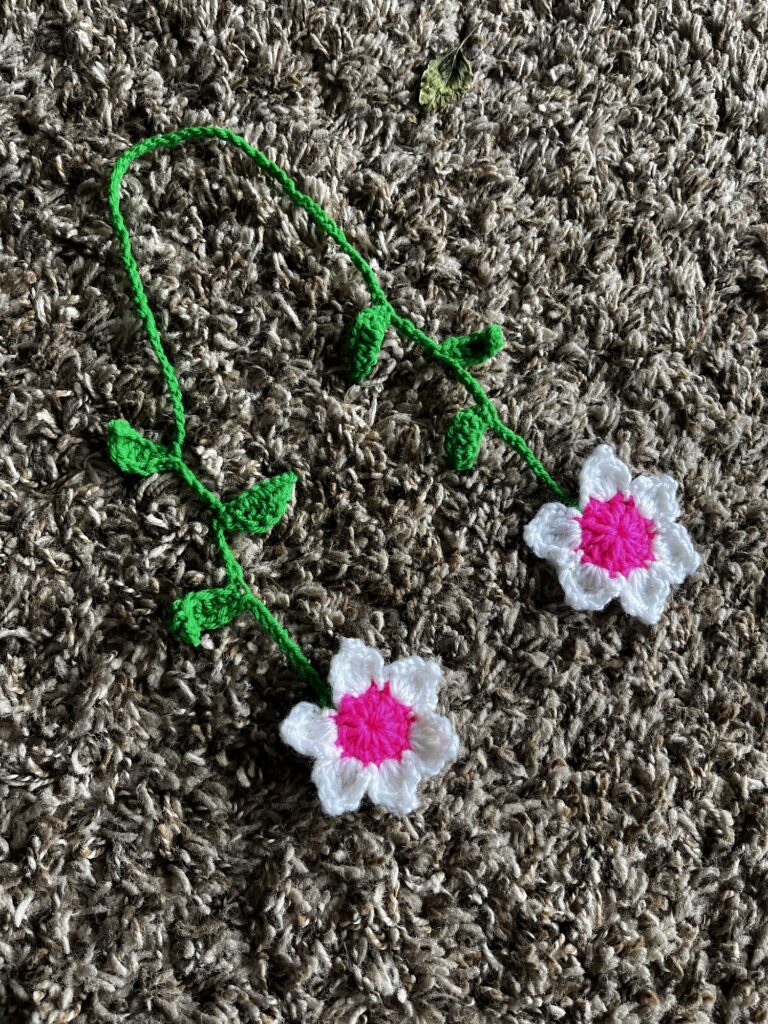
MAKE 2 SUCH FLOWRS !!
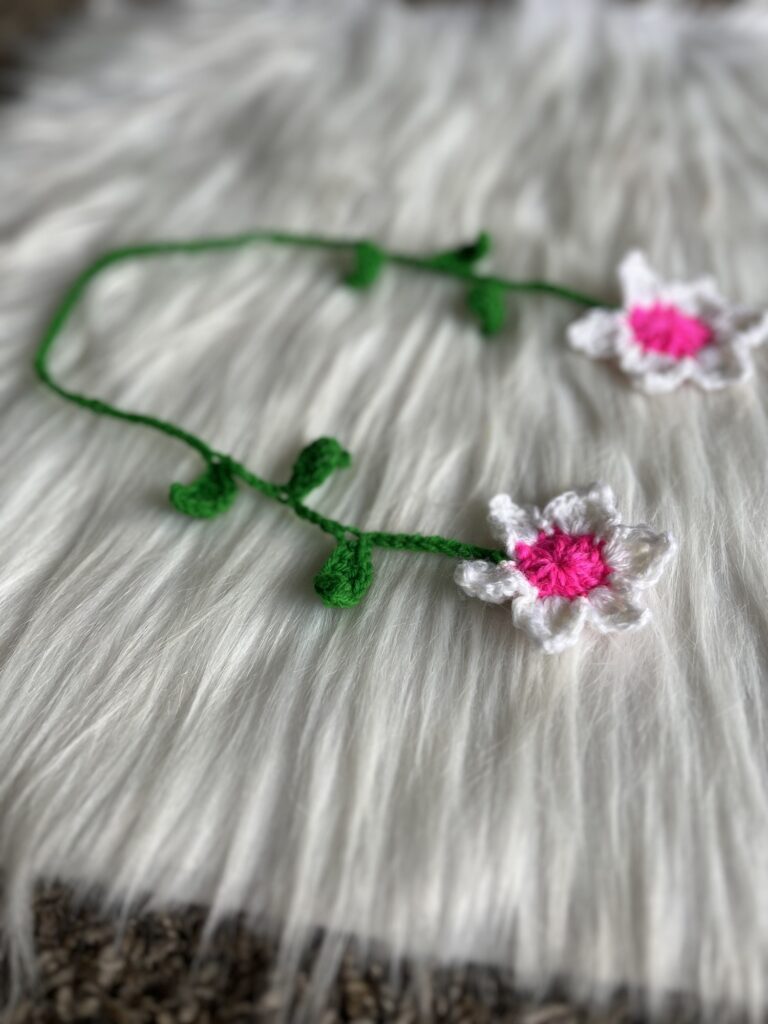
Step 4: Attach the Flowers with Green crochet Stem with Leaves
- Join the Green Yarn: Attach green yarn with a SL ST to any stitch from Step 2 between two petals.
- Begin with CH 10 (or adjust to your desired length).
- Create the First Leaf– CH 7 for the first leaf. Starting from the second CH from the hook, work the following pattern: SL ST, 1 SC, (1 HDC, 1 DC), 2 DC, 1 HDC, 1 SC.
- Move to the Next Leaf – SL ST in the next CH. Then, CH 5 to begin the next section. Then repeat the leaf pattern (as in point 3) for the second leaf.
- Continue Adding Leaves SL ST in the next CH, then CH 5 again. Then repeat the leaf pattern for the third leaf.
- Stem Length: then after creating three leaves in this first section (feel free to add more if you like), CH 30, adjusting to match your hair length or desired style.
- Then repeat the Leaf Pattern on the Other Side: Make three more leaves, repeating the process from the first half.
- Finish and Attach to Flower 2: After the final set of leaves, CH 10, then SL ST to any stitch from Step 2 between two petals of Flower 2.
- Fasten off and weave in all loose ends.
Optional Customizations
- Add a Button: Sew a small button, beads to the center of the flower and also the stem for added charm.
- Layered Petals: Create a second, smaller flower and then stack it on top of the first for a more layered look.
- Use Different Yarn Types: Play around with different textures, such as velvet or boucle yarn, to add softness and texture to your flower.
Styling Ideas
- Classic Ponytail: For a timeless look, you can also use your crochet flower hair tie to elevate a classic ponytail, adding just the right touch of flair.
- Messy Bun: Alternatively, wrap the flower hair tie around a loose, messy bun in order to achieve a relaxed, boho-inspired style.
- Braids: Finally, try adding the flower hair tie at the end of a braid for a fun and floral finish that brings a playful vibe to your hairstyle.
Care Tips
- Hand Wash Only: In order to keep your crochet flower looking its best, wash by hand and lay flat to dry.
- Avoid Stretching: Be gentle when stretching the hair tie to avoid distorting the flower.
Final Thoughts
Creating a crochet flower hair tie is not only a fun DIY project but also a thoughtful gift idea. You can also make a set in different colors to match your outfits, or give them as unique presents for friends and family.


Let us know in the comments whether you tried this pattern or have other tips to share! Happy crocheting! 🌼
| Subscribe … on Youtube | Follow … on Pinterest | Follow … on Instagram | |
