Table Of Contents
Introduction
Are you looking for a fun and creative crochet project that’s both quick and functional? A sunflower bookmark is the perfect solution! This charming, floral-themed project is great for beginners and more experienced crocheters alike. Whether you’re gifting it or keeping it for yourself, this bookmark will bring a bit of sunshine to your reading time.
SHARING IS CARING 🙂
PIN IT TO YOUR FAVORITE BOARD ON PINTEREST
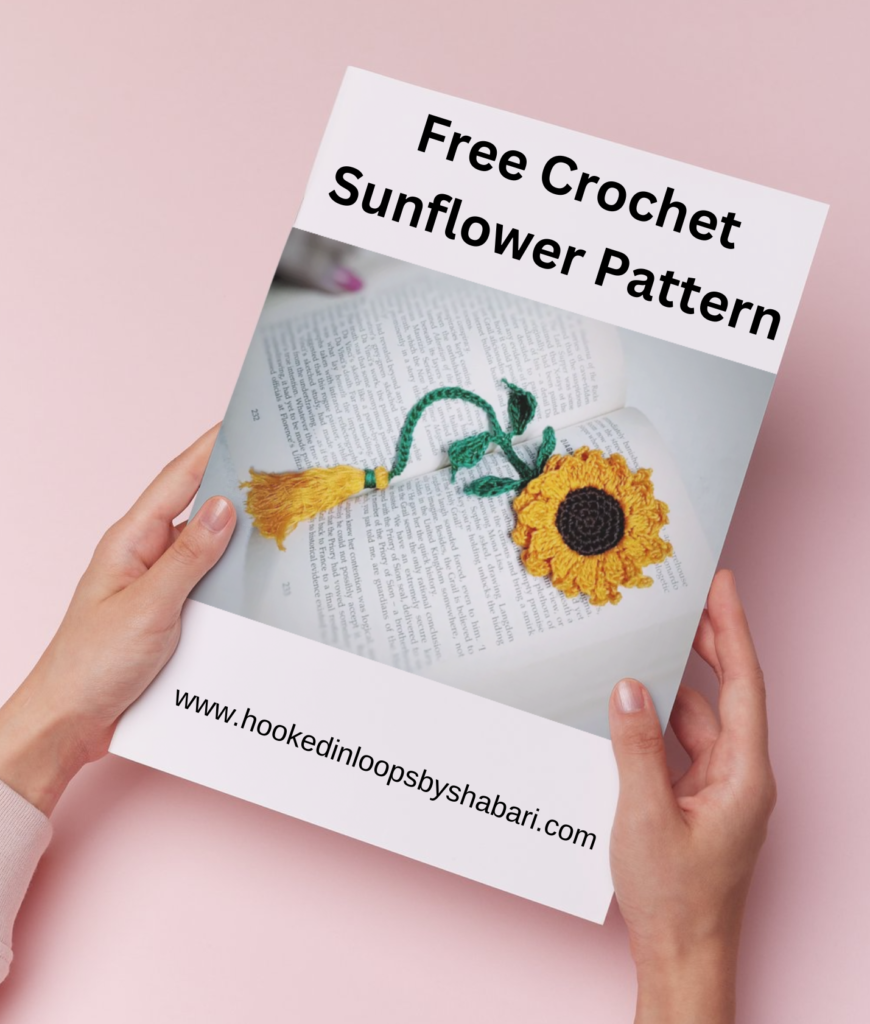
In this blog, I’ll walk you through how to crochet a beautiful sunflower bookmark, including the materials, stitches, and also step-by-step instructions. So let’s get started!
♥️♥️♥️♥️♥️♥️♥️♥️♥️♥️♥️♥️♥️♥️♥️
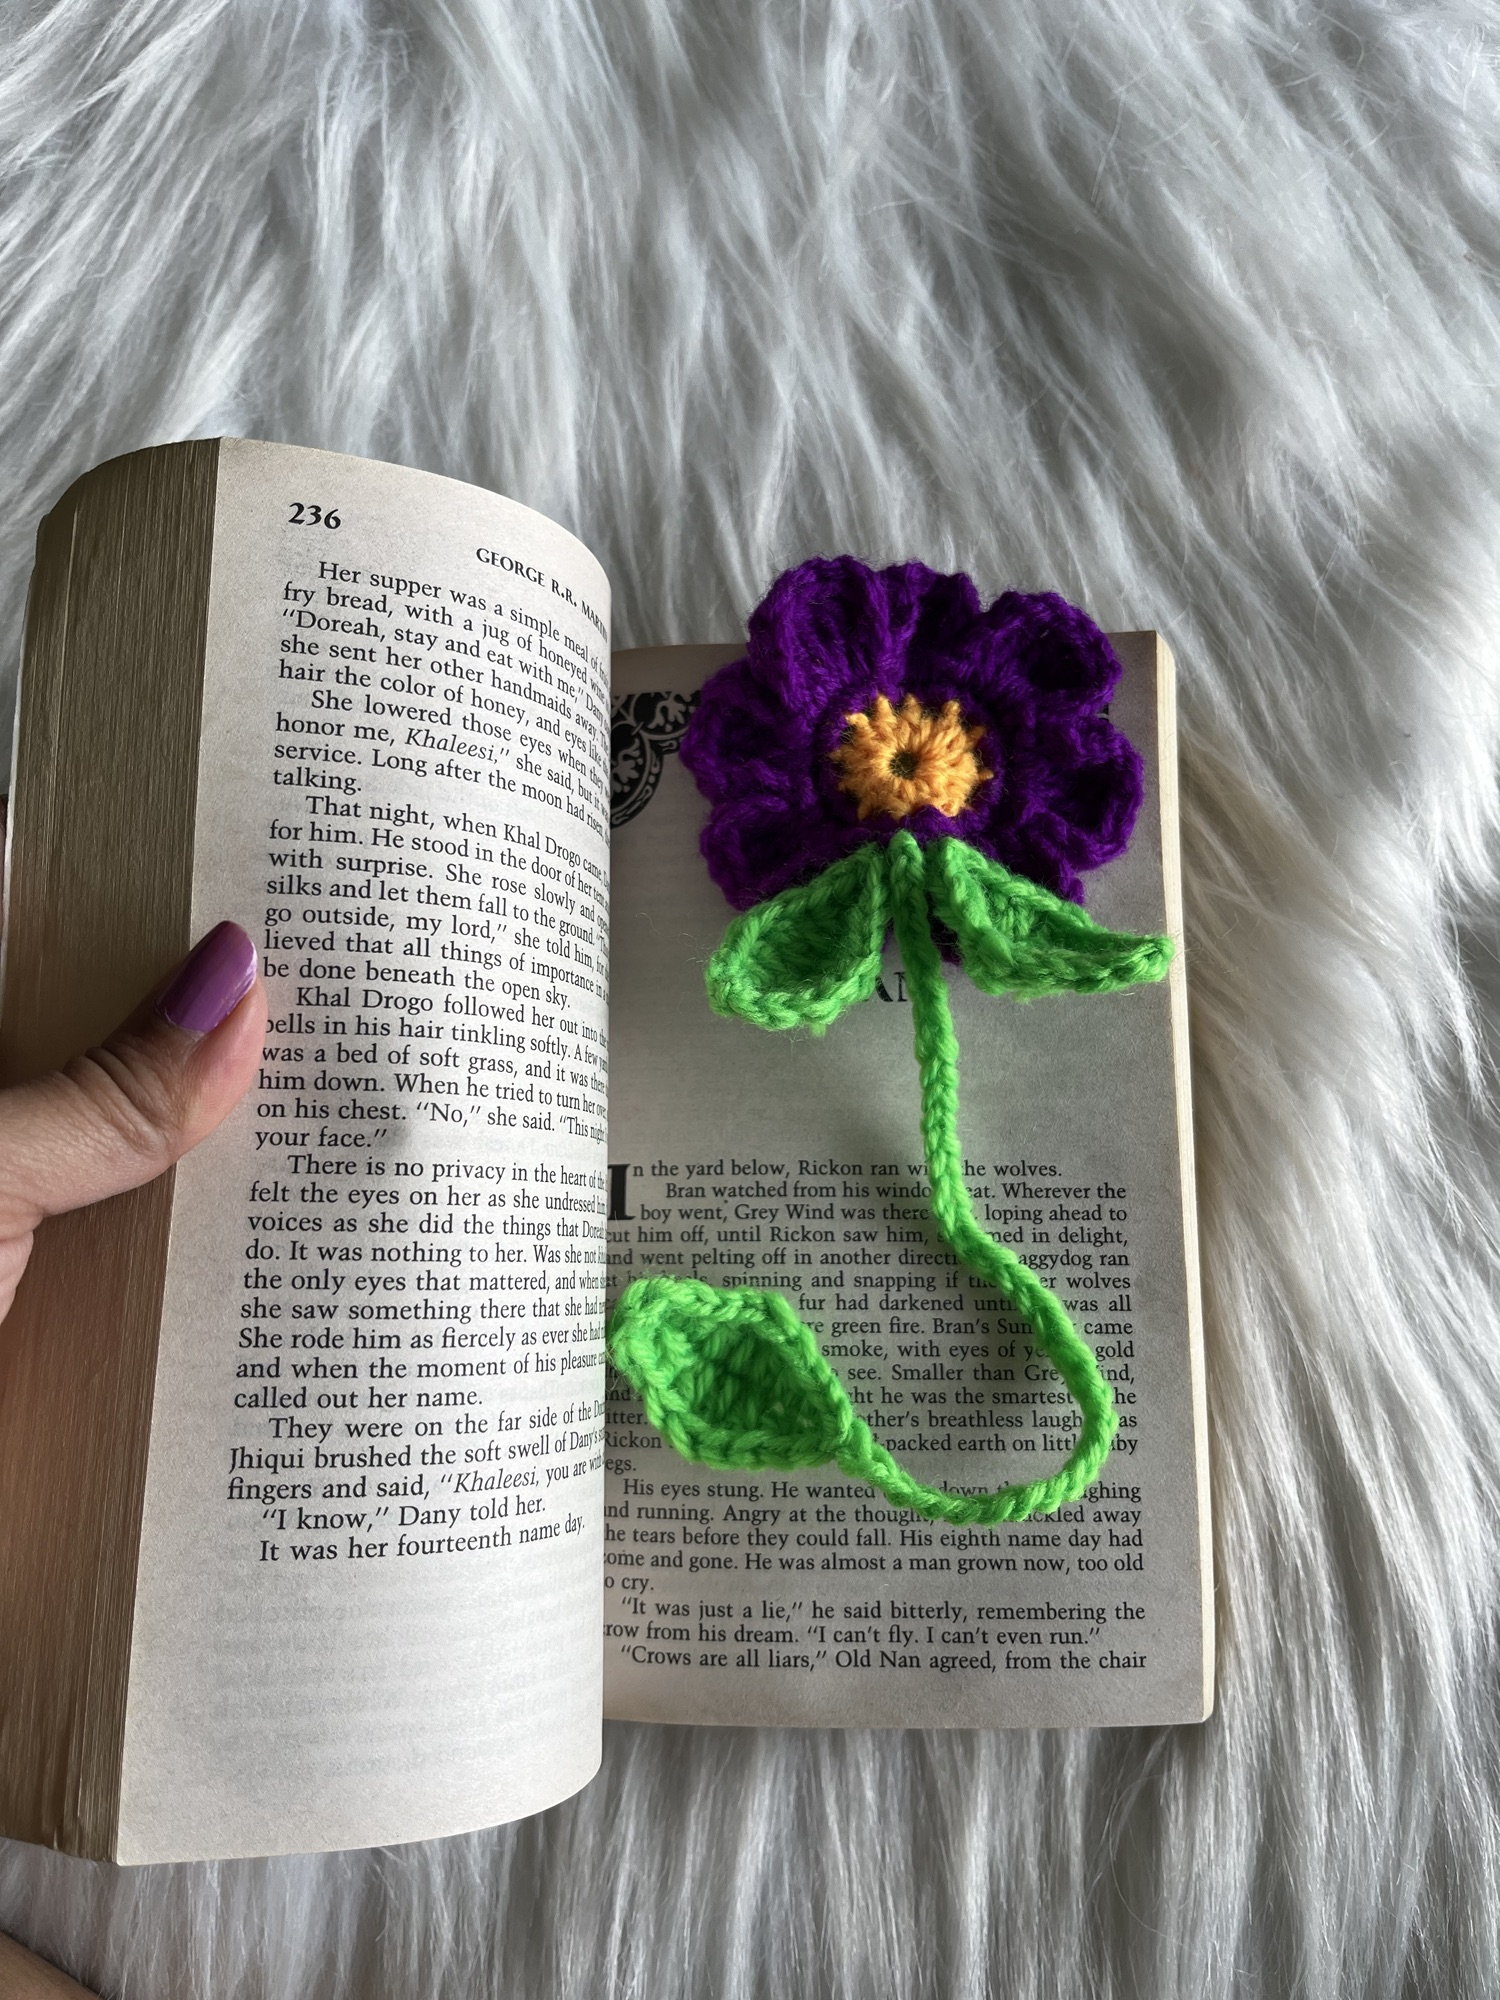
Isn’t this beautiful? Crocheting a sunflower bookmark is a fun and rewarding project for both beginners and experienced crocheters alike. Whether you’re making one for yourself, gifting it to a loved one, or adding it to your crochet collection, a handmade sunflower bookmark is a charming and functional accessory.
In this blog, I’ve provided the written instructions for this adorable and easy Crochet Sunflower Bookmark. However, you can also visit my YouTube channel by following this link to better understand the stitching techniques and see the project in action. Happy crocheting!

This crochet sunflower bookmark project is simple and beginner-friendly, making it perfect for anyone new to crochet. With its use of basic stitches, it’s not only easy to follow but also enjoyable to work on. Additionally, as you progress through the pattern, you’ll find that the steps naturally flow together, making the process smooth and rewarding. Furthermore, the project allows you to practice essential crochet techniques while creating something beautiful and functional.
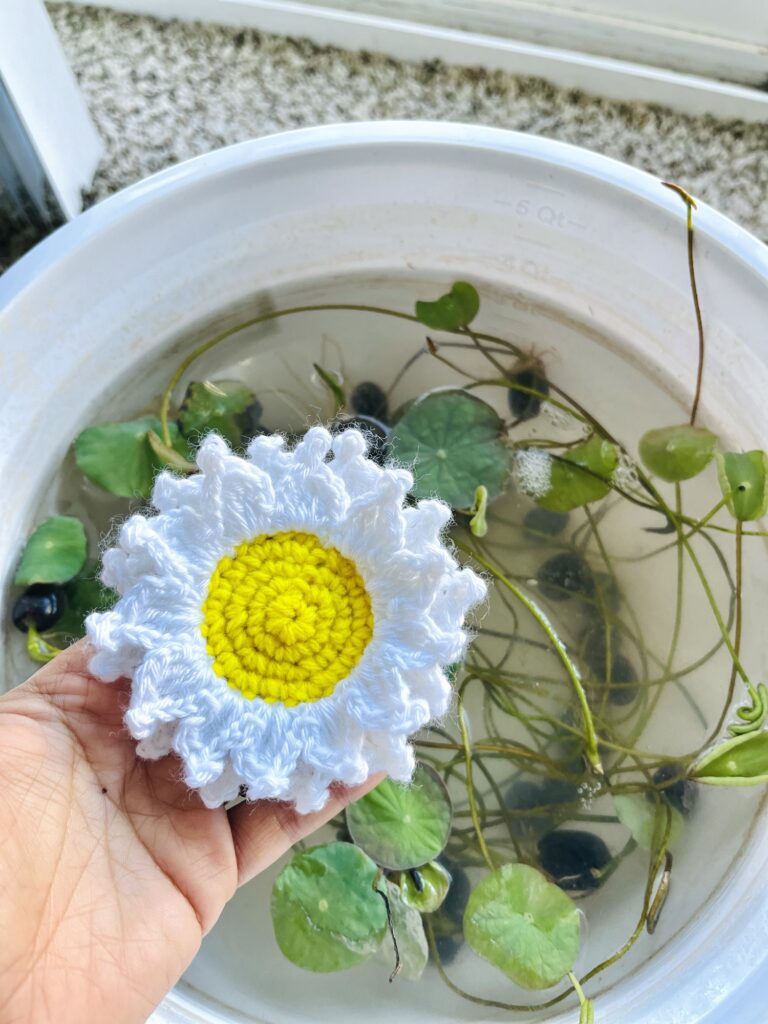
If you’re new to working in the round or shaping the petals, it might seem a little tricky at first. But don’t worry! With some practice, you’ll quickly master it. It’s a great way to create something charming while learning new techniques, giving you a fun and satisfying result in no time!
For a step-by-step video tutorial, be sure to check out this YouTube link to guide you through the process!
Please subscribe to my channel for all the latest and the best patterns.
Since, Most of the crochet lovers just loved this pattern….. I think, you will also love it……
Therefore, just leave a comment in the comment section about it.
For getting updates of all my free patterns, please fill in the subscribe form
DECLARATION
Hi, I am Shabari Dutta. I work very hard on each and every pattern provided in this website, So you can always give a credit by mentioning my name & website www.hookedinloopsbyshabari.com in your posts.....♥️♥️♥️♥️♥️♥️♥️♥️♥️♥️♥️♥️♥️♥️♥️, h
You can sell any product made from this patternowever, you may not distribute this pattern as your own in any way!
You will need:
- Embroidery floss (yellow, brown, green)
- Size 1.75 mm crochet hook
- Tapestry needle for weaving ends
- stitch markers
skill level- intemediate
TERMS USED ( US term)
- sc – single crochet
- sl st – slip stitch
- tc – triple cochet
- ch – chain
- dc – double crochet
- sk- skip
- sp – space
- htc – half triple crochet
- sts- stitches
Written Pattern To The Crochet Sunflower Bookmark
We’ll start by making the brown center of the sunflower.
Round 1:
Firstly, create a magic circle. Then, work 6 single crochets (sc) into the circle. To finish the round, slip stitch (sl st) into the first sc, and then chain 1 (ch 1). (6 stitches)
Round 2:
Next, make 2 sc in each stitch around from the previous round. Finish with a sl st into the first sc, and then ch 1. (12 stitches)
Round 3:
Now, do 1 sc in the first stitch, then 2 sc in the next stitch. Repeat this pattern (1 sc, 2 sc) throughout the round. End with a sl st into the first sc, and then ch 1. (18 stitches)
Round 4:
For this round, crochet 1 sc in each of the first two stitches, then do 2 sc in the third stitch. Continue this pattern (1 sc in each of the next two stitches, 2 sc in the following stitch) until the round is complete. Finish with a sl st into the first sc, and then ch 1. (24 stitches)
This forms the center of the sunflower, ready for the next steps!
Now, we’ll make the first layer of yellow petals:
Round 5:
To create the framework for the first layer of petals, start by attaching the yellow yarn with a slip stitch (sl st) to any stitch from Round 4. Chain 2 (ch 2), then skip the next stitch and sl st into the following stitch. Repeat this pattern—ch 2, skip 1 stitch, sl st into the next stitch—all the way around. Then finish the round with a sl st into the same stitch where you started, and ch 1 to secure. (12 ch-2 spaces)
Round 6:
Now, let’s make the petals. In each ch-2 space, work as follows:
- 1 single crochet (sc), followed by ch 2, then 1 double crochet (dc) in the same space, and 1 triple crochet (tc).
- Next, make a ch-3 picot.
- Then, in the same space, do 1 dc, followed by ch 2, and finish with 1 sc.
This completes your first petal. Move to the next ch-2 space and then repeat: 1 sc, ch 2, 1 dc, 1 tc, ch-3 picot, 1 dc, ch 2, 1 sc. Continue this pattern for all petals. End the round with a sl st into the first sc, and then ch 1 to secure. (You’ll have 12 petals, including 24 sc, 24 dc, 12 tc, 12 picots, and 24 ch-2 spaces.)
The first layer of petals is complete!
Round 7: Framework for the Second Layer of Petals
In this round, we’ll create the framework for the second layer of petals by working into the skipped stitches from Round 4, but in the opposite direction.
- Turn your work so you’ll be working in reverse.
- Locate the 12 skipped stitches from Round 4.
- Insert your hook into the first skipped stitch of Round 4, then pull it through the ch-2 gap from Round 5, and draw the yarn through to make a slip stitch (sl st).
- Chain 3 (ch 3), then sl st into the next skipped stitch of Round 4.
- Repeat the pattern: ch 3, then sl st into the next skipped stitch, continuing all the way around.
Once you’ve completed the round, finish with a sl st into the same stitch where you began. Finally, secure with a ch 1. (You’ll have 12 ch-3 spaces ready for the second layer of petals.)
This completes the framework for the second layer of petals!
Round 8: Second Layer of Petals
Now, we’ll crochet the second layer of petals in each ch-3 space created in the previous round.
In the first ch-3 space, work the following:
- 1 single crochet (sc), followed by ch 3.
- Then, make 1 half triple crochet (htc) in the same space, followed by 1 triple crochet (tc).
- After that, create a ch-3 picot.
- To finish the petal, work 1 htc, followed by ch 3, and then end with 1 sc in the same space.
Move to the next ch-3 space and repeat:
- 1 sc, ch 3, 1 htc, 1 tc, ch-3 picot, 1 htc, ch 3, 1 sc.
Continue this pattern in all 12 ch-3 spaces, thus forming the second layer of petals.
Once all petals are done, finish the round with a sl st into the first sc, then ch 1 and cut the yarn.
(Total: 12 petals with 24 sc, 24 htc, 12 tc, 12 picots, and 24 ch-3 spaces)
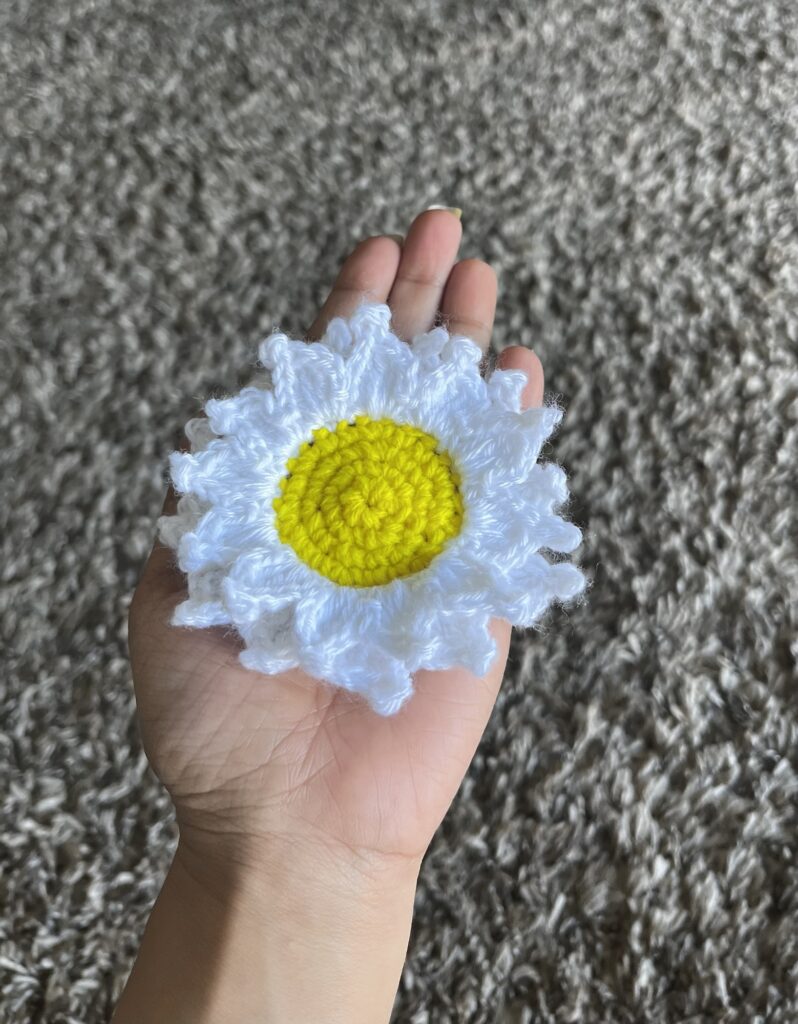
The sunflower is now complete! 🌻
♥️♥️♥️♥️♥️♥️♥️♥️♥️♥️♥️♥️♥️♥️♥️
Creating the Green Stem and Leaves for the Sunflower Bookmark
Making the Stem:
- Attach green yarn with a slip stitch (sl st) to any sc stitch from Round 8 of the sunflower.
- Then chain 30 (ch 30) or adjust the number of chains based on the desired bookmark length.
- Starting from the 2nd chain from the hook, work a sl st into each chain down the length of the stem.
- Once you reach the end, sl st into the original sc stitch of the flower where you started the chains, and then a ch 1, and then cut the yarn to secure the stem.
Making the Leaf:
- Chain 7 (ch 7) to start the leaf.
- Then in the 2nd chain from the hook, do a sl st.
- In the 3rd chain, work 1 single crochet (sc).
- Then in the 4th chain, do 1 half double crochet (hdc).
- In the 5th chain, work 2 double crochets (dc).
- Then in the 6th chain, do 1 sc.
- In the 7th chain, finish with a sl st.
Now, working on the other side of the chain, repeat:
- Starting from the next chain, do 1 sc, followed by 2 dc in the next chain.
- Work 1 hdc in the next chain, followed by 1 sc.
- End with a sl st in the last chain, then ch 1 but do not cut the yarn.
Attaching the Leaf:
- To attach the leaf to the stem, insert the hook into any desired stitch on the stem and make a sl st. Then, ch 1 and cut the yarn to secure the leaf.
- Make another leaf, and attach it to the stem in the same stitch where you attached the first leaf.
Leaf Placement:
- You can position the leaves wherever you’d like along the stem. I attached the first pair of leaves at the 3rd stitch from the top of the stem, and the second pair at the 10th stitch. You can also add a third pair if you wish!
Adding a Tassel:
To give your sunflower bookmark an elegant finishing touch, consider attaching a yellow tassel to the end of the stem.

AND THE PATTERN IS COMPLETE! 🌻✨
Enjoy your beautiful sunflower bookmark! ♥️
Finishing Touches:
After completing your sunflower and stem, check for any loose ends and weave them in using your tapestry needle. If the petals are curling, you can lightly block the flower by pinning it down and misting it with water to help it hold its shape.
Tips for Crocheting a Sunflower Bookmark:
- Use cotton yarn for a sturdy, non-stretchy bookmark that lays flat in your book.
- Play with colors: You can change the petal colors or create multicolored sunflowers for a more vibrant look.
- Adjust the size: If you prefer a smaller sunflower, use thinner yarn and a smaller hook, or reduce the number of petals.

Conclusion:
And there you have it—a lovely sunflower bookmark that’s both practical and beautiful! This project is a great way to brighten up your reading time and practice your crochet skills. Whether you’re making it for yourself or as a thoughtful handmade gift, this crochet sunflower will be a joyful addition to any book lover’s collection.
Feel free to get creative with the colors and leaf placement to make each bookmark unique. Happy crocheting!


| Subscribe … on Youtube | Follow … on Pinterest | Follow … on Instagram | |
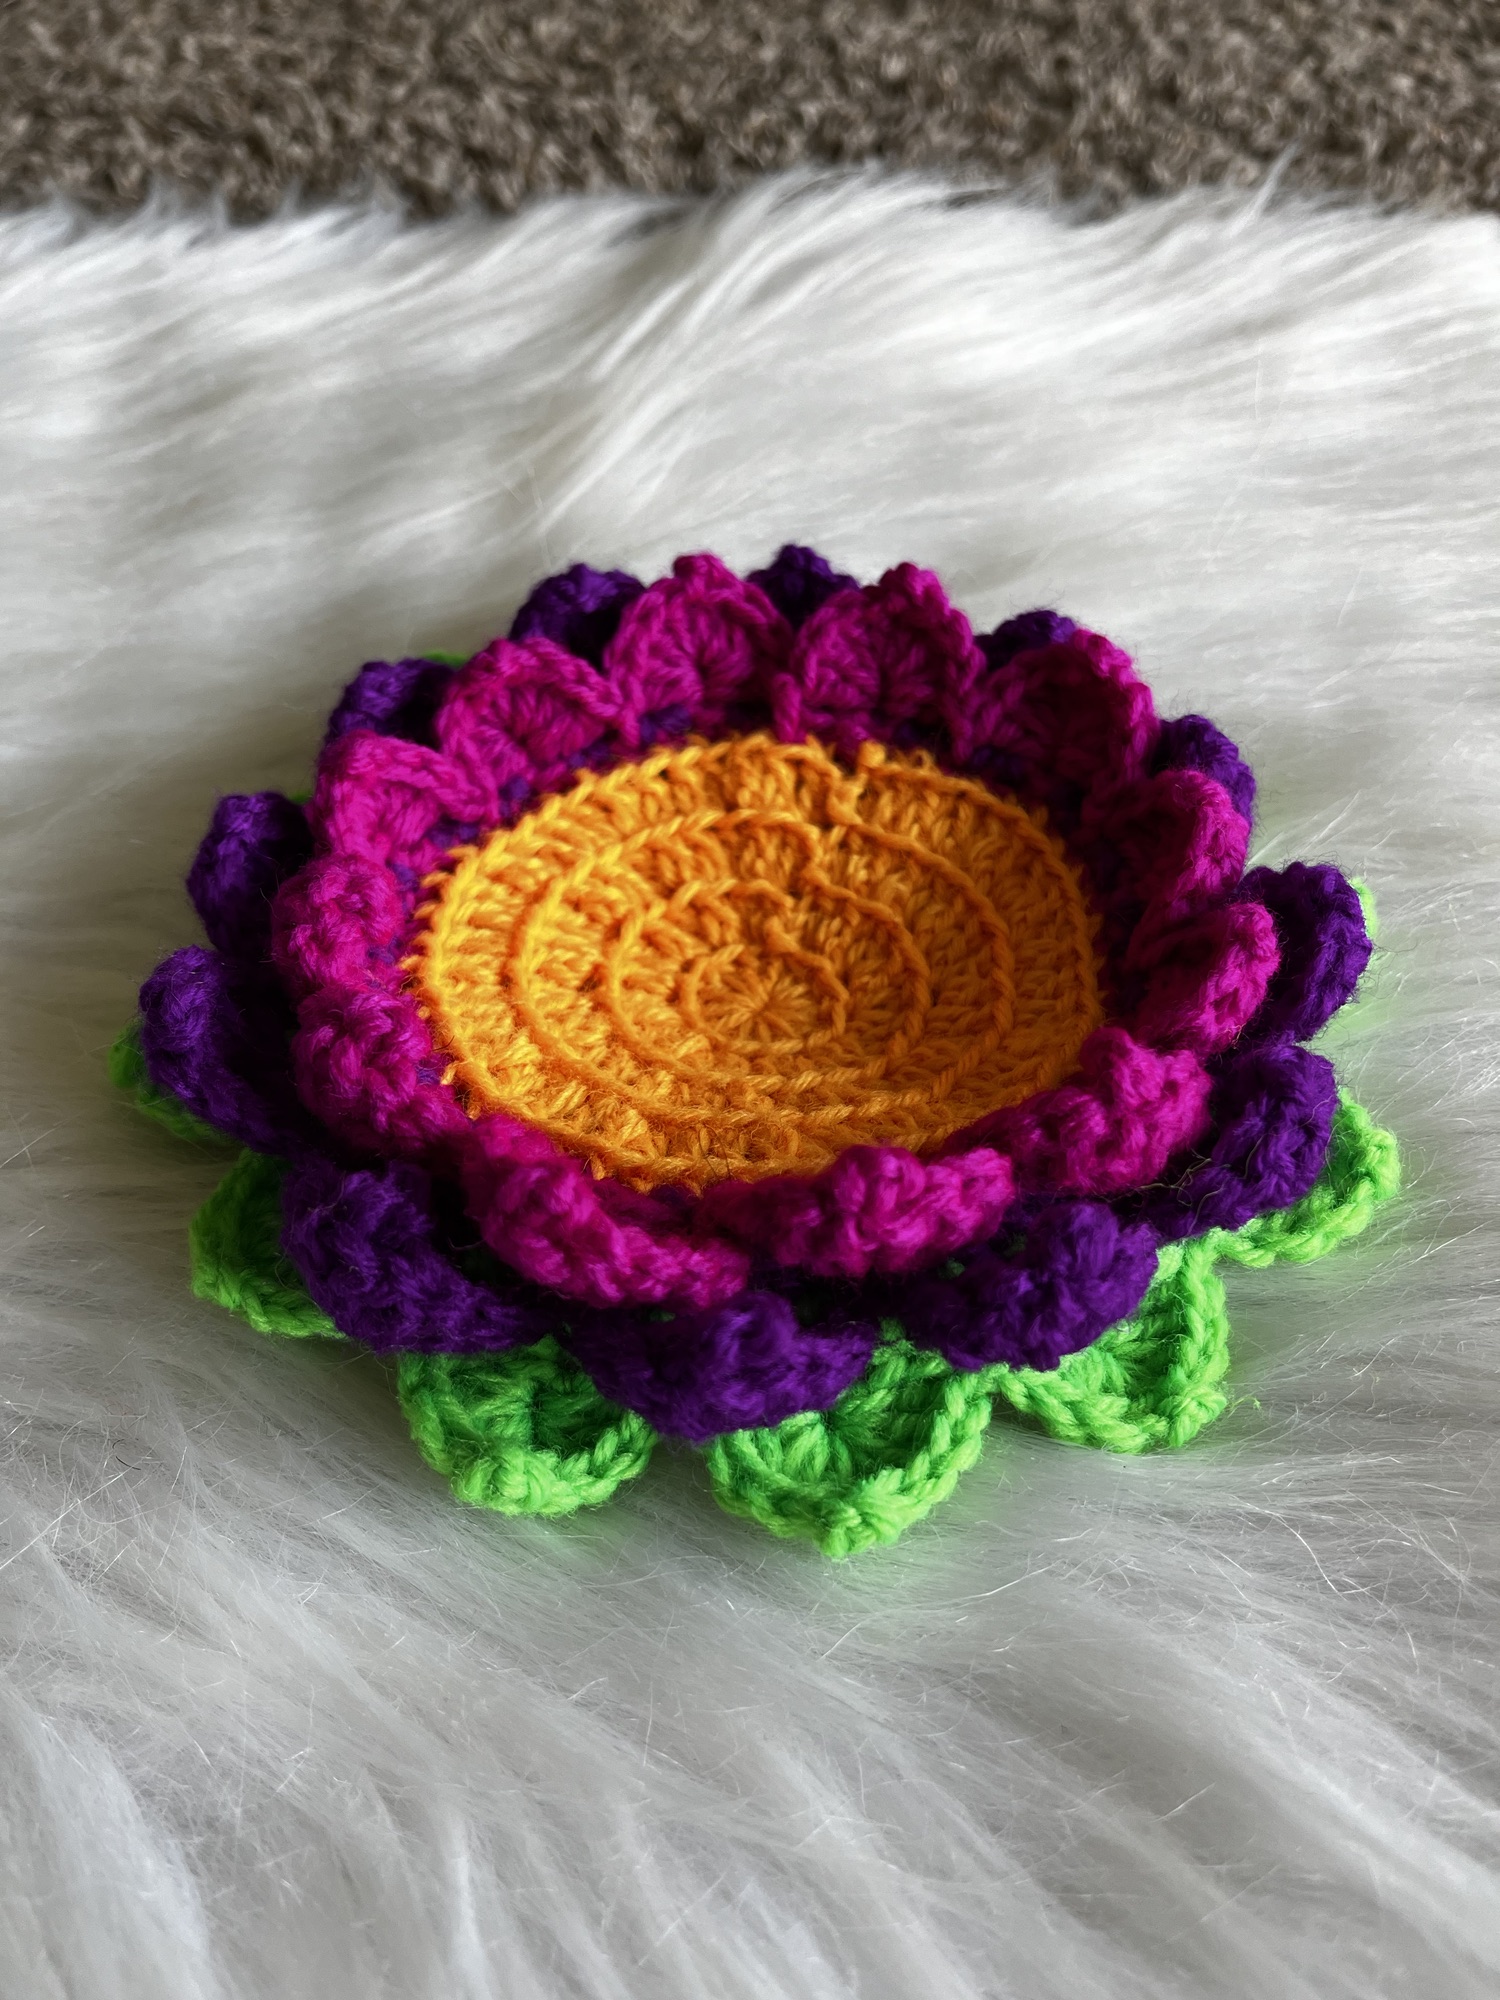
So so so beautiful meu Amor ❣️
Thank you so much my love